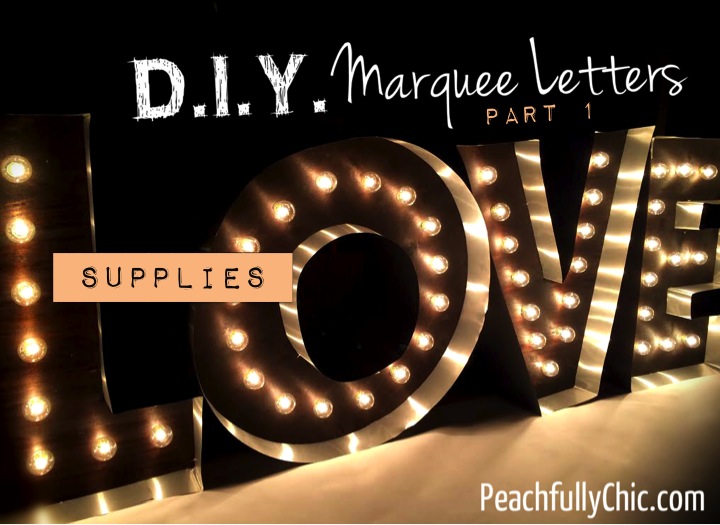
 Marquee Love Letters – SUPPLIES:

I had been searching for some cool DIY projects to really make our wedding stand out without breaking the bank. One of the things I tried to think about though as I picked out projects and other decorations was, “Will I use this after the wedding?” Now some things were completely impractical (obviously I’m not keeping the heavy duty paper napkins we used – Gross! That’s why they were disposable. And I’m not sure we’ll actually have a bar to place our B-A-R sign on just yet until we find our new home). But one of the coolest projects I found was DIY Marquee Letters. Now THIS was something I could totally see us hanging on a wall in our home to jazz up the space. So after various searches, I found a few versions of some great tutorials that used as inspiration and just dove in!
Template:
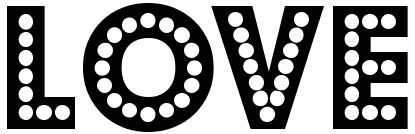
I saw some tutorials that just modified small cardboard letters from your local craft store and that seemed to work fine, but I wanted something sturdier that would last, so we decided to use wood for ours. Then I found this great FREE “Budmo” Font from dafont.com which we used to for our LOVE template. The font works out perfectly as your guide when drilling holes for the lights later. (As a side note, I love grabbing fonts from dafont.com when I want to change things up a little, especially because they are free!)
I had Kevin run this errand for me when I was swamped with other wedding tasks and he couldn’t believe how simple it was. I just typed out “LOVE” using the free “Budmo Font” I mentioned above, saved it as an image, and sent him on his way. Here’s the TEMPLATE:
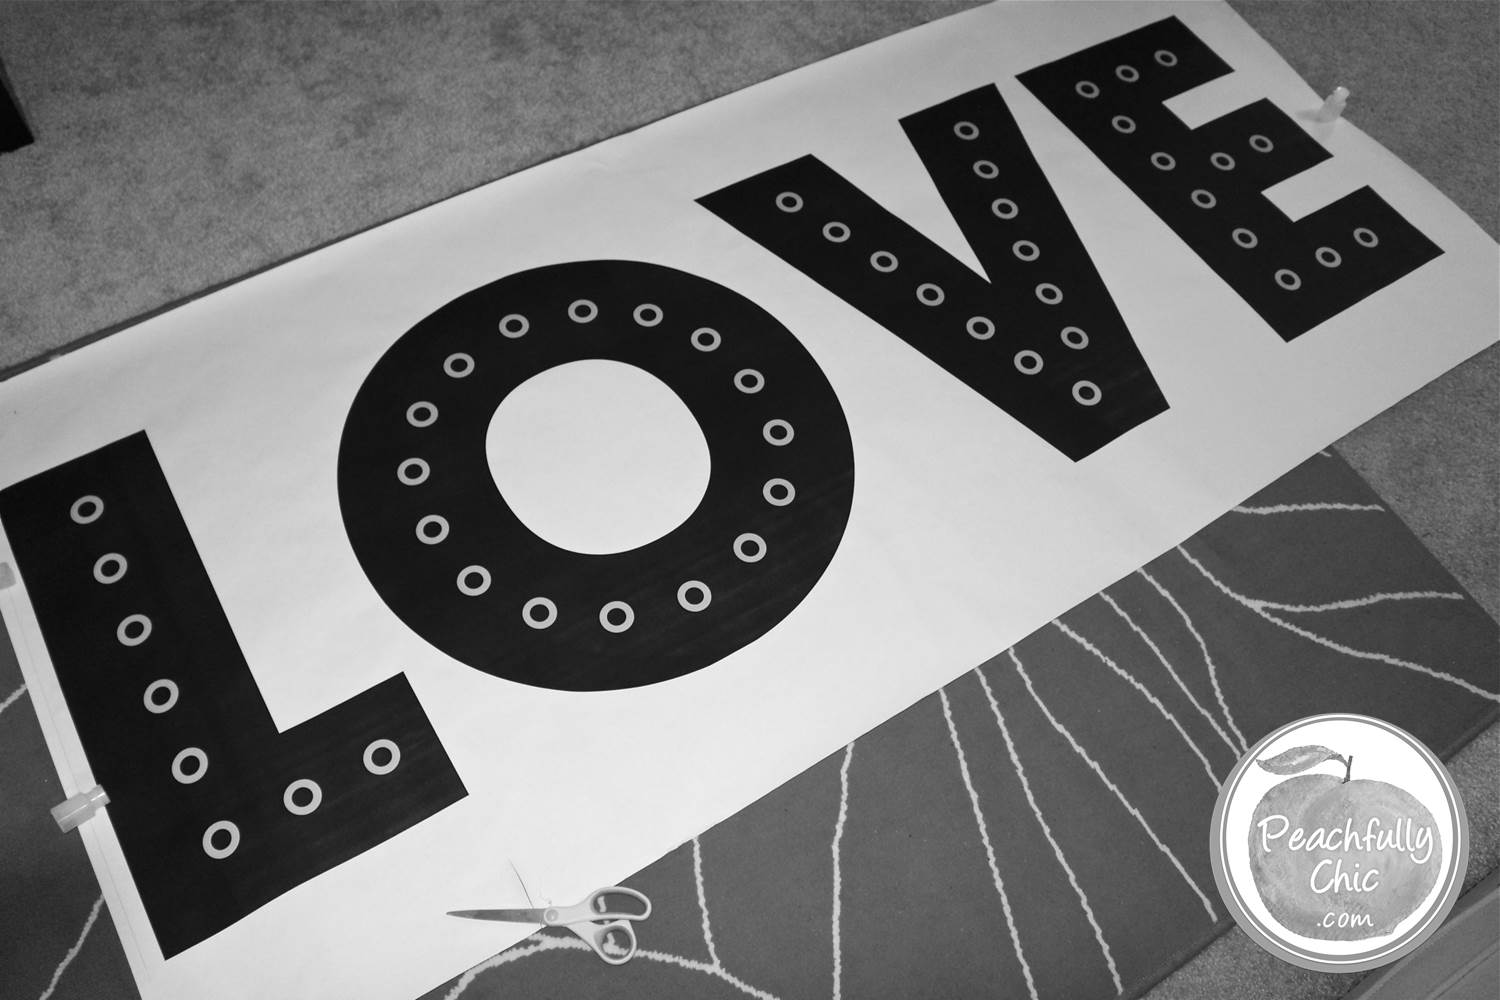
All you have to do is take the saved file to Staples, and tell them how large you need the image printed. In this case, we were using 2′ x 4′ wooden boards, so we wanted 2′ high letters. It was a very simple, and cheap way to get a template. The alternative was to print the image at home and piece the template together (like you would a free sewing pattern), but this was a much easier method.
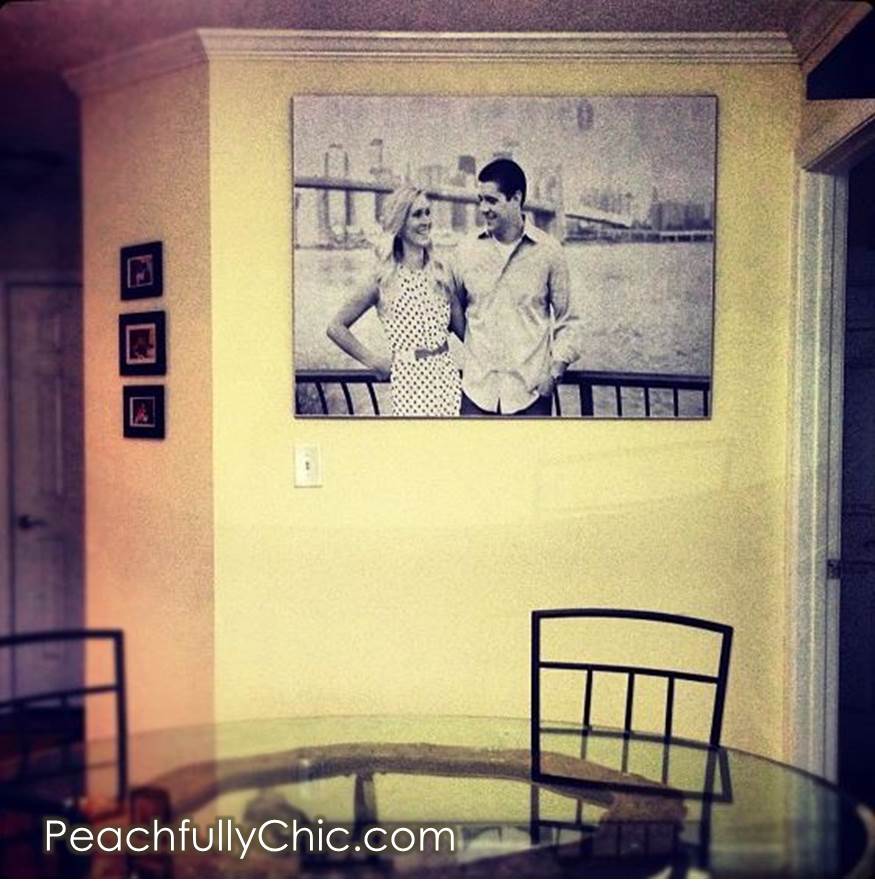
We had already used Staples for a similarly large poster I made printing an image of Kevin and I and adhering it to a giant foam board (from The Home Depot) to hang in our home. It was only about $8 and turned out so cool!
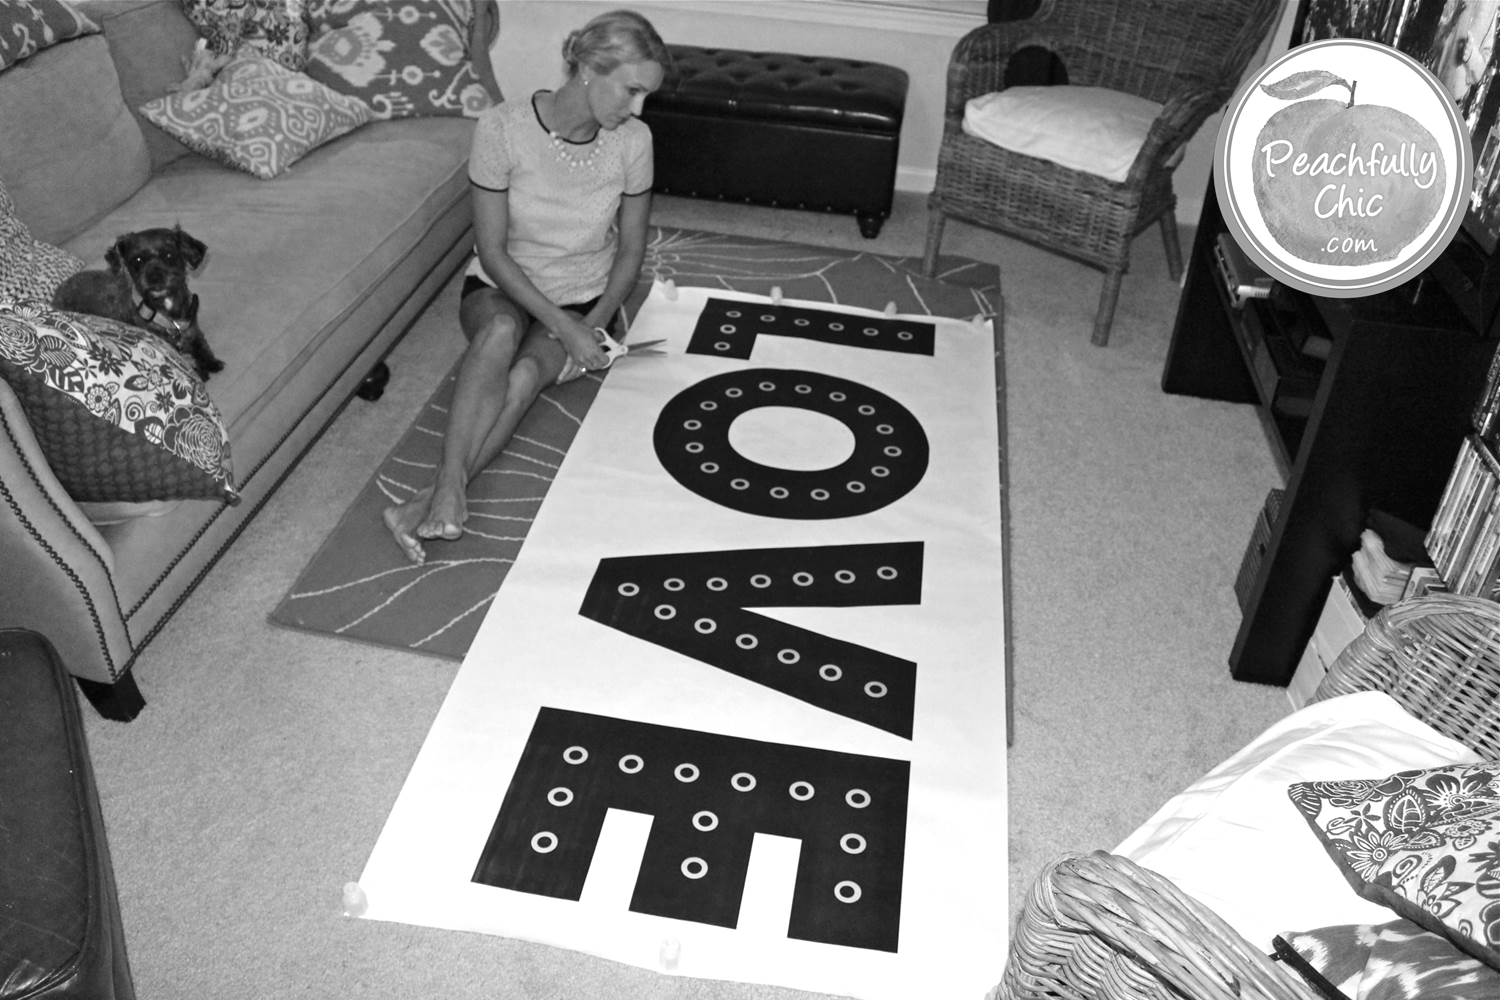
Here’s the LOVE print out that Kevin picked up for me at Staples… it was very large, so we had to clear out the coffee table in our small apartment!
Supplies you’ll need from The Home Depot:
- (2x) 2’x4’ Plywood Boards ½” thickness (Pre-sanded Ready to Stain) – $14.97 each
- (1x) Electric Drill (we already had one)
- (1x) 13/16” Spade Drill Bit (Bosch Daredevil)* – $4.77
- (1x) Jigsaw (Ryobi 6.5 Amps Original)* – $59.97
- (1x) Jigsaw Blades (Ridgid 5 Pack 24TPI All Purpose)* – $5.87
- (1x) Wood Stain (Minwax Wood Finish Dark Walnut 8 0z.)* – $5.83
- (1x) 2” Flat Whitebrush (to apply the stain)* – $1.15
- (1x) Rag (to wipe the stain off)
- (1x) Gorilla Glue (20 oz.) – $4.97
- (1x) 6” Putty Knife (Allway Tape Knife Flex)* – $8.97
- (4x) 6” x 10’ Aluminum Flashing ~$8
- (1x) 5/8” Finishing Nails (18x Wire Brads) – $1.30
Investment @ The Home Depot: ~$132
Plus you’ll need the lights from Target:
- (2x) 25 Ct Outdoor String Lights (RE Clear Globe Lights from Target)* – $14.99
Investment @ Target: ~$30
Print LOVE Template at Staples:
- (1x) 2 ft. high LOVE Printed at Staples (get the template here)
Investment @ Staples: ~$8
—–
OVERALL INVESTMENT: ~$178
We didn’t really have the power tools that we needed which drove our cost up… but if you already have them on hand, you can probably do this project for well under $100!
[line]
Notes & Thoughts:
Spade Drill Bit: I bought the Bosch single drill bit, but you can purchase variety packs if you want to use multiple sizes… you just need to make sure you can drill a hole large enough for the light bulbs to connect to the base cord. I couldn’t find a variety pack with 13/16” to match the string of bulbs I found, so I just went with this.
Jigsaw: I bought the Ryobi 6.5 Amps Original Jigsaw that came with a carrier pack. I wanted a corded version because I don’t think I’ll ever be too far from an outlet to use this, and you have the consistent power so it won’t be dying halfway through a project! You can see the video on how to insert the Ryobi jigsaw blade here.
Jigsaw Blades: I needed help on this… I almost walked out of THD without these! I thought they would come with the saw (and they did.. I just overlooked them!), but apparently I needed a higher “teeth” count (24 TPI) to make sure that I didn’t splinter the edges. The higher the teeth per inch (TPI), the finer the cut… and since I was purchasing pre-sanded stain ready wood, I didn’t want to have to go back and re-sand the edges very much if I didn’t have to!
Wood Stain: I wanted to use the Dark Walnut for a deeper darker stain, but you can choose any color of stain, or choose a paint if you would rather go with a color instead! I debated on white paint or black stain, but saw how great some of the brown stained Marquee Letters looked with the lights and couldn’t resist!
Whitebrush: You can also use an old rag to apply the stain.
Putty Knife: Saw this used on a tutorial to help you bend the aluminum flashing at a straight line. I’m sure you could use something around the house, but as I thought this was pretty clever, and I’m sure I’ll use it for some other project, I didn’t mind buying it. Once we got into the groove of making the letters, I noticed there were some areas that I didn’t even use the putty knife to bed the flashing and while most of them didn’t really matter, there were a couple of crooked edges that could have used the help of the straight edged putty knife.
String Lights: Kevin and I bought these exact same lights to hang on our porch last summer and they have held up marvelously! The lights are bright and we’ve only had to replace one bulb since buying the originals.
[line]
Alright guys, I’m no expert at power tools, but I was excited to try this. I consider myself a super crafty person, but this was definitely a challenge (newbies with power tools – say what!??!?) and we are so happy with how they turned out!
I do have to give a shout out to Evan and Katelyn for inspiring us to take on this project for our wedding – For some reason they made it look soooo easy in their tutorial! 😉 We made a few changes in our project compared to the steps they took to make it a little easier for us, but it may be helpful to check it out in addition to this one.
Hopefully this step-by-step DIY Marquee Love Letters guide will teach you how to make them yourself! Granted, you may be able to find some cool marquee letters that you don’t have to build yourself, but I doubt they will be as inexpensive, made with such quality, and they definitely won’t have the special “love” you’ll put into them by making them on your own.
You can check out the next steps on our DIY Marquee Love Letters How-To guide below. I broke them out in separate parts because we just spent a little time here and there working on these instead of flying through it all in one day, plus I thought it might allow me to keep the steps a little more organized for you. Good luck & let me know how yours turn out!!
DIY Marquee Love Letters ♦ How-To Instructions:
Part 2 of 5 (Cutting the Letters)
Part 3 of 5 (Painting the Letters)
Part 4 of 5 (Adding the Border)
Part 5 of 5 (Stringing the Lights)
