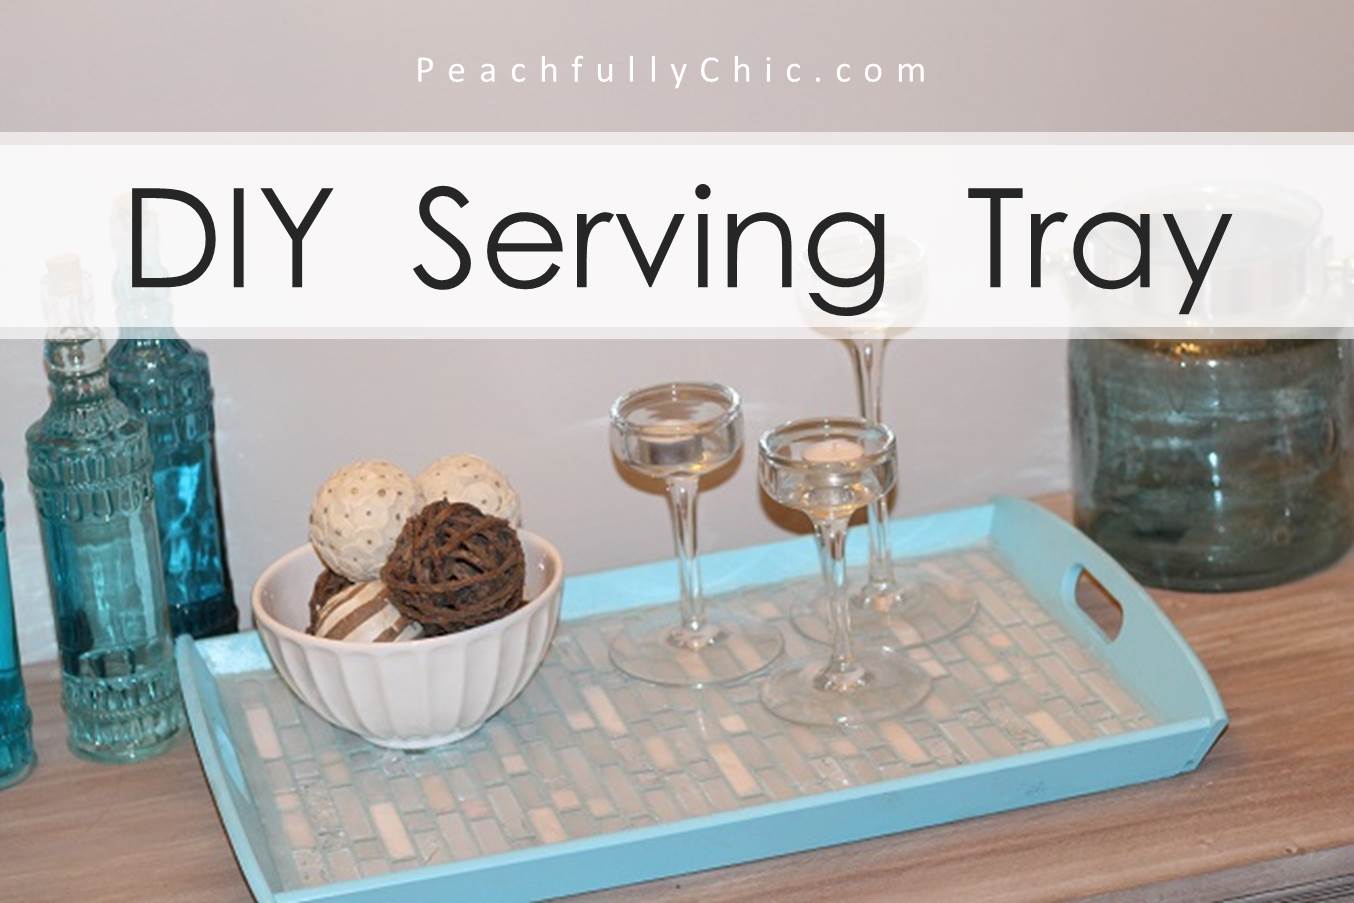
 How To Make a Tile Serving Tray:
When it comes to entertaining, one thing every respectable hostess must possess is a great serving tray. So when I recently collaborated with The Tile Doctor to showcase their newest line of colorful Stainmaster Glamour Grout, I was excited to choose from more than 12 different colors to create a fun project that would allow me to do just that.
I decided to create a Tiled Serving Tray using the Turquoise + Galaxy colored Stainmaster Glamour Grout. I’ll admit, I underestimated this project, but once I got started and worked through some of the hiccups, and I was so happy with the the results!
[line]Supplies Needed:[line]
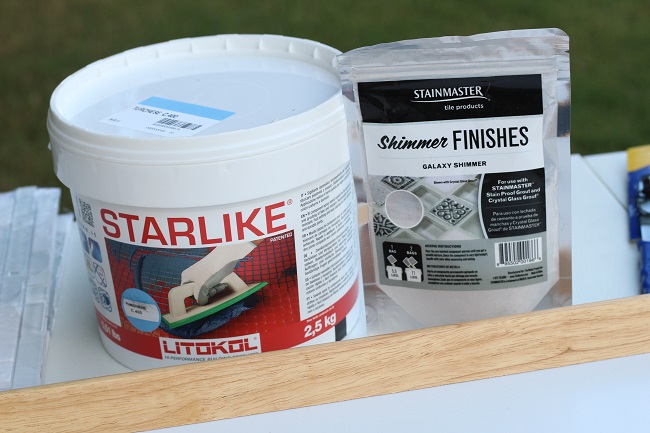
- Stainmaster Glamour Grout (color of your choice from The Tile Doctor)
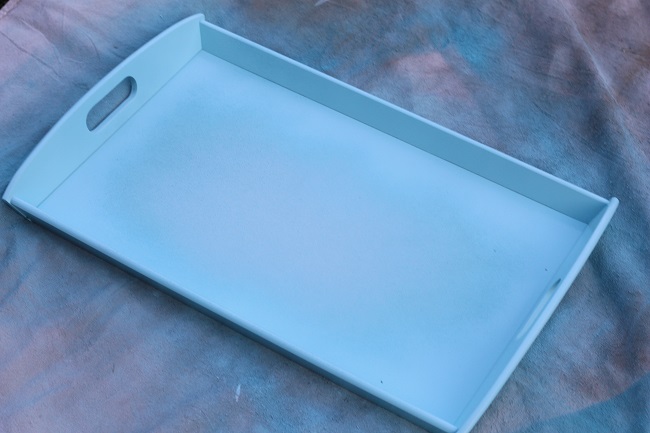
- Serving Tray (this one is from Ikea)
- 2 Tile Squares (this one is from The Home Depot)
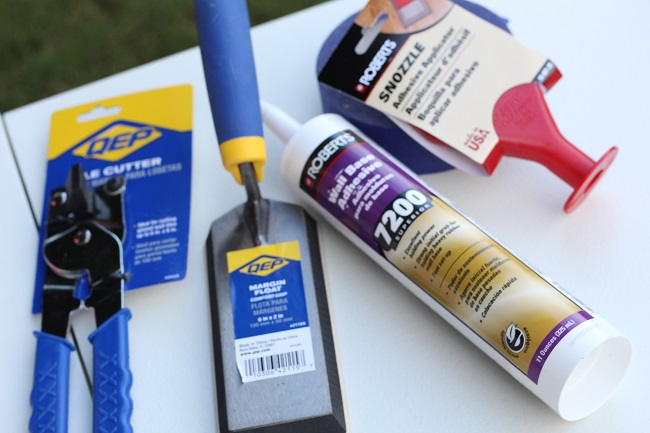
- Tile Cutter with Scoring Wheel (this one is from The Home Depot)
- Tile Adhesive (found at The Home Depot) —>> I used Wall Base Adhesive & a dispensing gun instead (it was cheaper & less messy… and worked just fine for this small project!)
- Grout Float
- Washing Sponge (found at The Home Depot)
- Rust-oleum Spray Paint (this one is Satin Aqua from The Home Depot)
[line]Instructions:[line]
1. Find Your Tile & Grout
After you choose your tile, find the Stainmaster Glamour Grout color that best complements and helps achieve the look you are going for. As I mentioned, I chose Turquoise + Galaxy.
If you don’t want the extra work of cutting tiles… I would recommend sticking with a square tray with square tiles. Otherwise, you’ll probably end up cutting tiles at some point to make sure it fits snugly in the tray. Don’t worry, once you get the hang of it, it goes by pretty quickly.
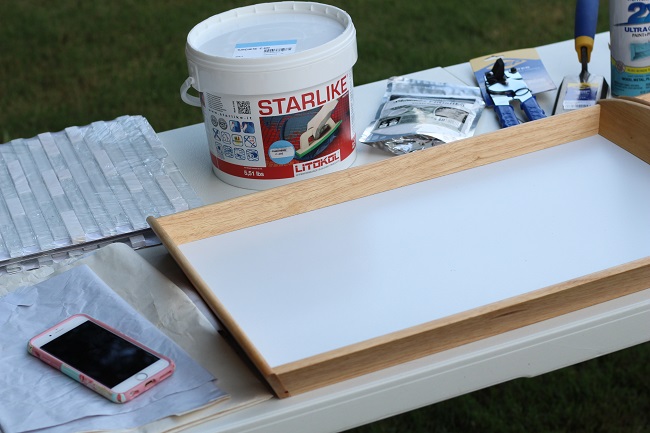
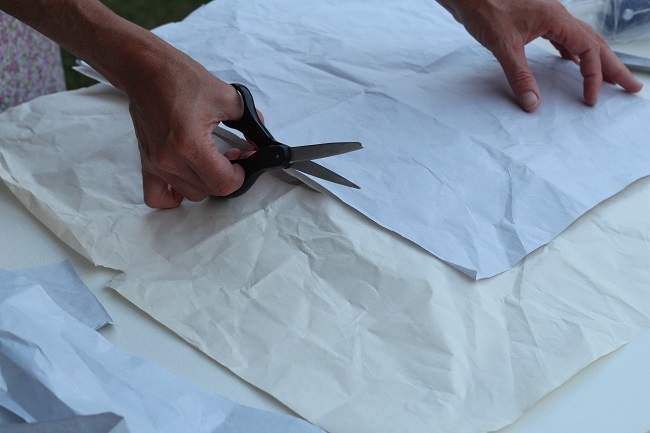
2. Trace a Template & Spray Paint Your Tray
Before painting the tray, use a piece of spare paper and trace the inside of the tray to serve as a template to plan the layout of your tile, while the paint dries on the tray. Spray paint the edges of your tray. No need to spray the inside base since you’ll be covering that with tile.
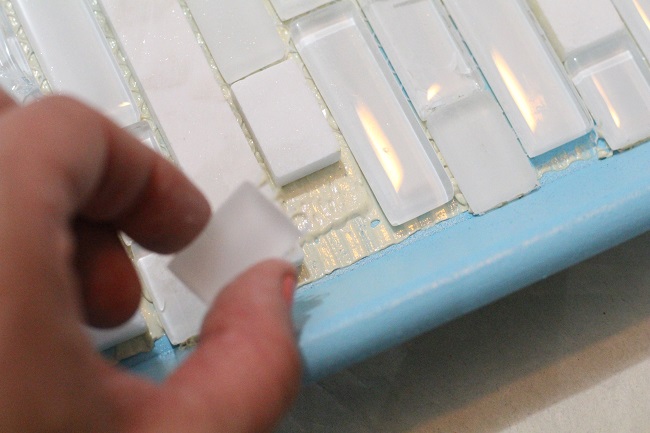
3. Layout Your Tile Design
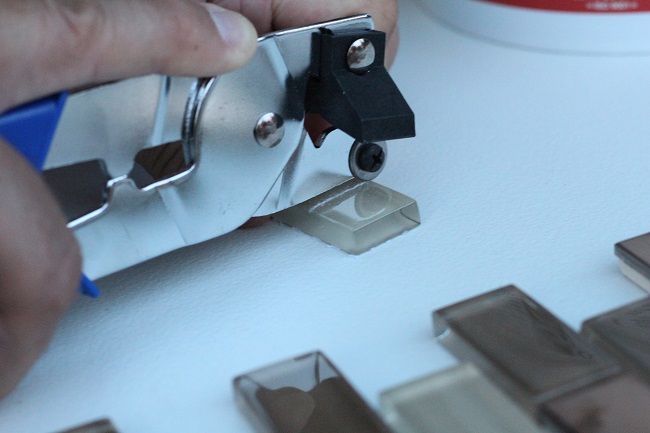
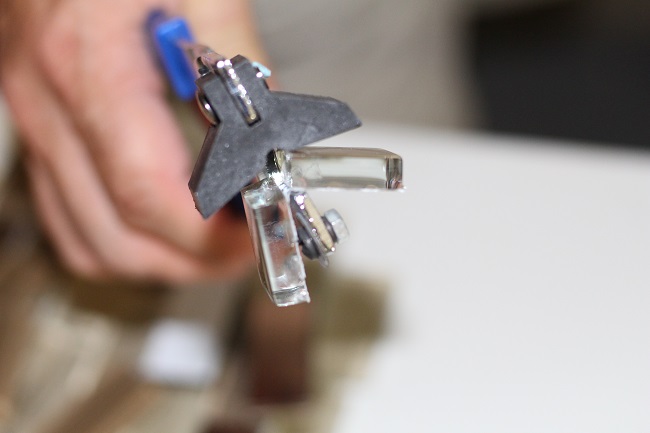
While the paint dries on the tray, plan your tile layout using the paper template. Using the scoring wheel and tile cutter, cut any necessary tile to make your tile fill as much of the tray as possible.
Score the tile on the face or top of the tile, then flip it over in the tile cutter so that the pressure of the cutter is pushing onto the back side or bottom of the tile. If you are not getting clean lines when you cut the tile, make sure you are scoring the tile deep enough, and double check that you are putting pressure from the correct side.
Make sure you wear some sort of eye protection or goggles… the tile will pop out of the tile cutter.
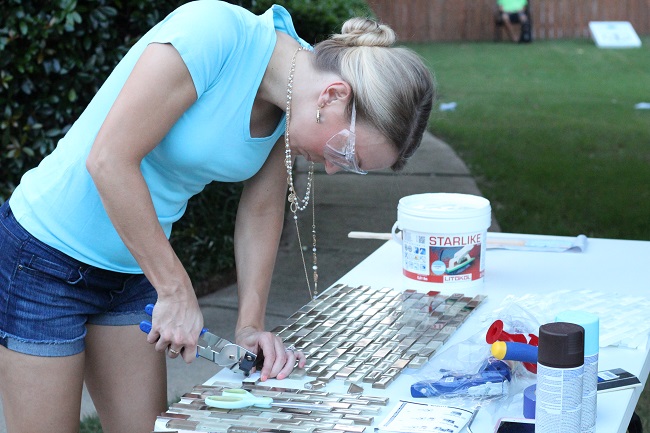
You may notice that some of the tile that I’m working on in the photos is brown, while what I’m using on the tray is white… That’s because I made 2 serving trays at one time. I’ll feature the 2nd serving tray with brown tile later this week on Craft Box Girls!

4. Apply Adhesive & Lay Out the Tiles
After the tray has dried and all tile is cut to fill the paper template you cut out, you can apply the adhesive to the bottom of the tray to hold the tile in place. I used a little too much and had to wipe some up…. so DON’T put as much glue as I did (and ignore the abstract glue lines everywhere).
Then using a spreader tool of some sort (I used a “Snozzle” that was supposed to go on the end of the adhesive tube), or the rigid edge of a float, spread the glue out on the base of the tray. Then lay the larger sections of tile down first, and immediately re-position if needed because the adhesion makes it tough to move tiles once it starts to dry.
I used a rubber wall adhesive that came in a small tube. I don’t think it was the exact thing I was planning to use, but it was cheaper and I figured you can’t really go wrong with an easy squeeze gun.


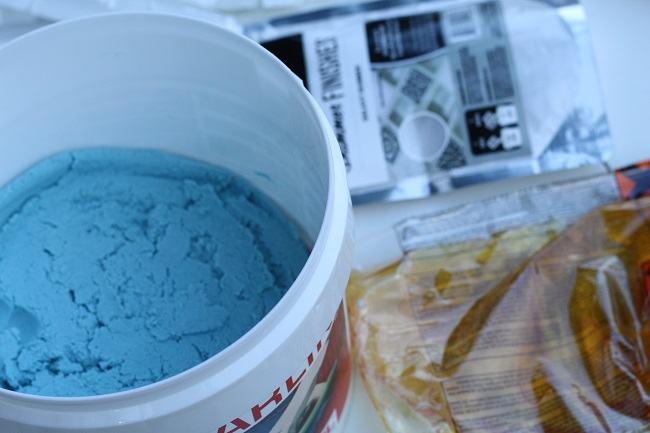
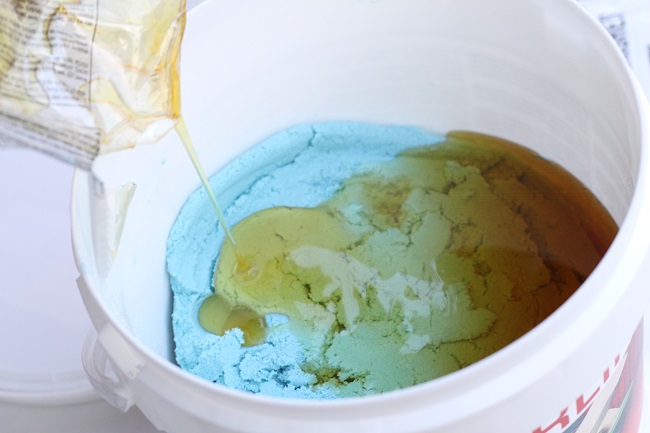
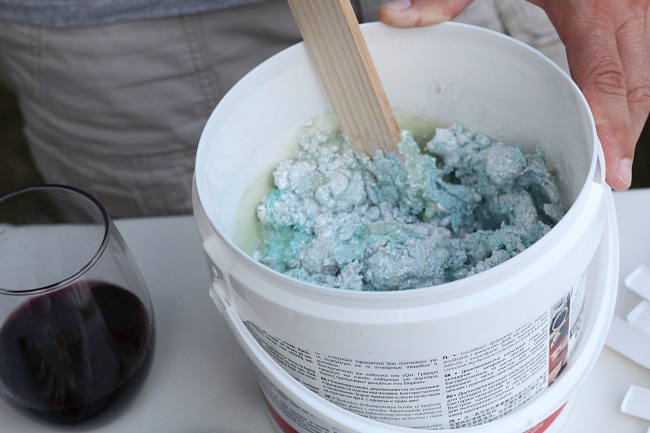
5. Mix the Grout
While the adhesive dries, you can work on mixing the grout together with it’s “galaxy” highlight sparkles. You can find instructions here on The Tile Doctor’s site.
[warning]NOTE: I did not allow the recommended 24-hour curing time for my adhesive to dry. I noticed that the adhesive was drying very fast for me (1 hour)… and since I used an atypical adhesive (wall base adhesive was cheaper – and since this was only being used for a serving tray, I felt comfortable buying the smaller amount and trying out the wall base adhesive instead of the normal tile adhesive).
According to The Home Depot: “Before grouting tiles, let the tile adhesive cure for at least 24 hours. Remove spacers with a spacer puller, & clean any adhesive out of the grout lines with a bristle brush before applying grout.”
[/warning]Our garage looked like Tinkerbell exploded when I was mixing the sparkles into the grout. This is not something you would ever want to do inside unless you actually want sparkles covering EVERYTHING.
I would also recommend wearing a mask so you don’t inhale all the fairy dust. 😉
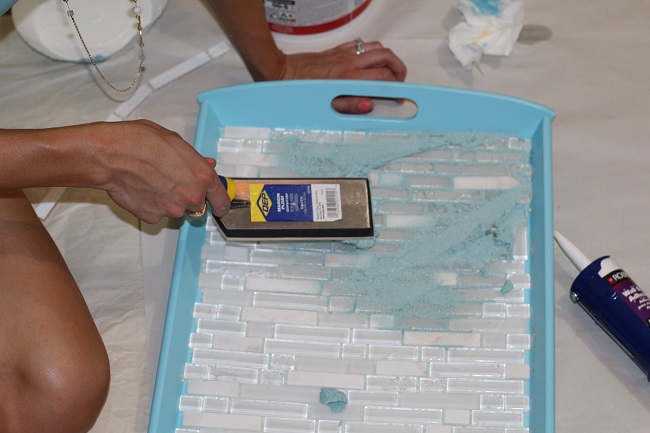
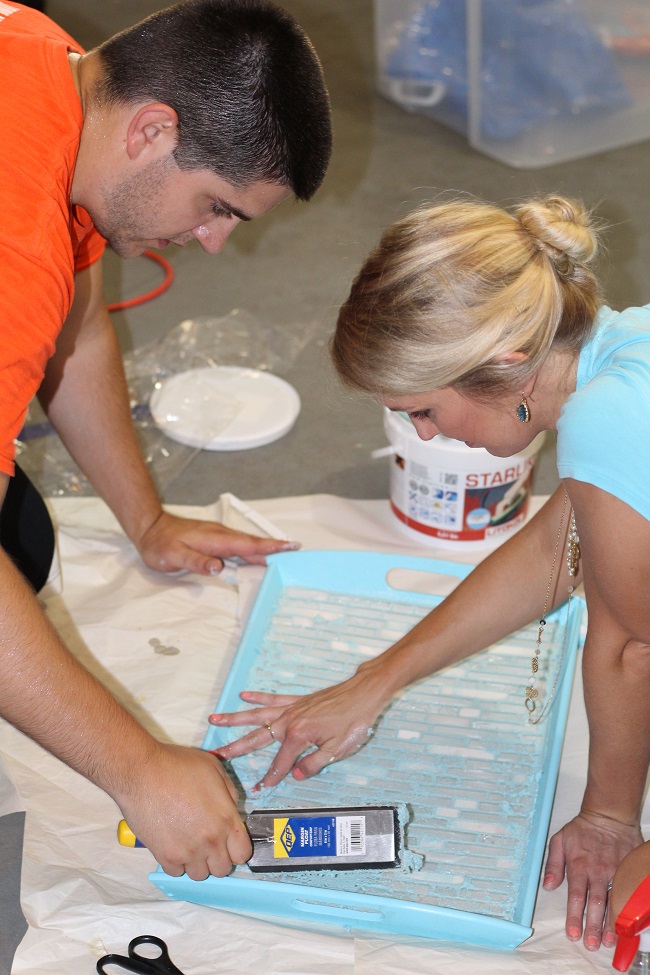
6. Apply the Grout
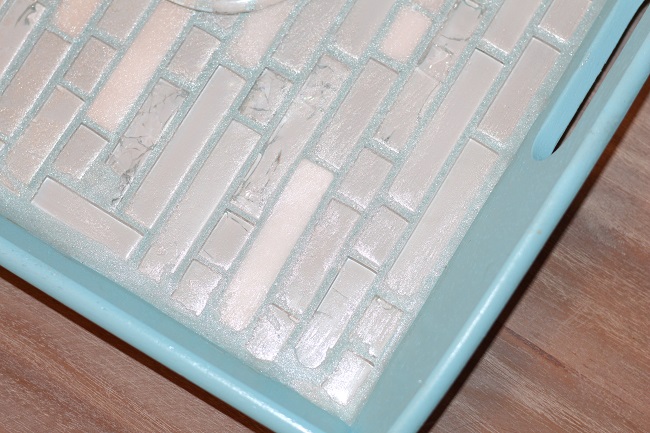
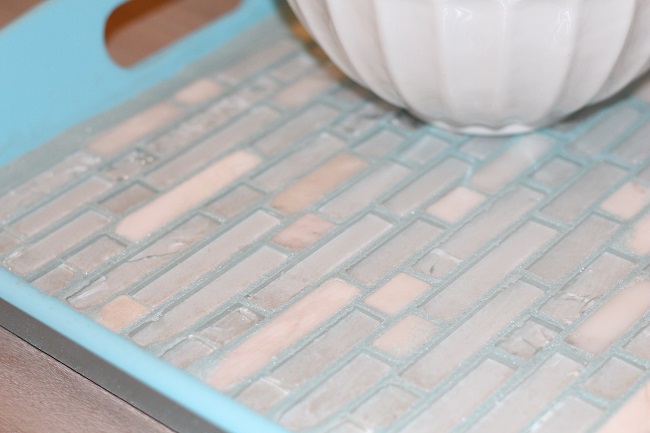
You can see from the upclose shot below, The edges of my tiles are not a perfectly straight line, but I was happy with how close I could get it… and I’m not going to lie, cutting that much tile is tough work!
Apply the grout at a diagonal swipe. I wasn’t working fast enough and the grout started heating up (from the chemical reaction) and drying, so I enlisted the hubby’s help to bring in some more muscle. Things got a little messy.
I had grout all over and it was tough to get off my skin… hind sight I probably would have used some sort of plastic gloves.


No my tile is not cracked… that’s the way that it’s supposed to look!
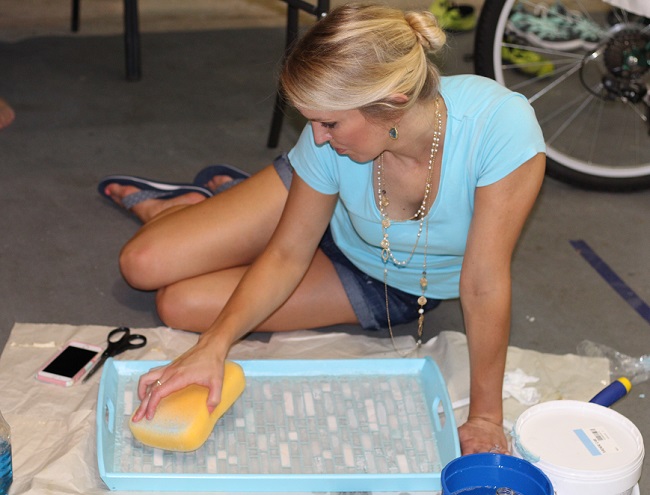
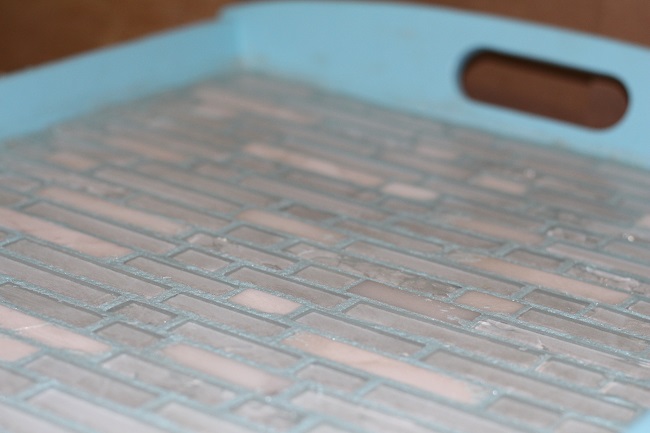
7. Clean Up
Using a wet sponge, clean up the extra grout before it dries completely. Just wipe it around (rinsing every so often) and make sure you wipe the edges of your tray as well.
It’s ok to be generous with the amount of water on your sponge… if you don’t use enough H2O, you’ll find the sponge getting stuck on the sticky grout as it dries.
Also, the water and sponge smooth the surface of the grout as well. I even used a dab of water on my finger and ran it along the tray edges to smooth those lines even more.
8. Allow Dry Time & Enjoy!
Give it 24-48 hours before using. You’ll be able to feel when the tray is dry. And if you see a haze over the tile when it drys (within a day or two) you can actually peel off the haze. After a few days, you won’t be able to do so because once it drys completely, there’s no going back… so make sure you do it early!
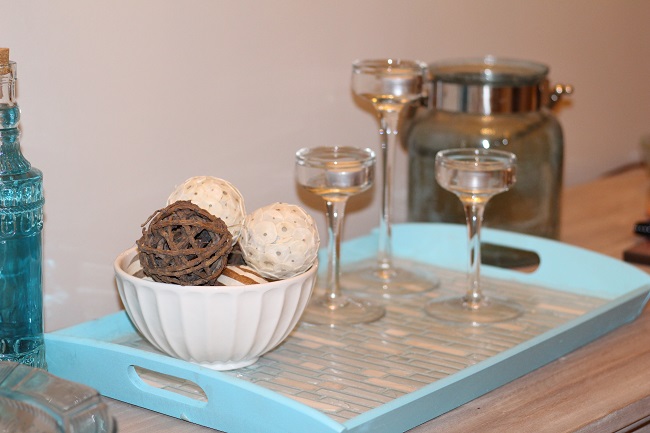
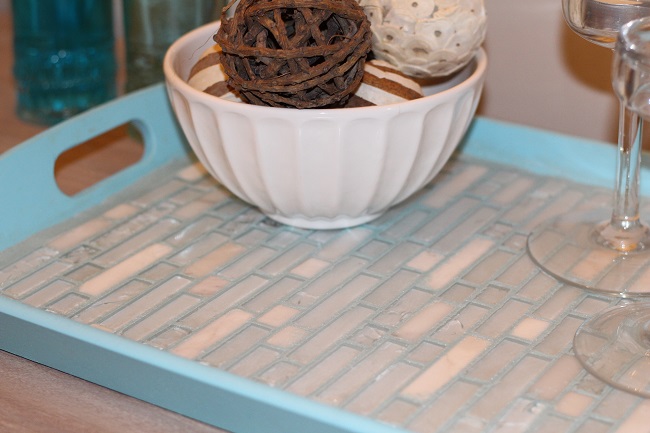
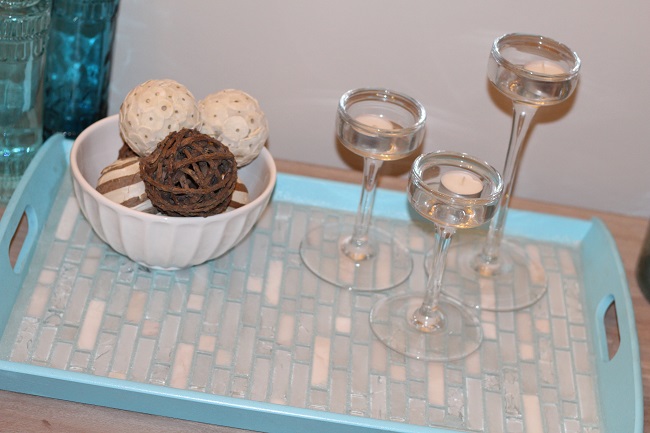
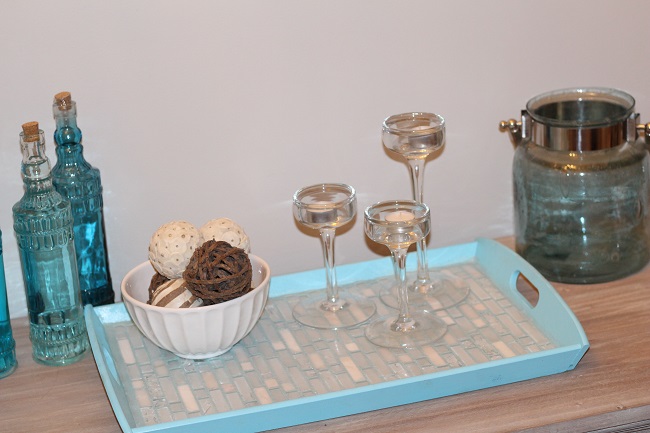
I was really impressed at how well everything turned out. It was super messy since this was the first time I’ve played with grout, but I’m very excited to use my new tiled serving tray!
The tile we used from The Home Depot was beautiful, but it was actually on sale too marked down from $10 to only $6 per square! I am also really impressed at how spot on the Aqua spray paint matches the Turquoise + Galaxy colored Stainmaster Glamour Grout I used from The Tile Doctor.
So with the complementary grout from The Tile Doctor, this project totaled around $25 and took about 2.5 hours. It took a little longer since this was my first time, but I’m sure if I worked with grout again, it would go much faster and less messy.
Now that I have a small tile serving tray with this beautiful white tile popping against the Turquoise Stainmaster Glamour Grout, I think it would be a beautiful and calming look to do a bathroom makeover with.
If you have any other ideas on what you can use colored grout for… share them in the comments below and I might actually try that for my next grout project!

*Sponsored Post: Although this was a sponsored post for The Tile Doctor, all thoughts and opinions are completely unbiased and my own.
Love it! Thanks for sharing this project. I have never seen colored grout like this! I’m thinking it would make a beautiful backsplash at our beach house!! Can’t wait to try it! So pretty.
Oh that sounds like a great idea – I can imagine something fresh like this turquoise color jazzing up a bathroom or freshening a kitchen with a new back-splash – love it! xo
It came out so beautifully! I really need to do this!
Thanks Christine – you really should give it a try. It’s not too hard and it’s a fun way to have a custom serving tray. I can imagine it being neat to match it to your kitchen tile too 🙂
This is so clever and chic!! When I began redecorating a few months back I was looking for cute kitchen essentials everywhere. Never would a DIY project like this have come to mind. Nicely done.