 Easy How-To Create a Bar Sign:
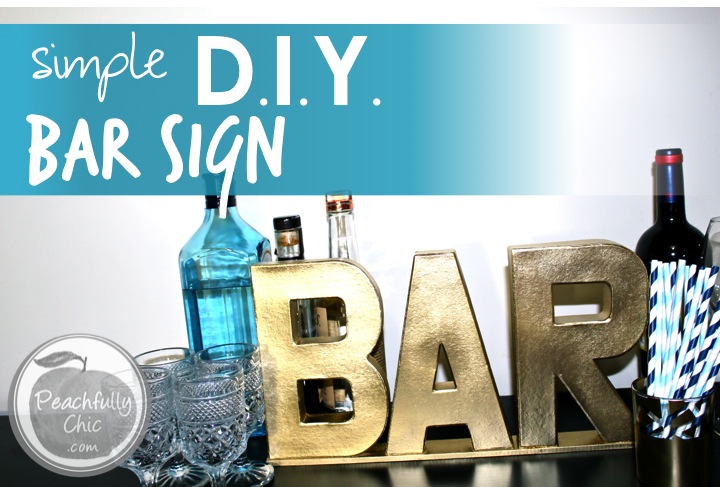
We’re a little over a month out from our wedding day, and Kevin and I have really tried to add a special custom flair to our wedding without breaking the bank. One idea was that we wanted to jazz up the bar area, so I wanted share our simple DIY bar sign with you. This was a super easy how-to project that shouldn’t take you longer than 40 minutes (and that’s mostly to allow drying time for the paint + glue!).
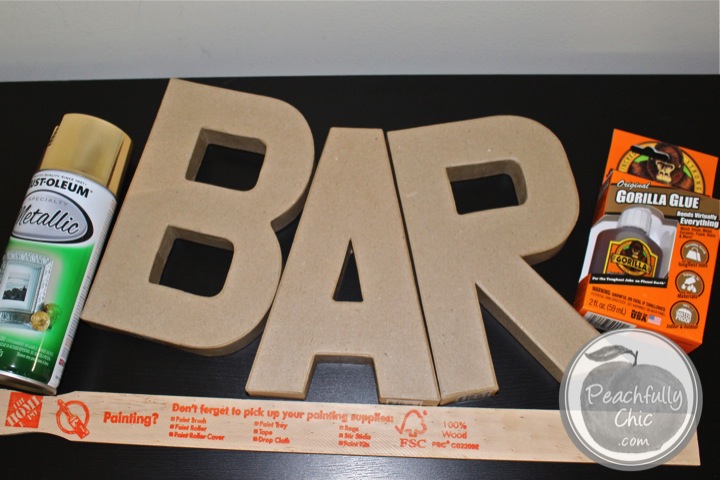
Supplies:
- (3x) 8” Paper Mache Alphabet Letter (B-A-R) or whatever else you want to spell! – $2.99 each
- (1x) Can of Spray Paint (Rust-Oleum Specialty Metallic Gold 11oz.) – $3.76
- (1x) Extra Long Paint Stirring Stick (Home Depot)* – FREE!!! 🙂
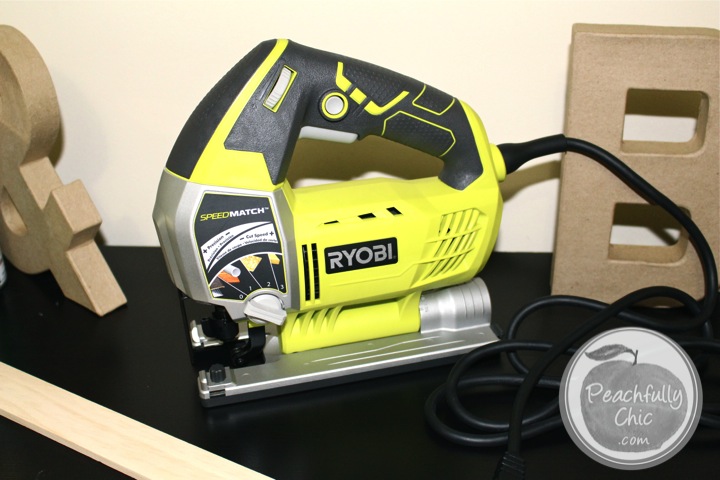
- (1x) Saw (we used the same jigsaw that we bought to create our DIY MARQUEE LOVE LETTERS – instructions to come soon!)
- (1x) Gorilla Glue (20 oz.)* – $4.97
- (1x) 100 Grit Medium Sand Paper – $3.97
*See notes below.
TOTAL INVESTMENT: ~$22
[line]Notes & Thoughts:
Paint Stick / Base Board: If you don’t have access to a jigsaw or some other form of saw to cut the FREE paint stick, you can just buy a long thin piece of wood that wouldn’t cost more than a couple dollars. You can ask a Home Depot employee to cut something to a specific length for your custom project… the paint stick was the perfect length for 3 letters when we just cut the handle off!
Gorilla Glue: This is the same glue already purchased for other projects, but you could probably get away with using some other sort of super glue, craft glue, wood glue, or maybe even a hot glue gun.
Instructions:
The cool thing here is that this is totally customizable for your specific project. Along with this DIY BAR Sign, we used another set of paper mache letters in our initials to make DIY Gold Block Letters as additional decoration for the wedding, and they’re something that we’ll use to decorate our home the wedding too.
Step 1: Cut the end of the handle off the paint stick and hand sand any rough edges.
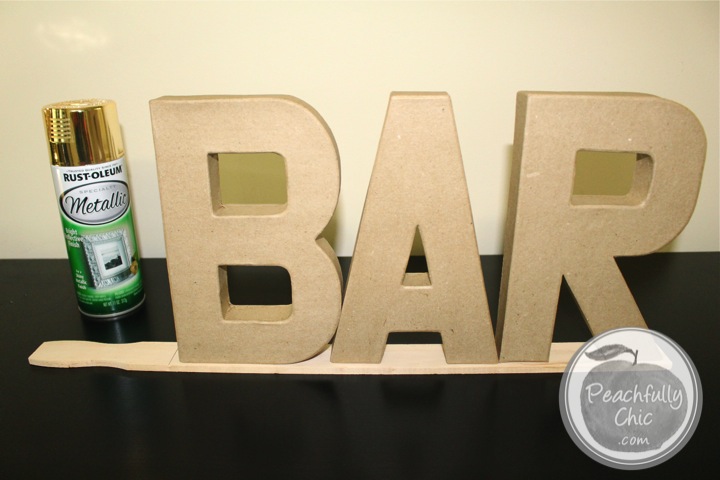
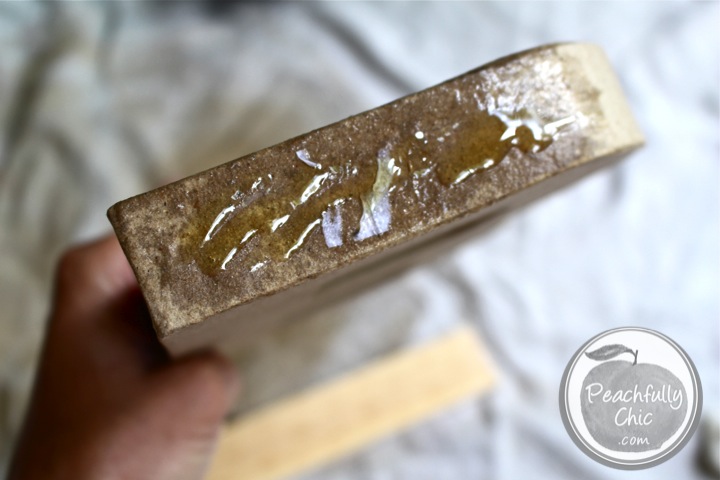
Step 2: Wipe the bottom of the letters and the top of the paint stick with a damp wet rag. The Gorilla Glue uses the wetness to activate its bonding agent, but it doesn’t need to be soaked. If you use too much water on the paint stick, it will get morphed from straight to crooked. [pullquote width=”300″ float=”right”]Tip: Gorilla Glue expands as it dries, so use it sparingly or it will seep out the edges. If any does seep out the edges, use your damp rag to wipe it off right away before it dries! [/pullquote]
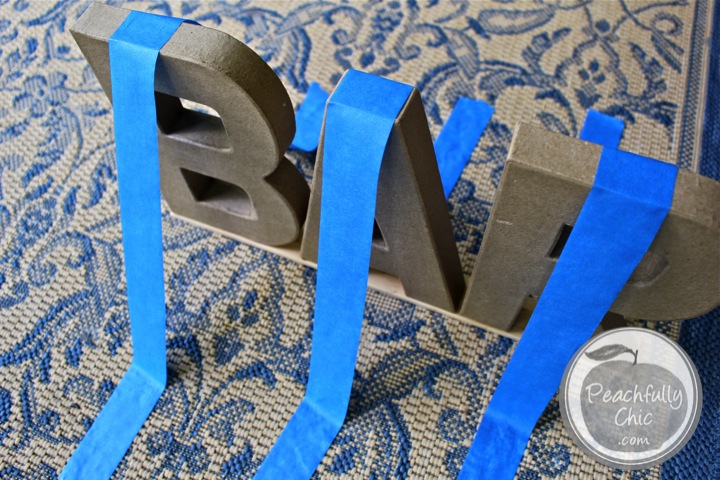
Step 3: You need to stabilize the letters on top of the paint stick so they are held together tightly as they dry. I tried using painters tape to tape everything down to the floor, and that worked fine, but if I tried this project again, I would have just wrapped a long piece of painters tape around the outside of the letters and the paint stick holding them together. Allow 20 minutes for the glue to dry. Remove the painters tape carefully.
Step 4: Lay the sign flat with the front of the letters facing up. Shake the can of spray paint and lightly spray the front of the sign. Let that dry for ~5-10 minutes (temperature & humidity will affect how much quicker or slower your paint will dry). [pullquote width=”300″ float=”right”]Tip: Although it might seem like you need a heavy coat of paint to cover up any writing/colors/blemishes/etc, it’s better to spray several different light coats of paint 8-10 inches away with drying time in between to ensure you avoid having drips![/pullquote]
Step 5: Flip the sign over and repeat step 4 with the back of the letters facing up.
Step 6: Alternate steps 4 & 5 until the entire BAR sign is painted… 2-3 passes should work! Allow the paint to dry.
Step 7: Clean up and decorate!
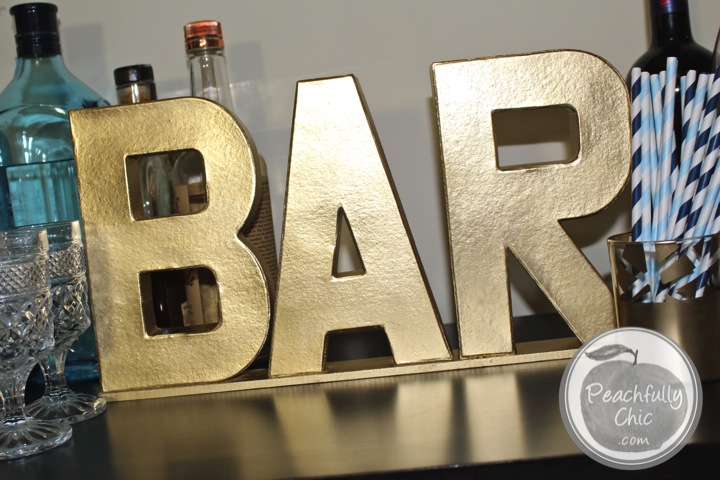
I’m so pleased with the results and I can’t wait to see this decorate the bar at our wedding next month! I’ll be sure to post final pics of the sign in action once we see all the photos from our special day – so don’t forget to check them out!
I hope this helped if you are thinking about creating a D-I-Y Bar Sign for your own wedding or just for your bar cart at home! If you do, let us know how it goes or if you have any other interesting projects you’ve made out of paper mache letters…
***UPDATE**** We used this BAR sign at the Whiskey Tasting I threw for Kevin’s birthday party and it just added to the fun decor!

What a cool idea! This project turned out great.
Thanks Becky! 🙂