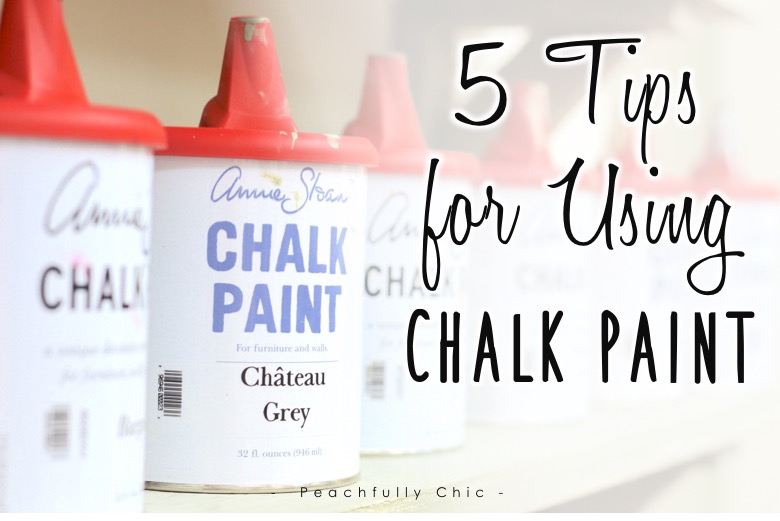
Annie Sloan Chalk Paint Workshop Takeaways:
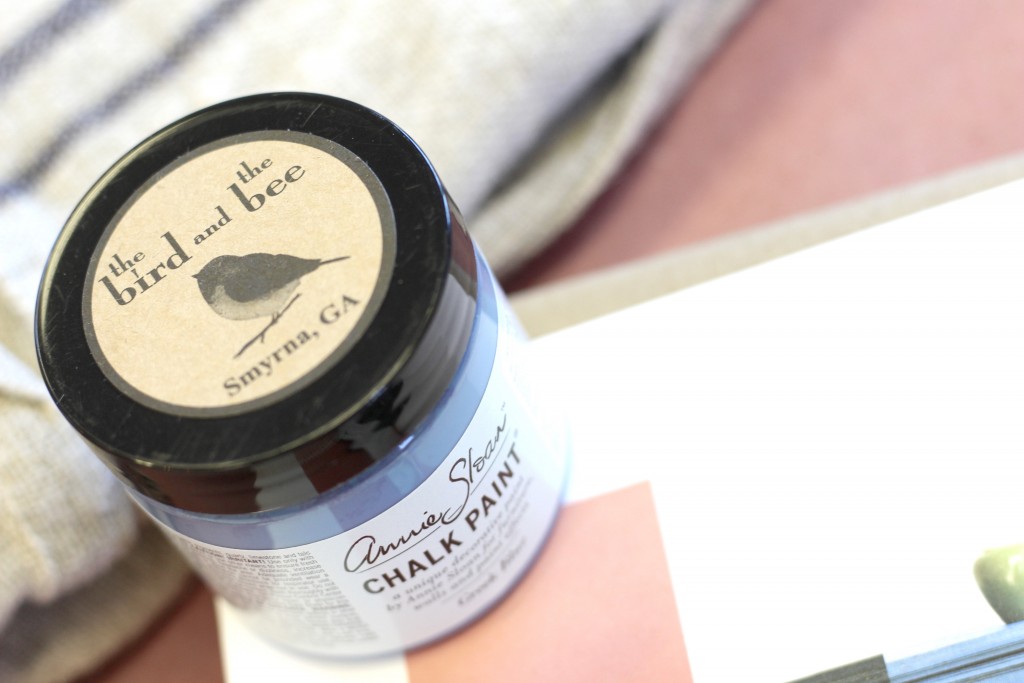
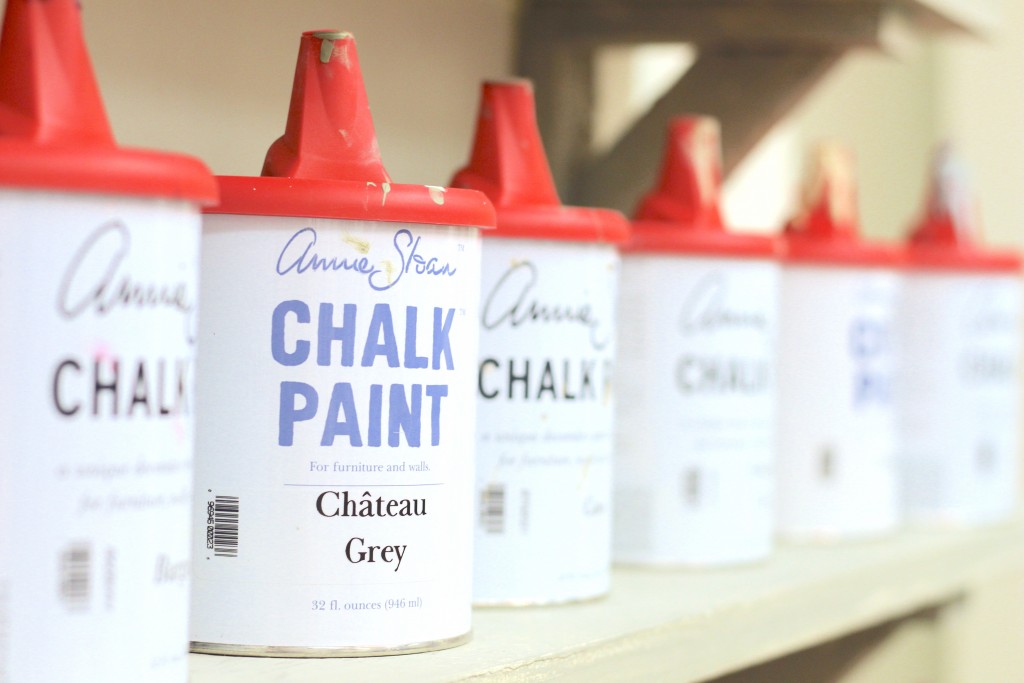
About a month ago, before all my recent travels kept me away from Atlanta, I was invited to attend an Annie Sloan Chalk Paint Workshop around the corner from my house on the perimeter called The Bird and the Bee in Smyrna, GA.
I was excited for the workshop because it was the first time I had been exposed to working with Annie Sloan Chalk Paint. I had of course heard of chalk paint before and even tried some other brands, but I wasn’t crazy about my experience with it thus far. Annie Sloan was supposed to be the crème de la crème of Chalk Paint so I wanted to see how it measured up!
The Bird and the Bee actually host workshops on the regular to teach customers how to use Annie Sloan Chalk paint, so they’ve got an efficient way to keep everyone learning without wasting your time!
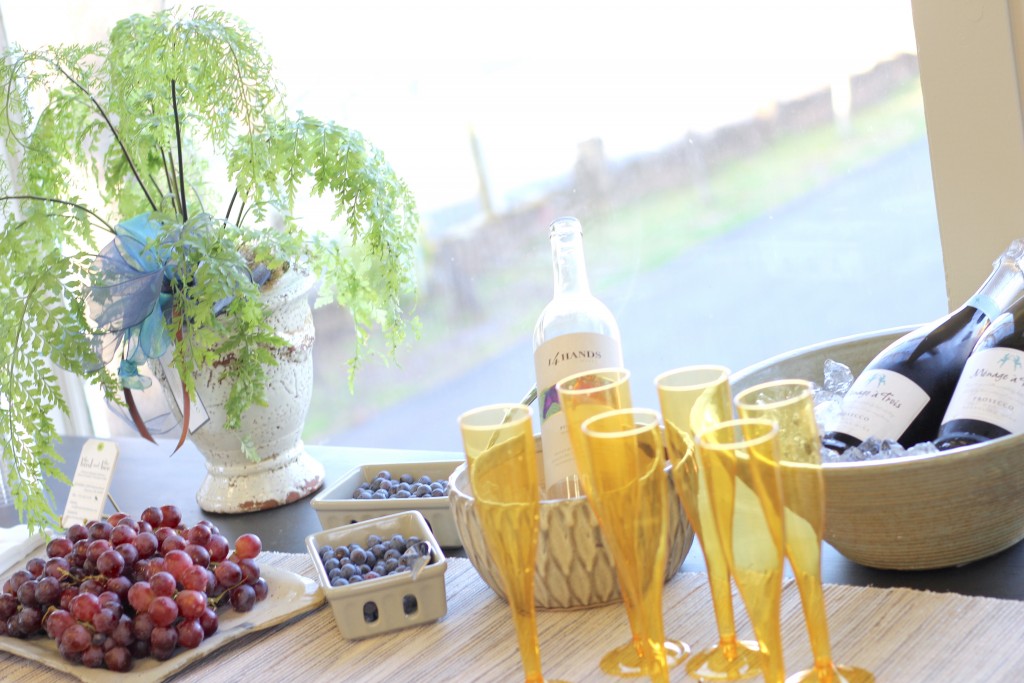
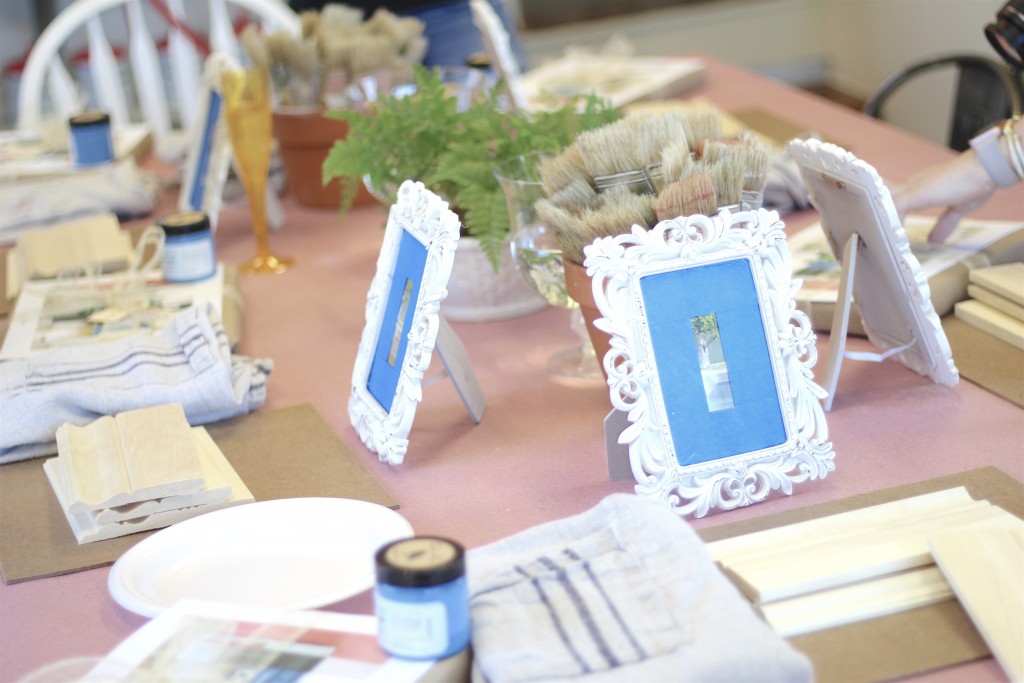
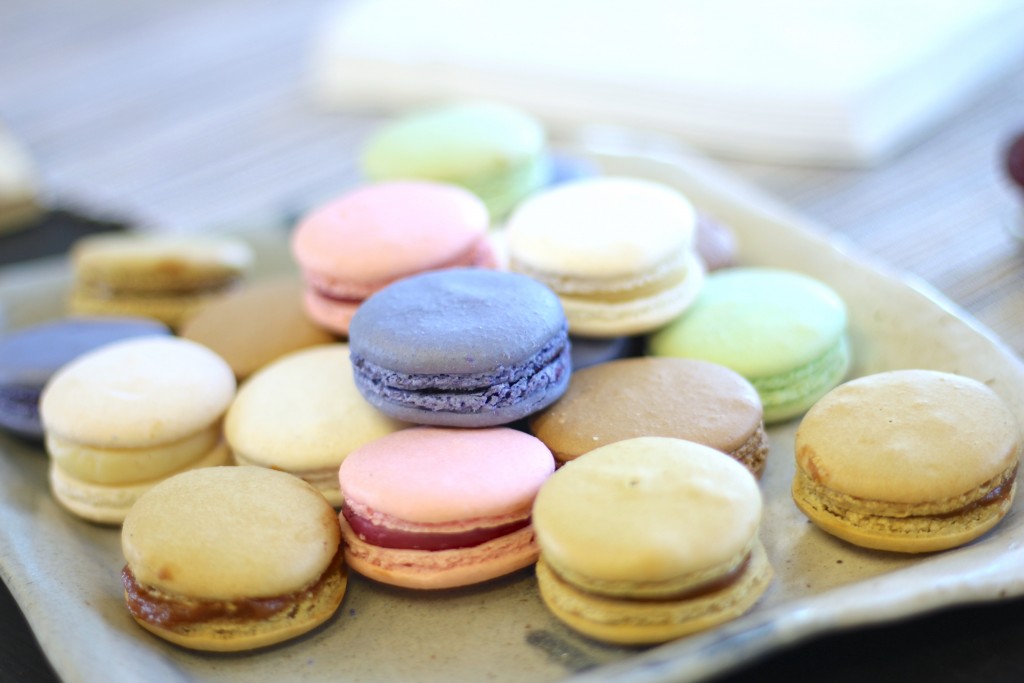
After everyone mingled and grabbed some bites and bubbly, the workshop was in full swing! I learned a lot that evening in such a short span of a few hours, that I really wanted to share some helpful tips straight from the experts!
Tips for Using Chalk Paint:
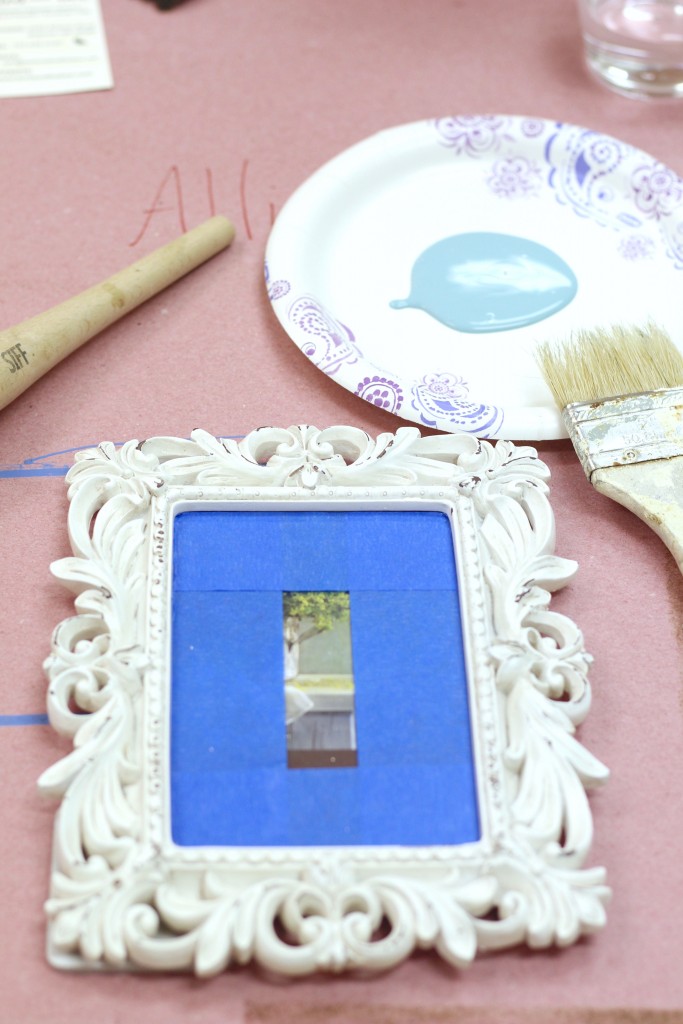
1. Starting Out
If you’ve never used chalk paint before, it’s definitely a different beast than normal acrylic or other paints. There are a few things you’ll want keep in mind….
- No stripping or sanding needed before getting started… but you will want to smooth out any holes or dents with wood filler and sandpaper.
- You won’t be able to see oil from your hands on the furniture, but even if it looks clean, you’ll want to give it a good cleaning with basic soap and water.
- Remove all hardware that you can…
- Dip your paintbrush in water and blot it a bit before dipping it into your paint.
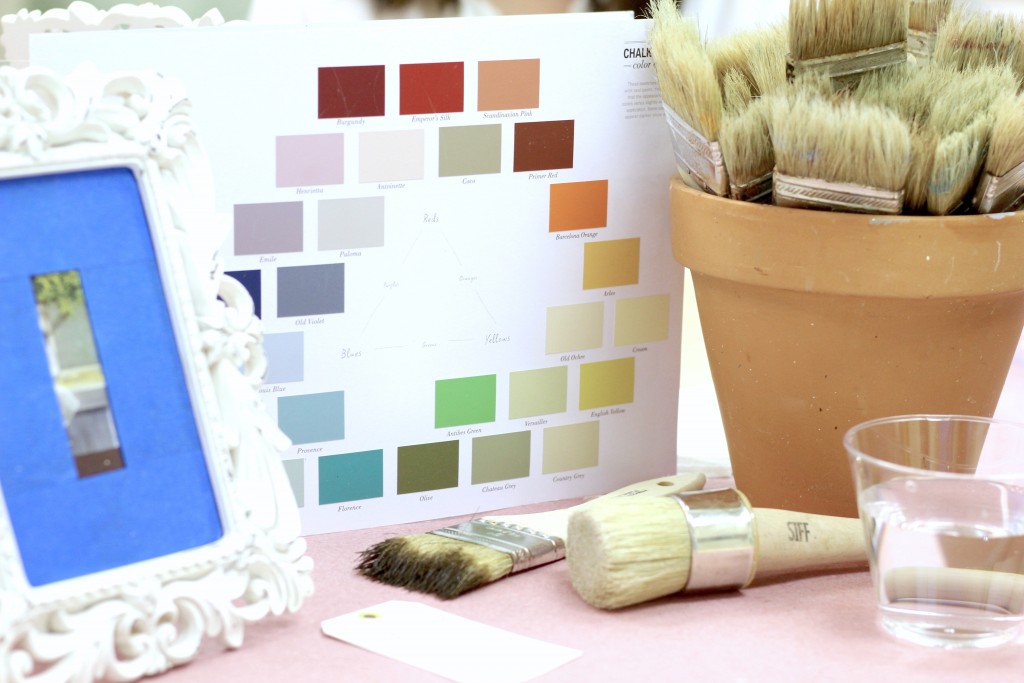
2. Supplies
You will want to make sure you you have good quality supplies (paint brushes, soft clothes, wax brushes, etc).
Poor quality brushes might deposit bristles from the brush as you paint, and making sure you have a soft cloth instead of a paper towel will make sure that it holds up as your buff your wax into the paint.
- Wash out your wax brushes with lye soap or Dawn immediately after project
3. Clear vs. Dark Wax
Don’t be scarrrreeeedddd! With most chalk paint projects, you’ll want to finish your project with a protective soft wax top coat. And although you can achieve two totally different looks using clear vs. dark wax, neither should scare you because they both will enhance your project!
- Always apply Clear Wax first, then Dark Wax second if you want…. this will help prevent too much dark wax from soaking in.
- While the soft wax will go on like crisco, it will dry hard and give your piece a great protective layer.
- Apply your wax in small sections using your wax brush (NOT the same brush as you used for painting), and then thoroughly rub it into the paint using a soft cloth to buff it to a polished sheen.
- You can remove any painters tape and then let your piece dry completely.
- With the either dark or clear wax, you won’t need much, but you can achieve different hues of darkness depending on how much dark wax you apply.
- No waxing necessary for outdoor projects (use polyurethane if you do not want the piece to weather)
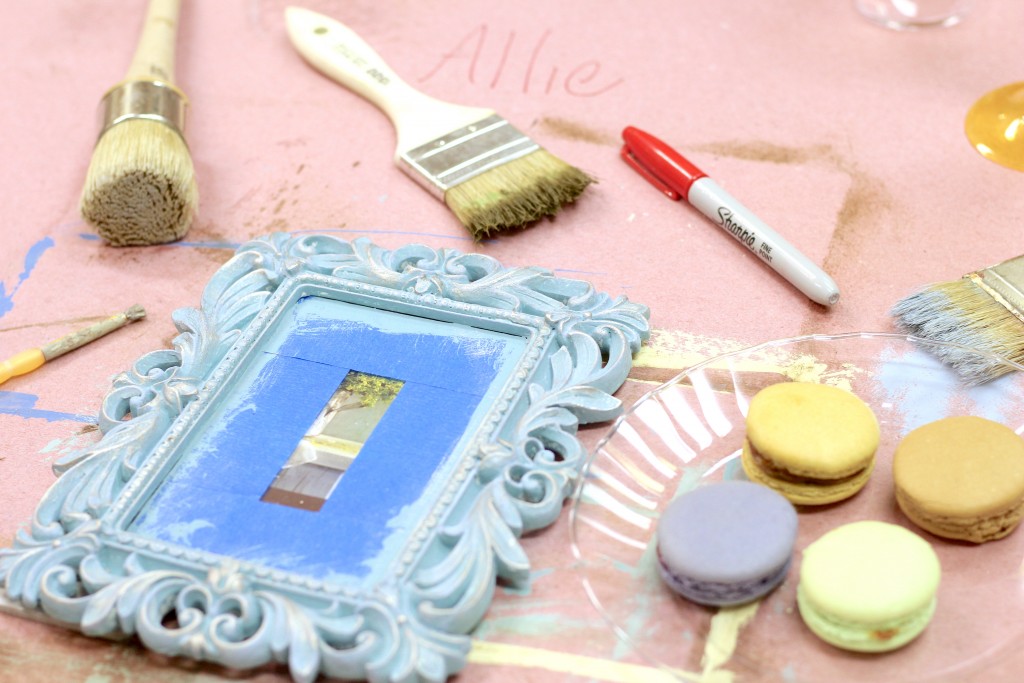
4. Varied Finishes
There are quite a few finished looks that you can achieve with various painting and waxing techniques.
- Crackling (super easy – in addition to your normal supplies all you need is a hairdryer!)
- Lime Wash
- Soft Gilded
- Double Layered Distressed
- Clouding
- Glazing
5. Create Your Own Glaze
You can create your own glaze using dark wax. We used KleanStrip Odorless mineral spirits in the workshop (eco-friendly doesn’t work as well!).
[line]And a fun recap of my time at the workshop:


While I’m far from an expert, this workshop definitely made me a believer in the quality of Annie Sloan Chalk Paint products and the value that comes with attending an official Annie Sloan Chalk Paint workshop! I learned so much and hope that some of the tips above helped open you up to some useful information 🙂
And of course… Annie’s slogan: “Get on with it!” Which will hopefully encourage you to just get out there and try it!
Thanks to The Bird and The Bee in Smyrna for hosting this fabulous Annie Sloan Workshop!

I’m signing up for a workshop! I’ve used other chalk paints, but not Annie Sloane. Thanks for all of the extra tips! Very informative. The Birds and The Bees looks like a great studio!