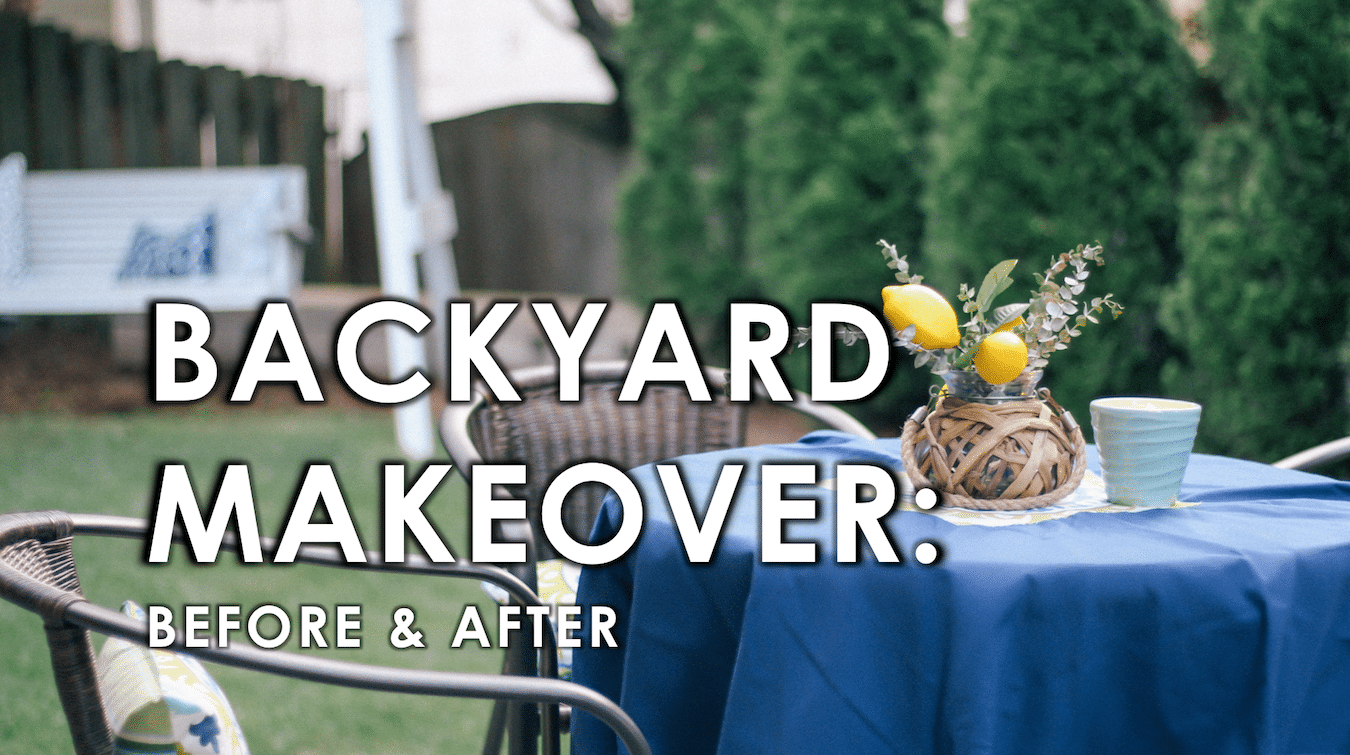
Although the hubby and I moved into our Smithfield Home four years ago this November, we’ve mad minimal updates beyond adding furnishing and decorative touches. I gave our downstairs bathroom a slight makeover, we put up a gallery wall in the living room and our kitchen got a facelift with a fresh coat of paint, but things have been a little stagnant beyond that as we focused on travel and work. And when we have been home, we spent time hosting friends and family for various dinner parties. Now that we just had our four-year anniversary, I realized I wanted to spend some more time and money making our house a real home that I would love. I’m planning to share our mini-makeovers as we start projects throughout the house, and I wanted to start with the first round of our backyard makeover.
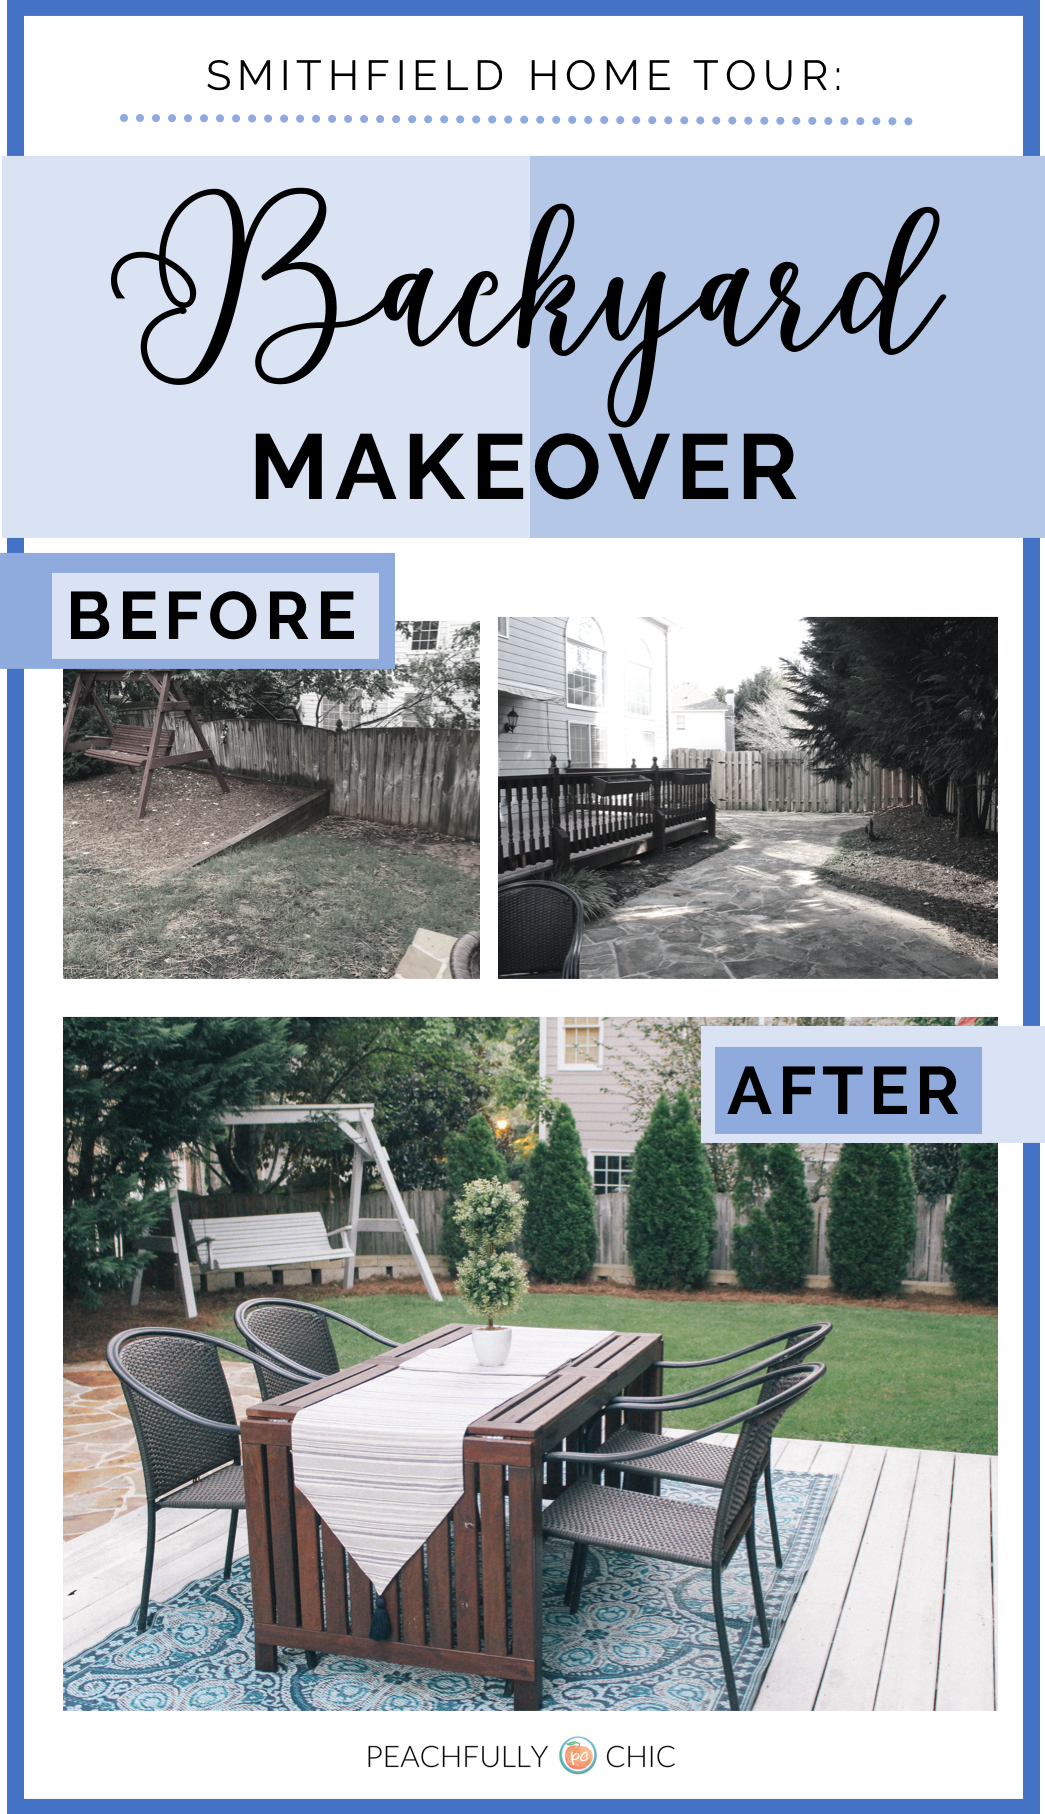
I say “Round 1” because although we love how this first bit of effort turned out, there are still a few issues we have to resolve and some aesthetics I want to improve pending the issues get taken care of. Although it’s a work in progress, I’m excited to share where we are today and hope that this before and after backyard makeover will provide some inspiration and ideas if you’re trying to decide what to do with your own space!


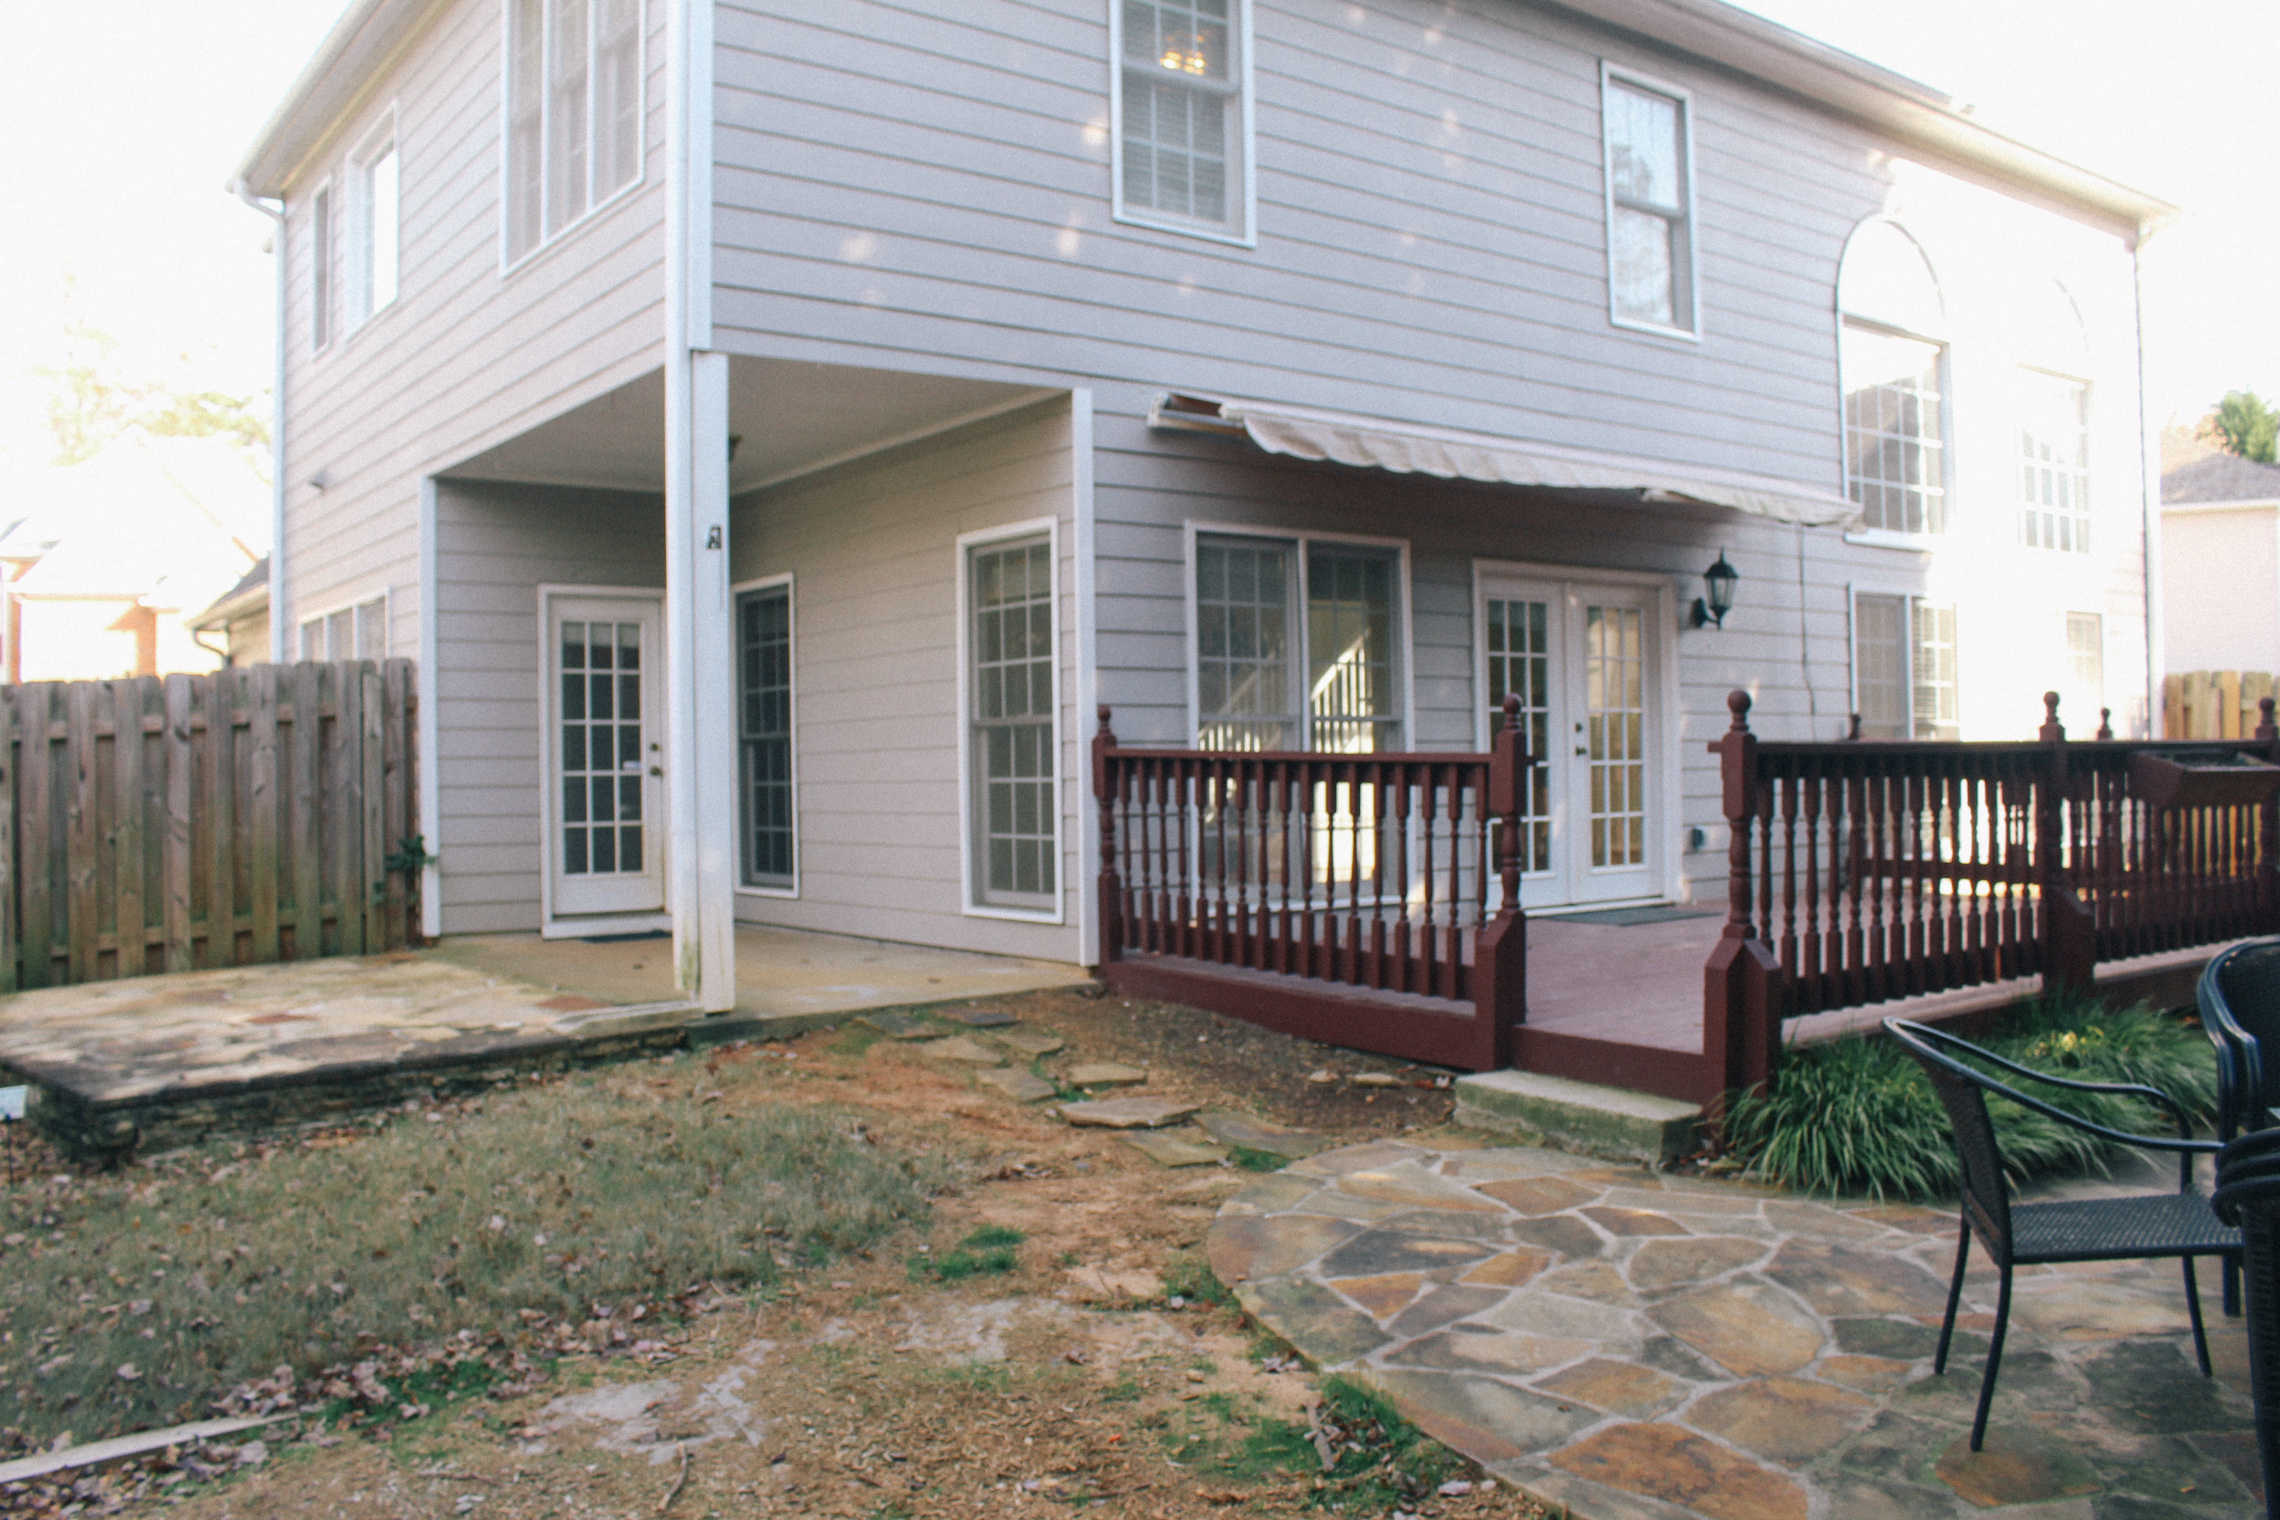
Before:
We moved into our house knowing that the backyard needed a little TLC before it truly became our home. An oddly positioned partial retaining wall combined with a huge slope from our patio to the neighbor’s property line washed away any efforts to grow grass seed the first couple years. The biggest eyesore for me was a burgundy wooden porch with outdated railing and matching swing. I actually loved the swing, just not the color.


After:
After living in our house for two years and some failed attempts at seeding grass, the hubby and I decided it was time to enhance our outdoor living space. We had a tight budget to work within and both had our own ideas of what to do with the investment. Although we conceded to a few things on each others’ wishlist, we both knew where we needed to start.
Retaining Wall
Leveling the backyard was our main priority. With a partial retaining wall, we didn’t exactly have a lot of usable green space. So we hired a contractor to build a 3-foot retaining wall and brought in backfill to level the ground off. Not only would leveling the ground provide more green space for us to enjoy now, we knew this would (eventually) help with our resale value too.
Water & Irrigation
If we were building a retaining wall to level things off, we knew irrigation came hand-in-hand with that improvement. Not the sexiest, but one of the most important changes we made was to make sure that the backyard had proper irrigation. The downspout from our gutters produced a lot of water whenever it rained so we added a French drain that dispersed the water evenly underground.


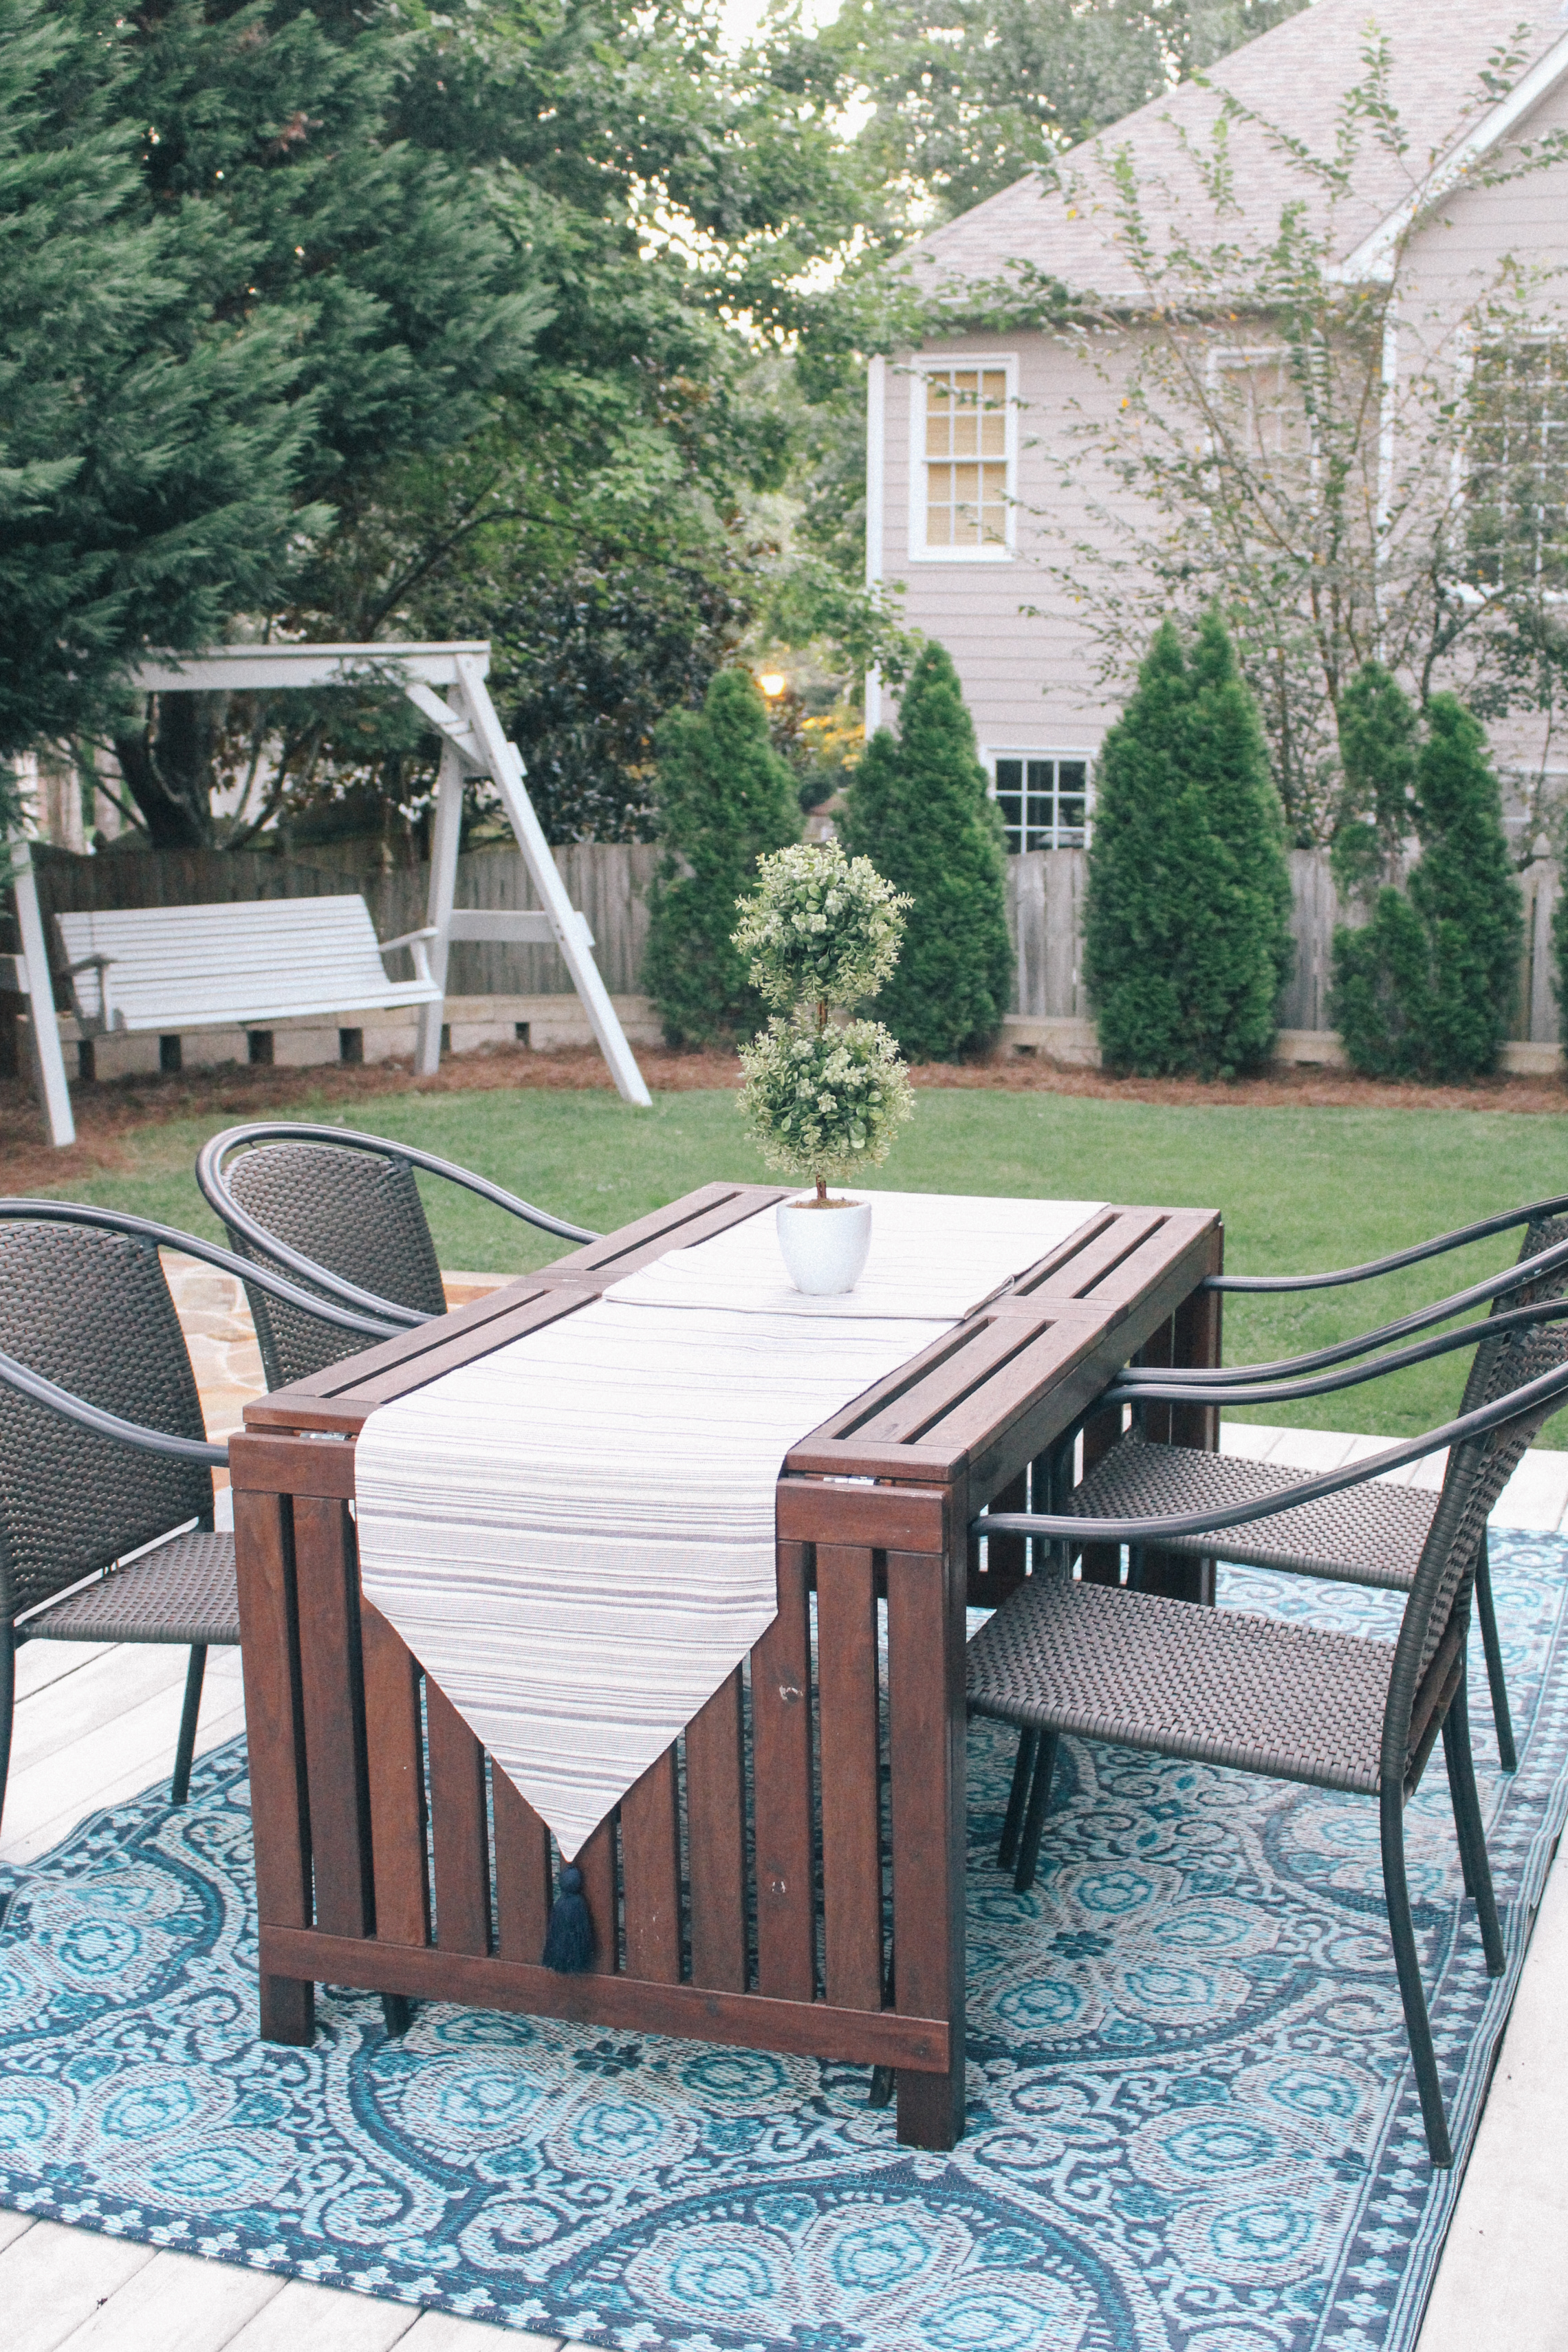
Green Grass & Tree Coverage
Once the retaining wall and French drain were completed, we decided to top things off by adding sod to the backyard. We used zoysia grass due to its resilience against heat, drought, and heavy foot traffic.
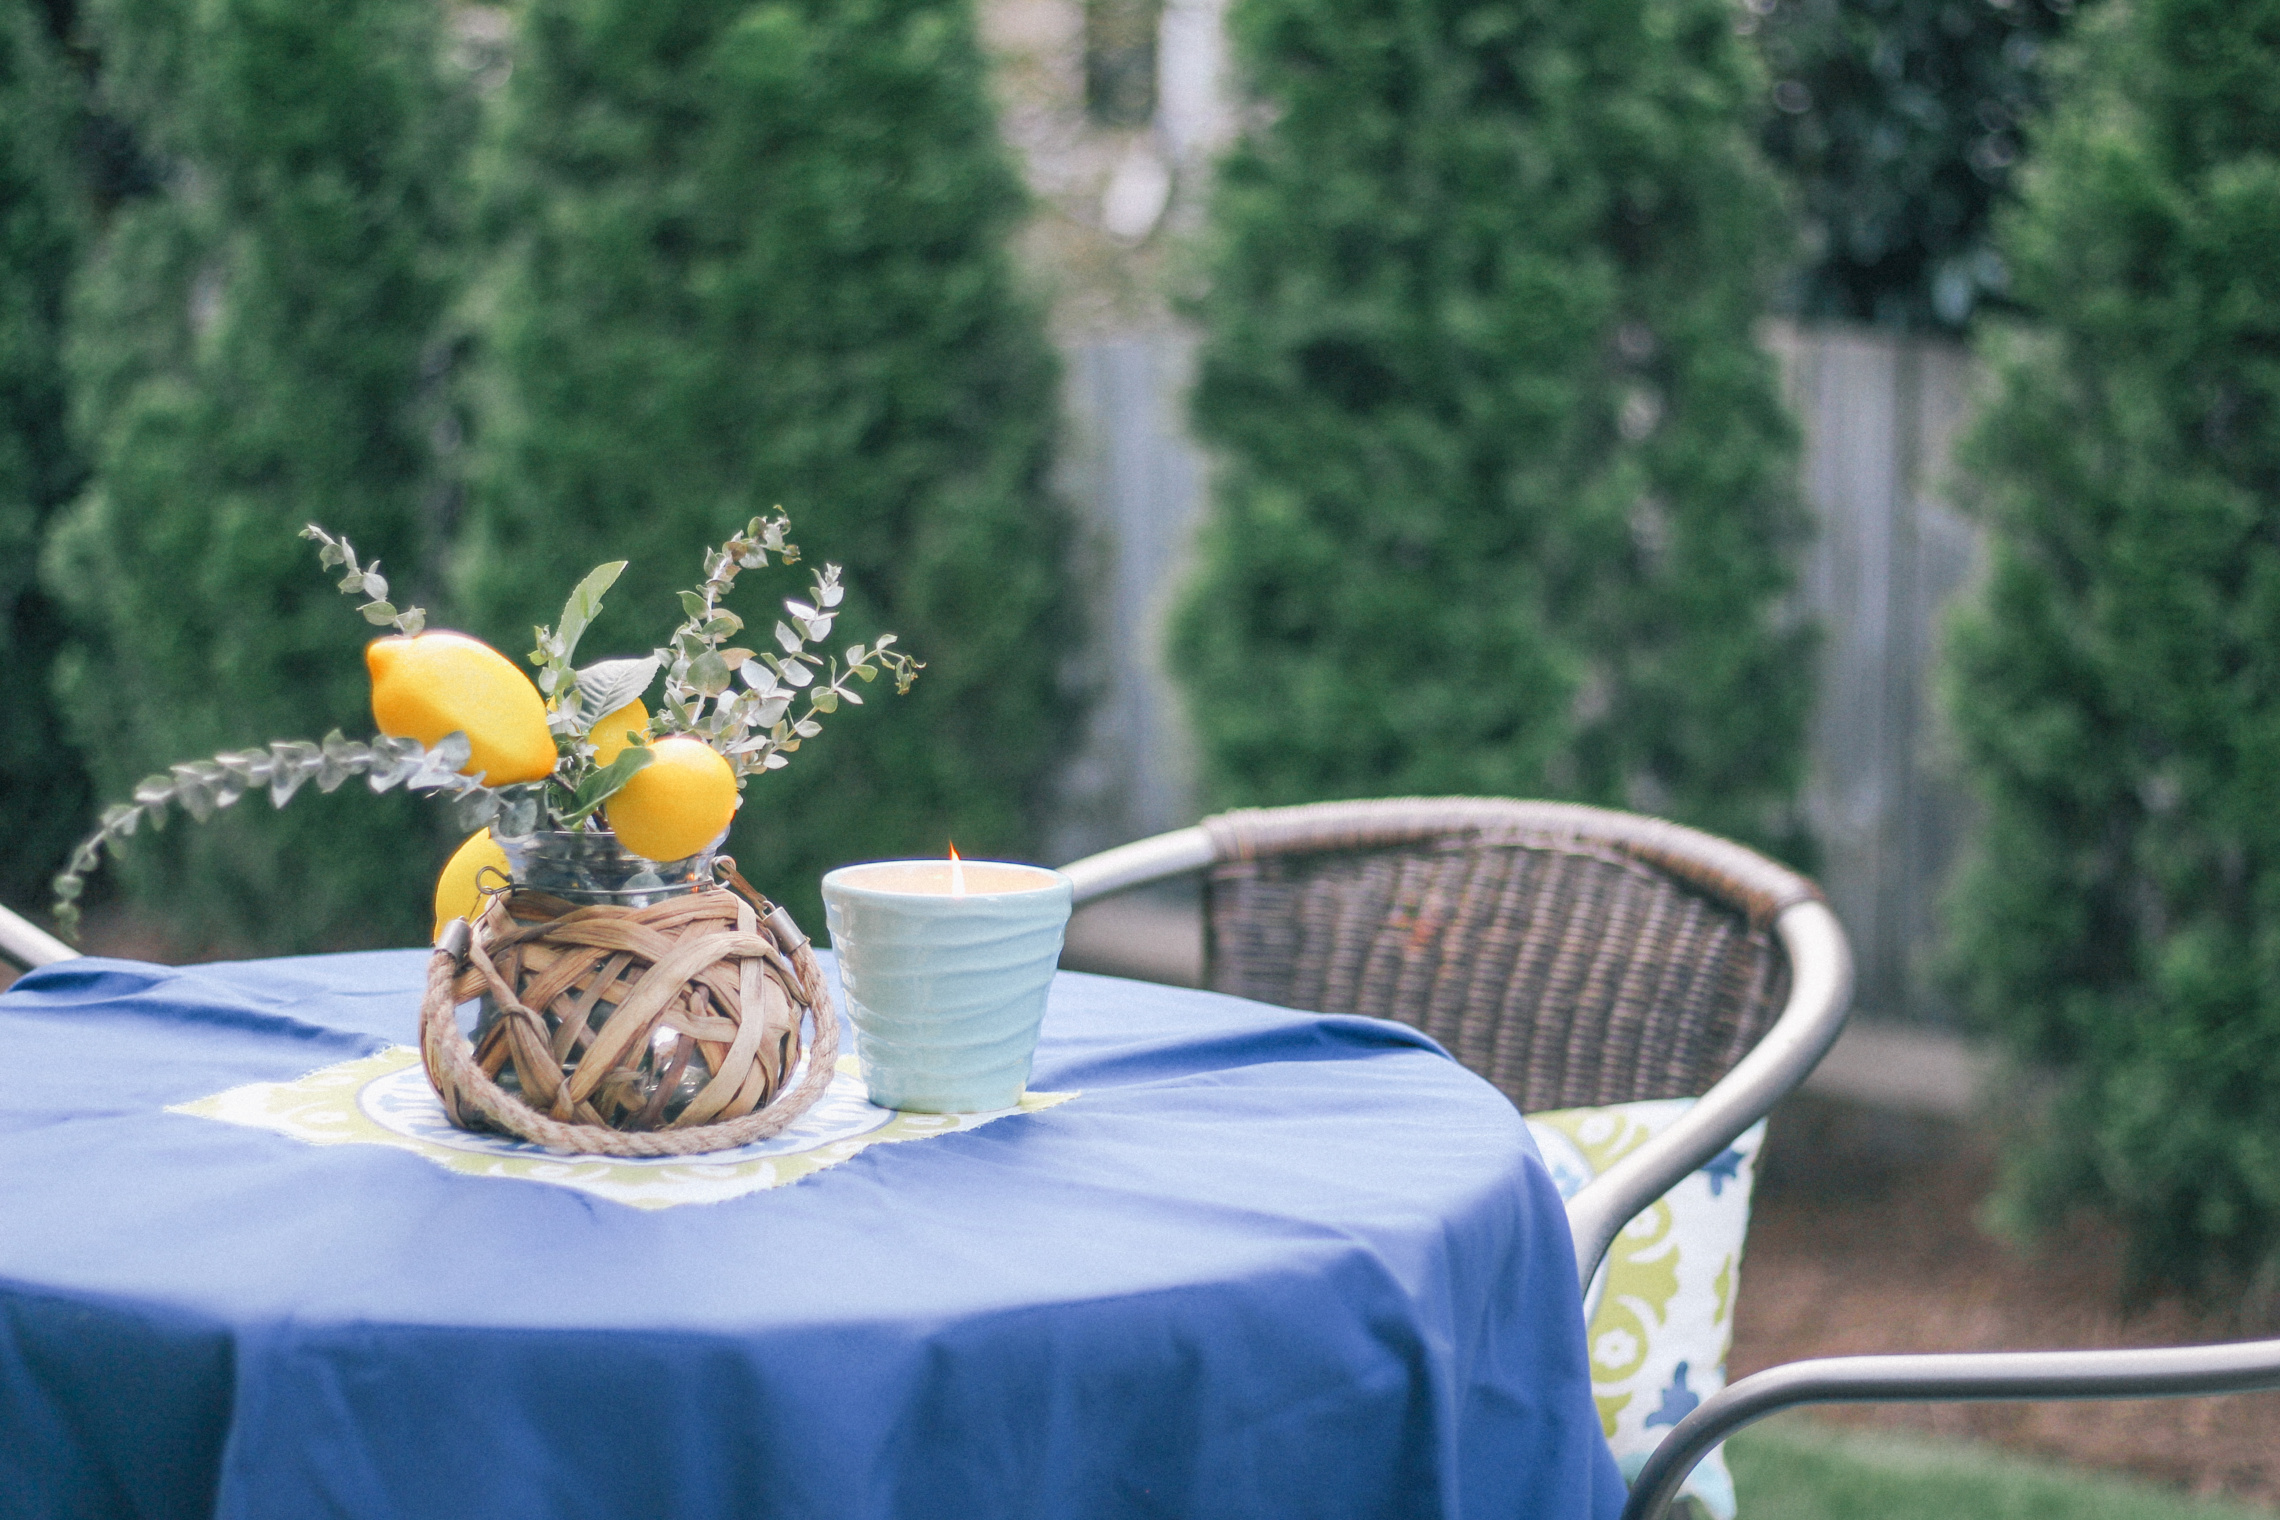
Our house sits a few feet higher than the neighbor’s backyard, so adding in some extra privacy was important since their fence did not come up much higher than our new retaining wall. We didn’t want to build another fence, so to make sure we added a little natural privacy we planted Emerald Green Arborvitae trees to line the top of the retaining wall. We wanted to make sure we chose an evergreen tree that would grow tall enough and thick enough to provide a visual break from our neighbor’s backyard. I covered the beds with pine straw for now, but plan to add more plants and shrubbery in round two 😉
Privacy Fence
Because we had to remove the fence on the right side of our home to allow the team entry into the backyard when building the retaining wall, when the time came to replace that section, we decided to push the fence line up a little. Our neighborhood HOA approved the fence line change and we added around 72-square feet more green space to our backyard. It didn’t seem like that big of a difference at the time, but now I can’t imagine not having that little extra. I just planted climbing Star Jasmine (a.k.a Confederate Jasmine) to both sides of the gate, so I’m hoping this time next year we’ll have a fragrant accent covering the fence too!


Deck Design
While Kevin actually liked the original dark wooden deck with railings, it was a bit ragged and one of my biggest pain-points. Beyond the hideous color, with only one entry point the railings blocked off the flow of traffic from the rest of the backyard.
After a bit of resistance, I eventually convinced the hubby to let me replace the railings with something a little more open. The plan was originally to add some sort of cable wire railing with two openings for guests to step on and off from the flagstone patio. However, when the handyman removed the railing, I realized I loved the open flow much more. So, we changed plans and decided to add a step around the entire base of the porch. For extra safety, we also installed small round lights on the backstep to light the steps at night. This opened up the eye-line so much and I’m so happy we decided to go this route!
Cleaning Things Up
One of the easier improvements was breaking out the pressure washer and giving everything a deep rinse. The flagstone was neglected over the years and looked pretty dingy from the layers of mildew that had built up. It’s amazing how big of a difference it made just pressure washing the windows and the side of the house. It took almost an entire day to get everything washed, but the sweat equity was worth it.


Shop the Story:
A Fresh Coat of Paint
After cleaning things up with our pressure washer, I worked with Rust-oleum to give the porch a fresh look. I wanted to lighten up the color of the deck to complement the gray exterior of our home siding. I used Rust-oleum Deck & Concrete Restore 10x in Cape Cod light gray to make sure the makeover was durable. The color turned out a bit lighter than I imagined it being, but it’s such a neutral color that it’s easy to match and I’m very happy with how it turned out.
Backyard Furnishings
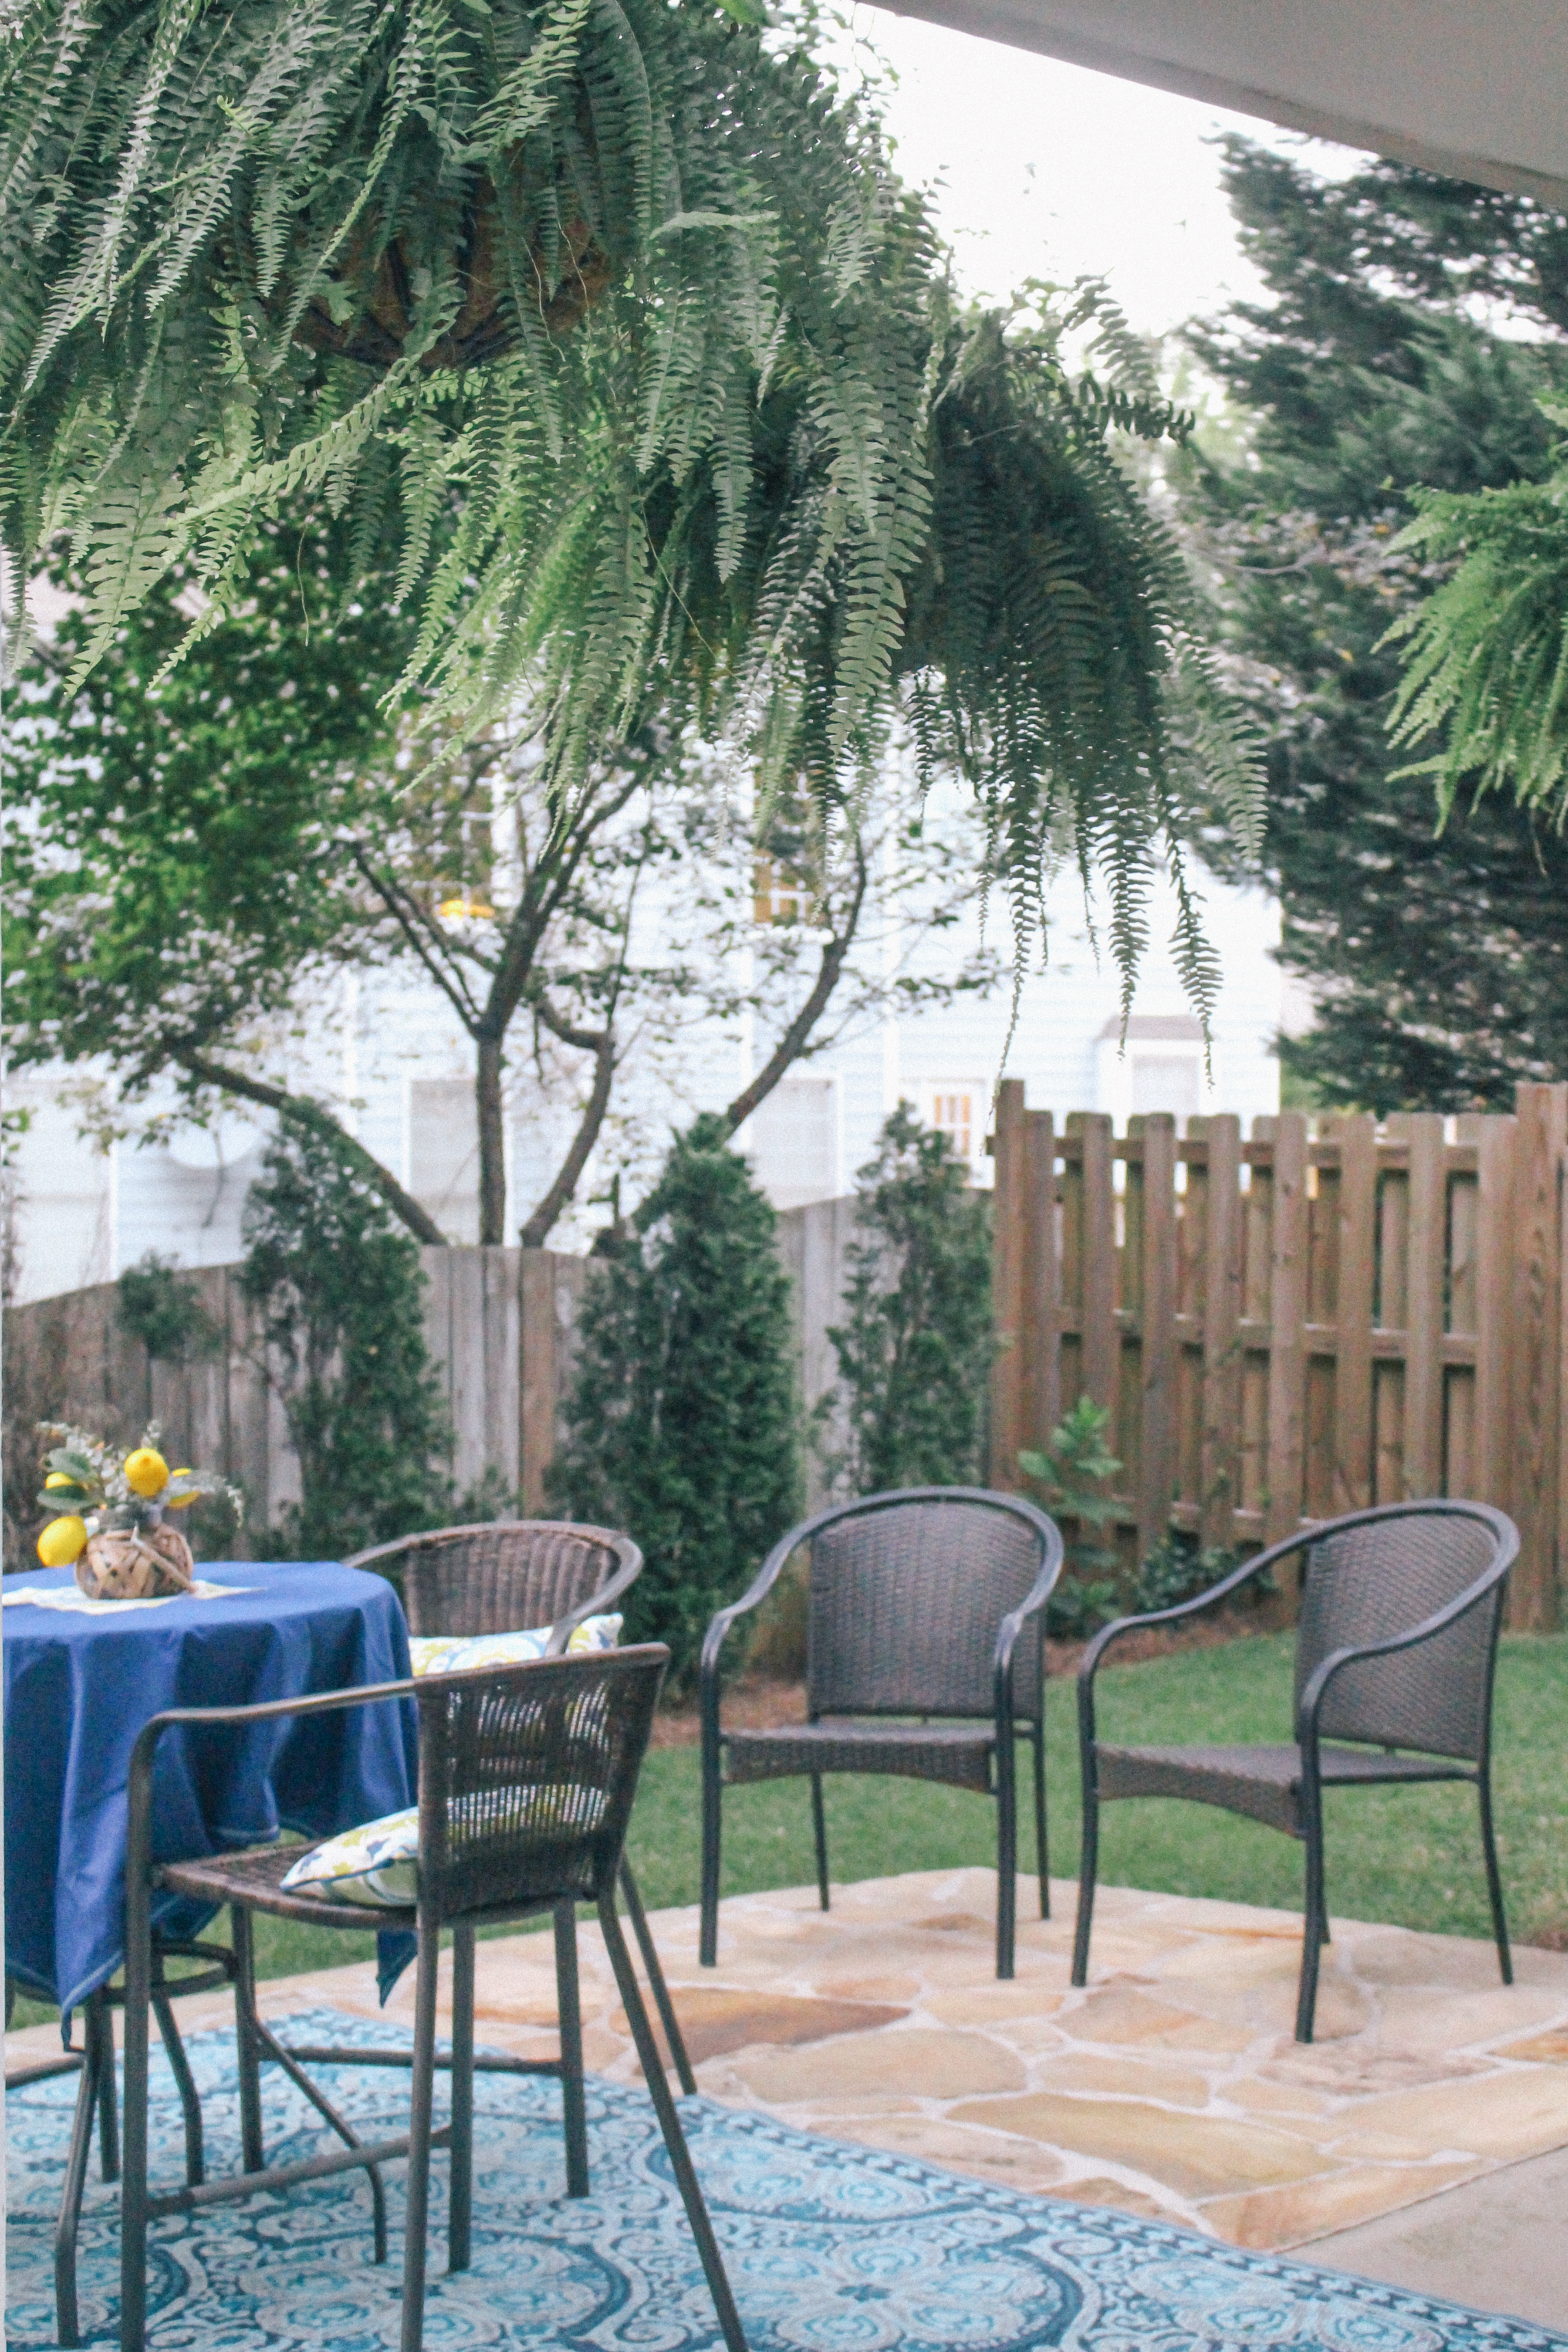
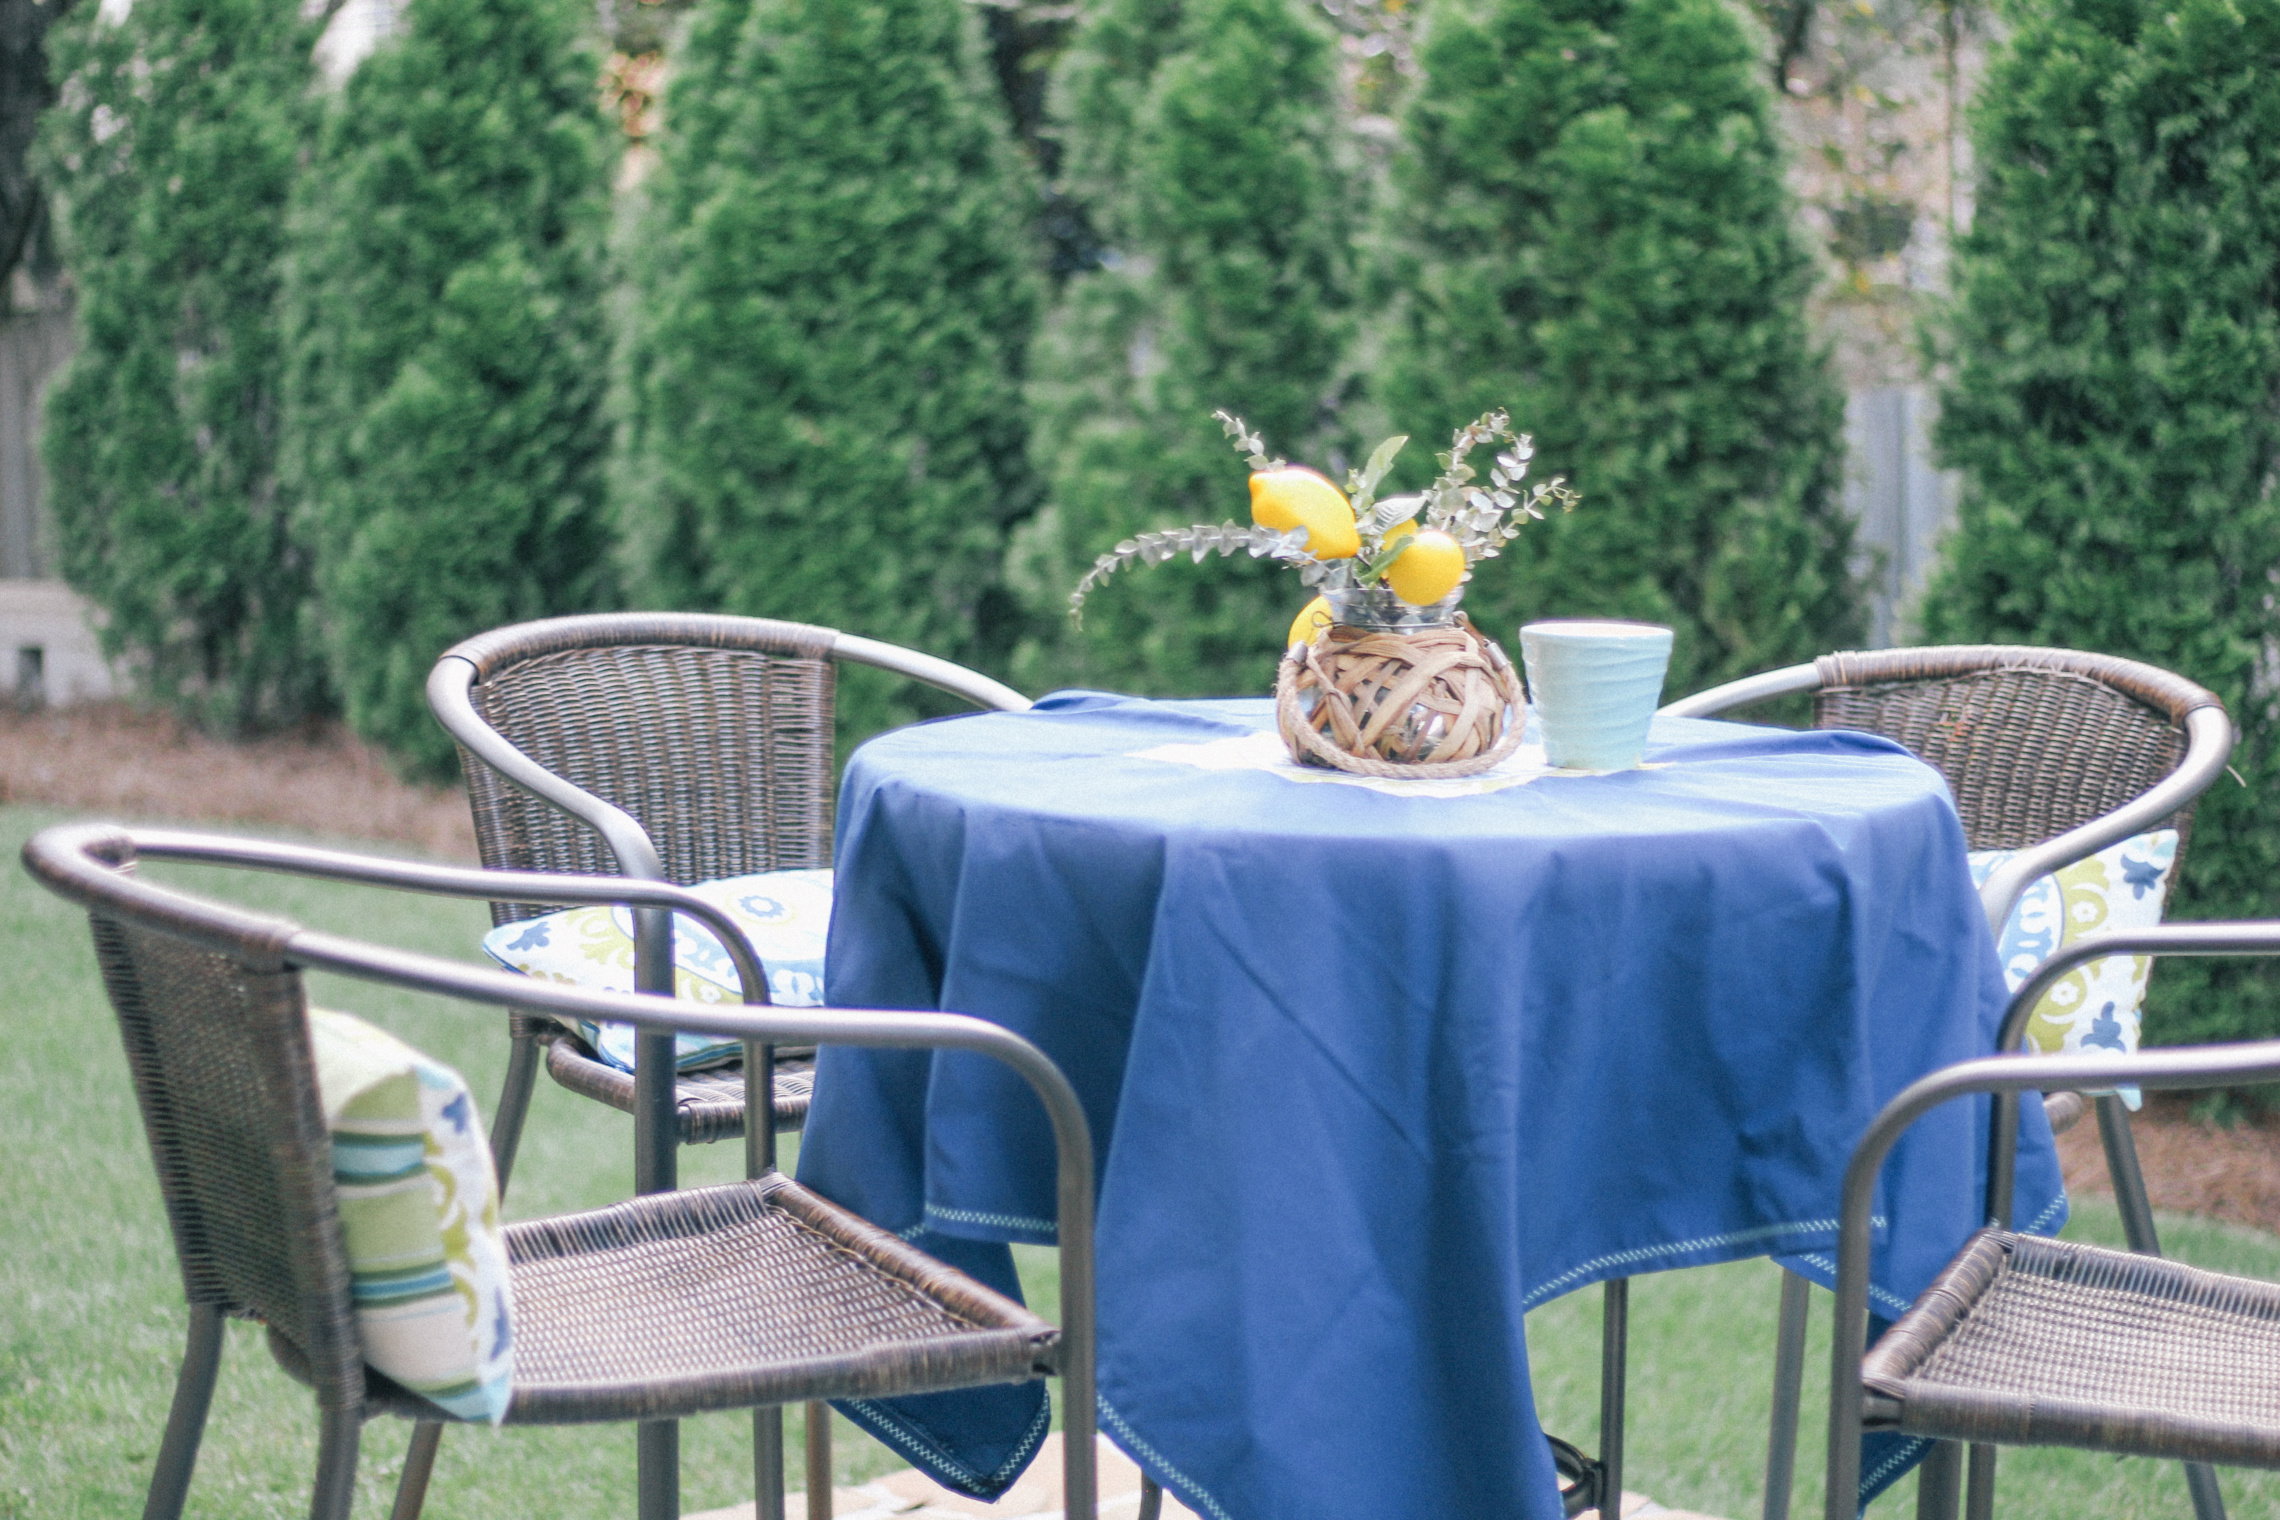
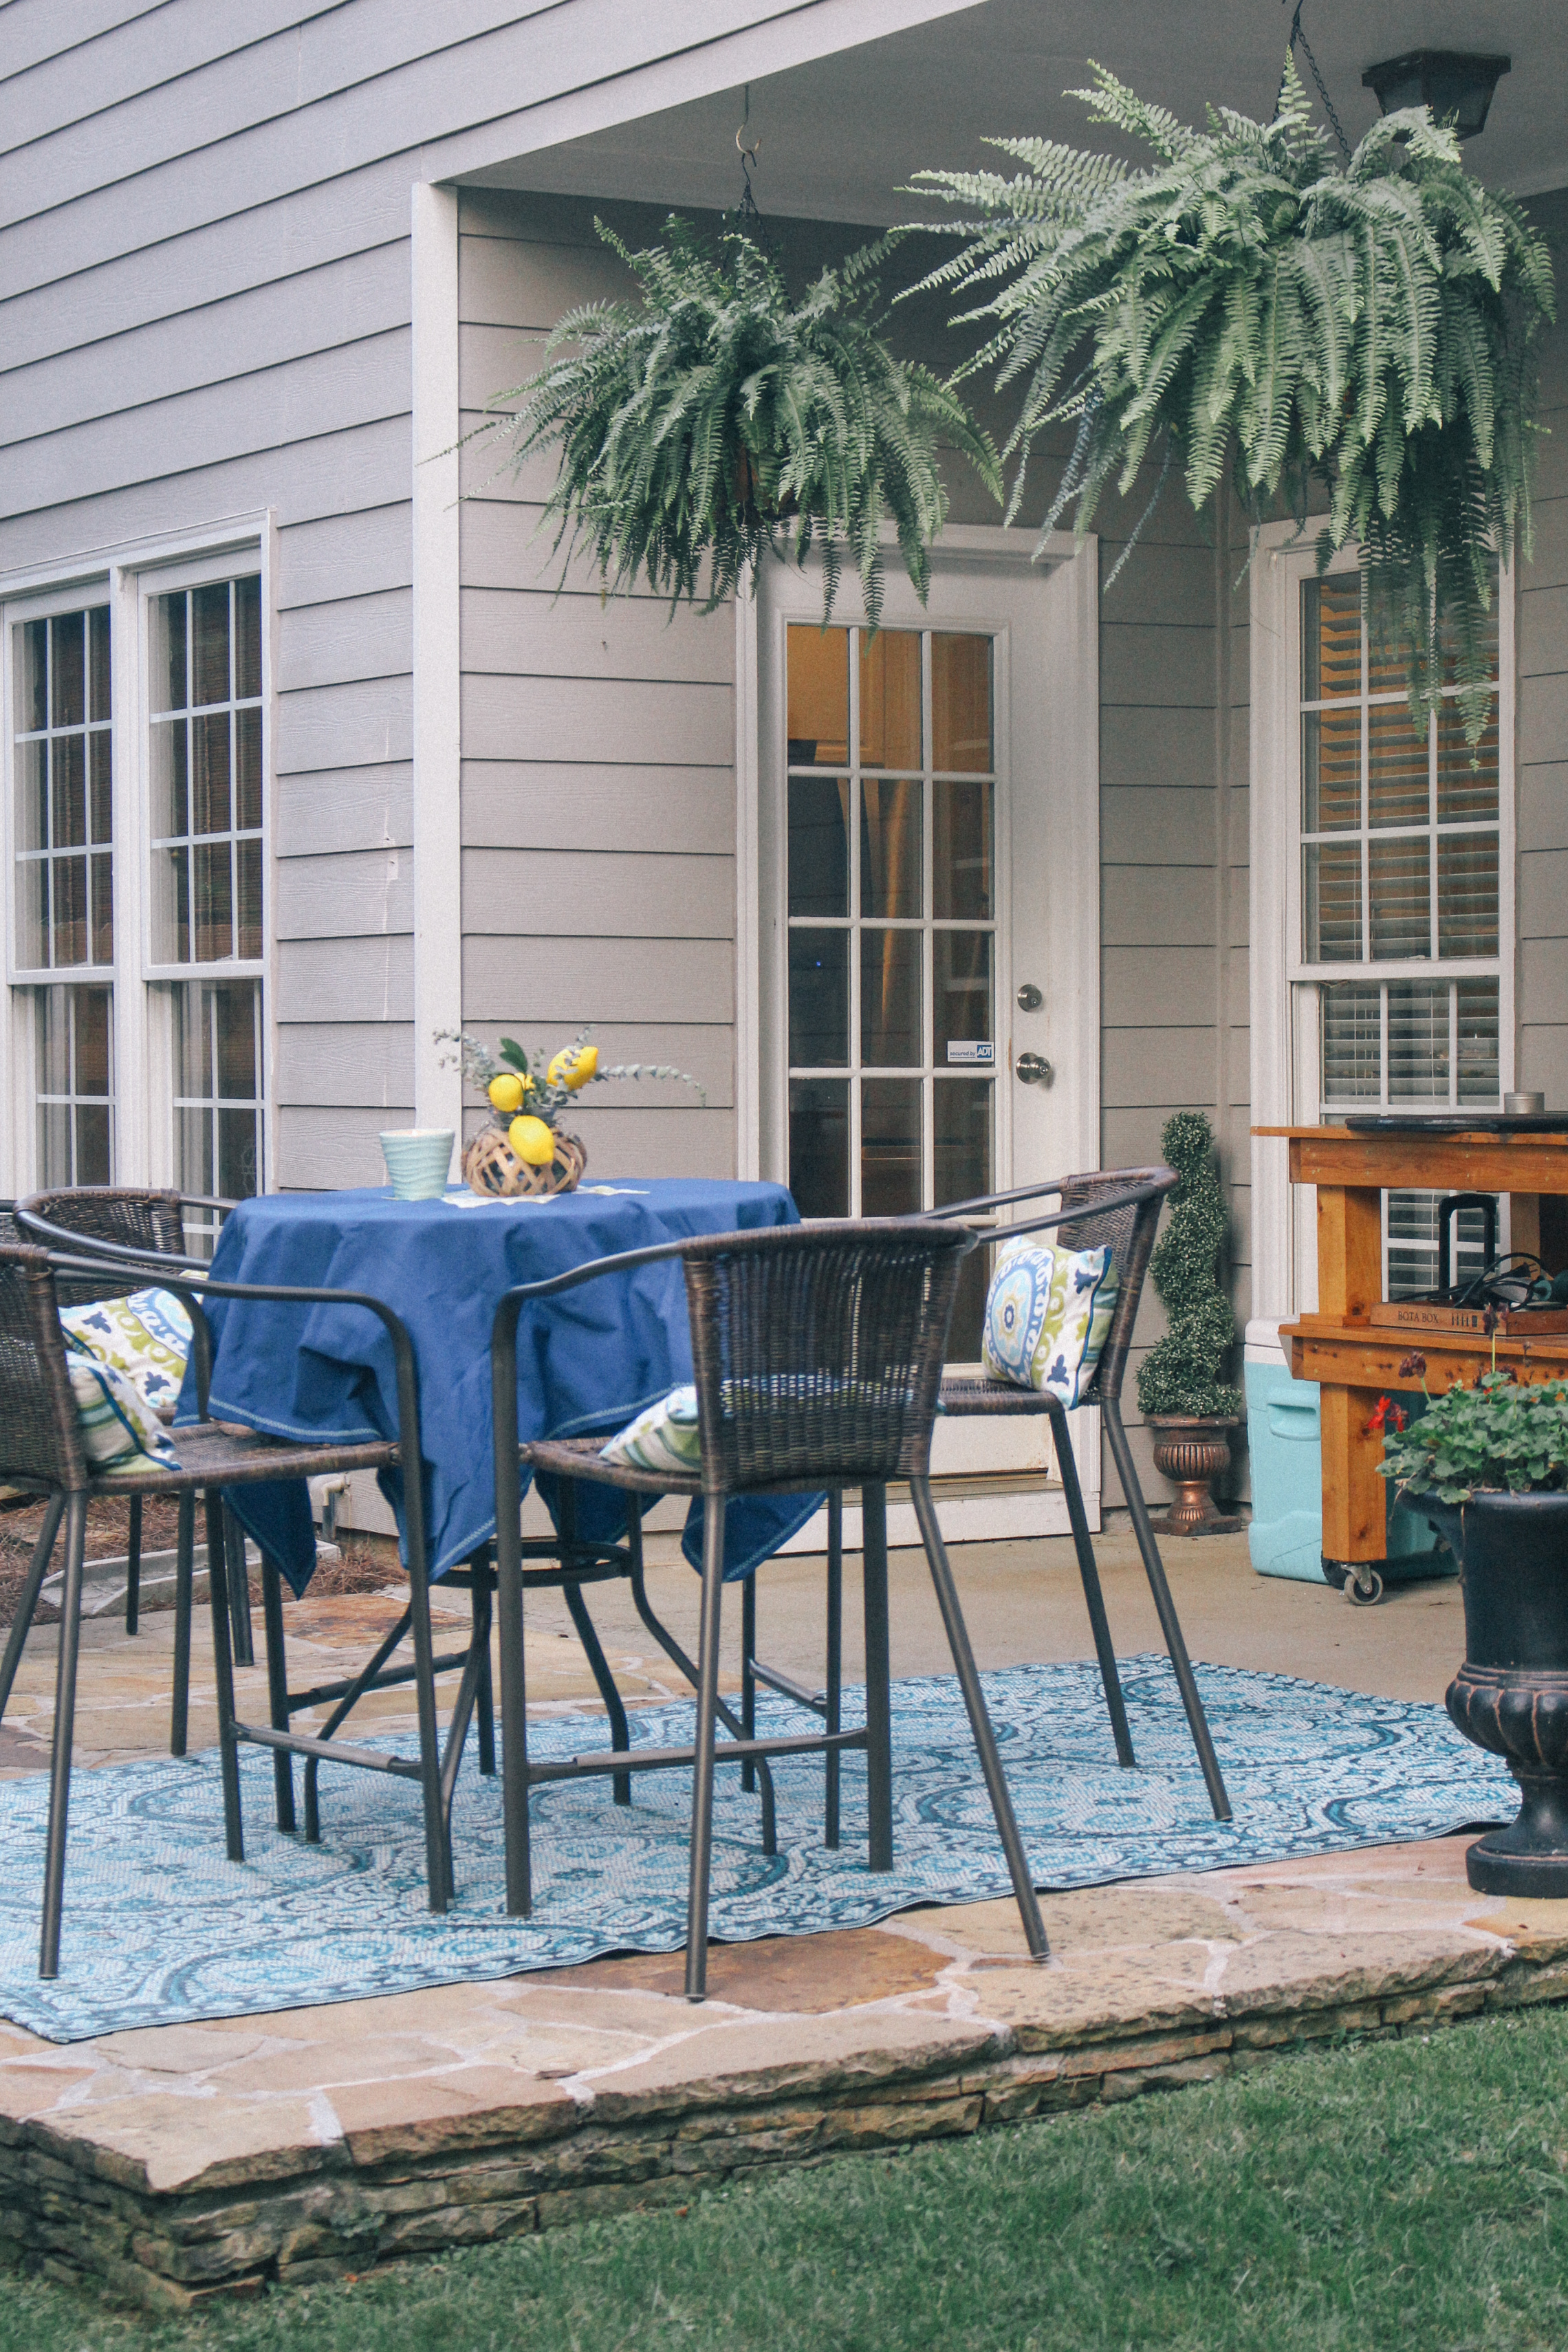
Once we had the foundation under weigh, we added the finishing touches. We decided to keep the hightop table and chair set that we purchased when living in New York so that we could have seating just off the kitchen. Now that we had the space for more outdoor entertaining, the hubby wanted a Big Green Egg to step up his grilling game. My mom gifted the hubby with a custom-built table for his Big Green Egg and I added hanging ferns for a touch of Southern style to round out our kitchen patio.
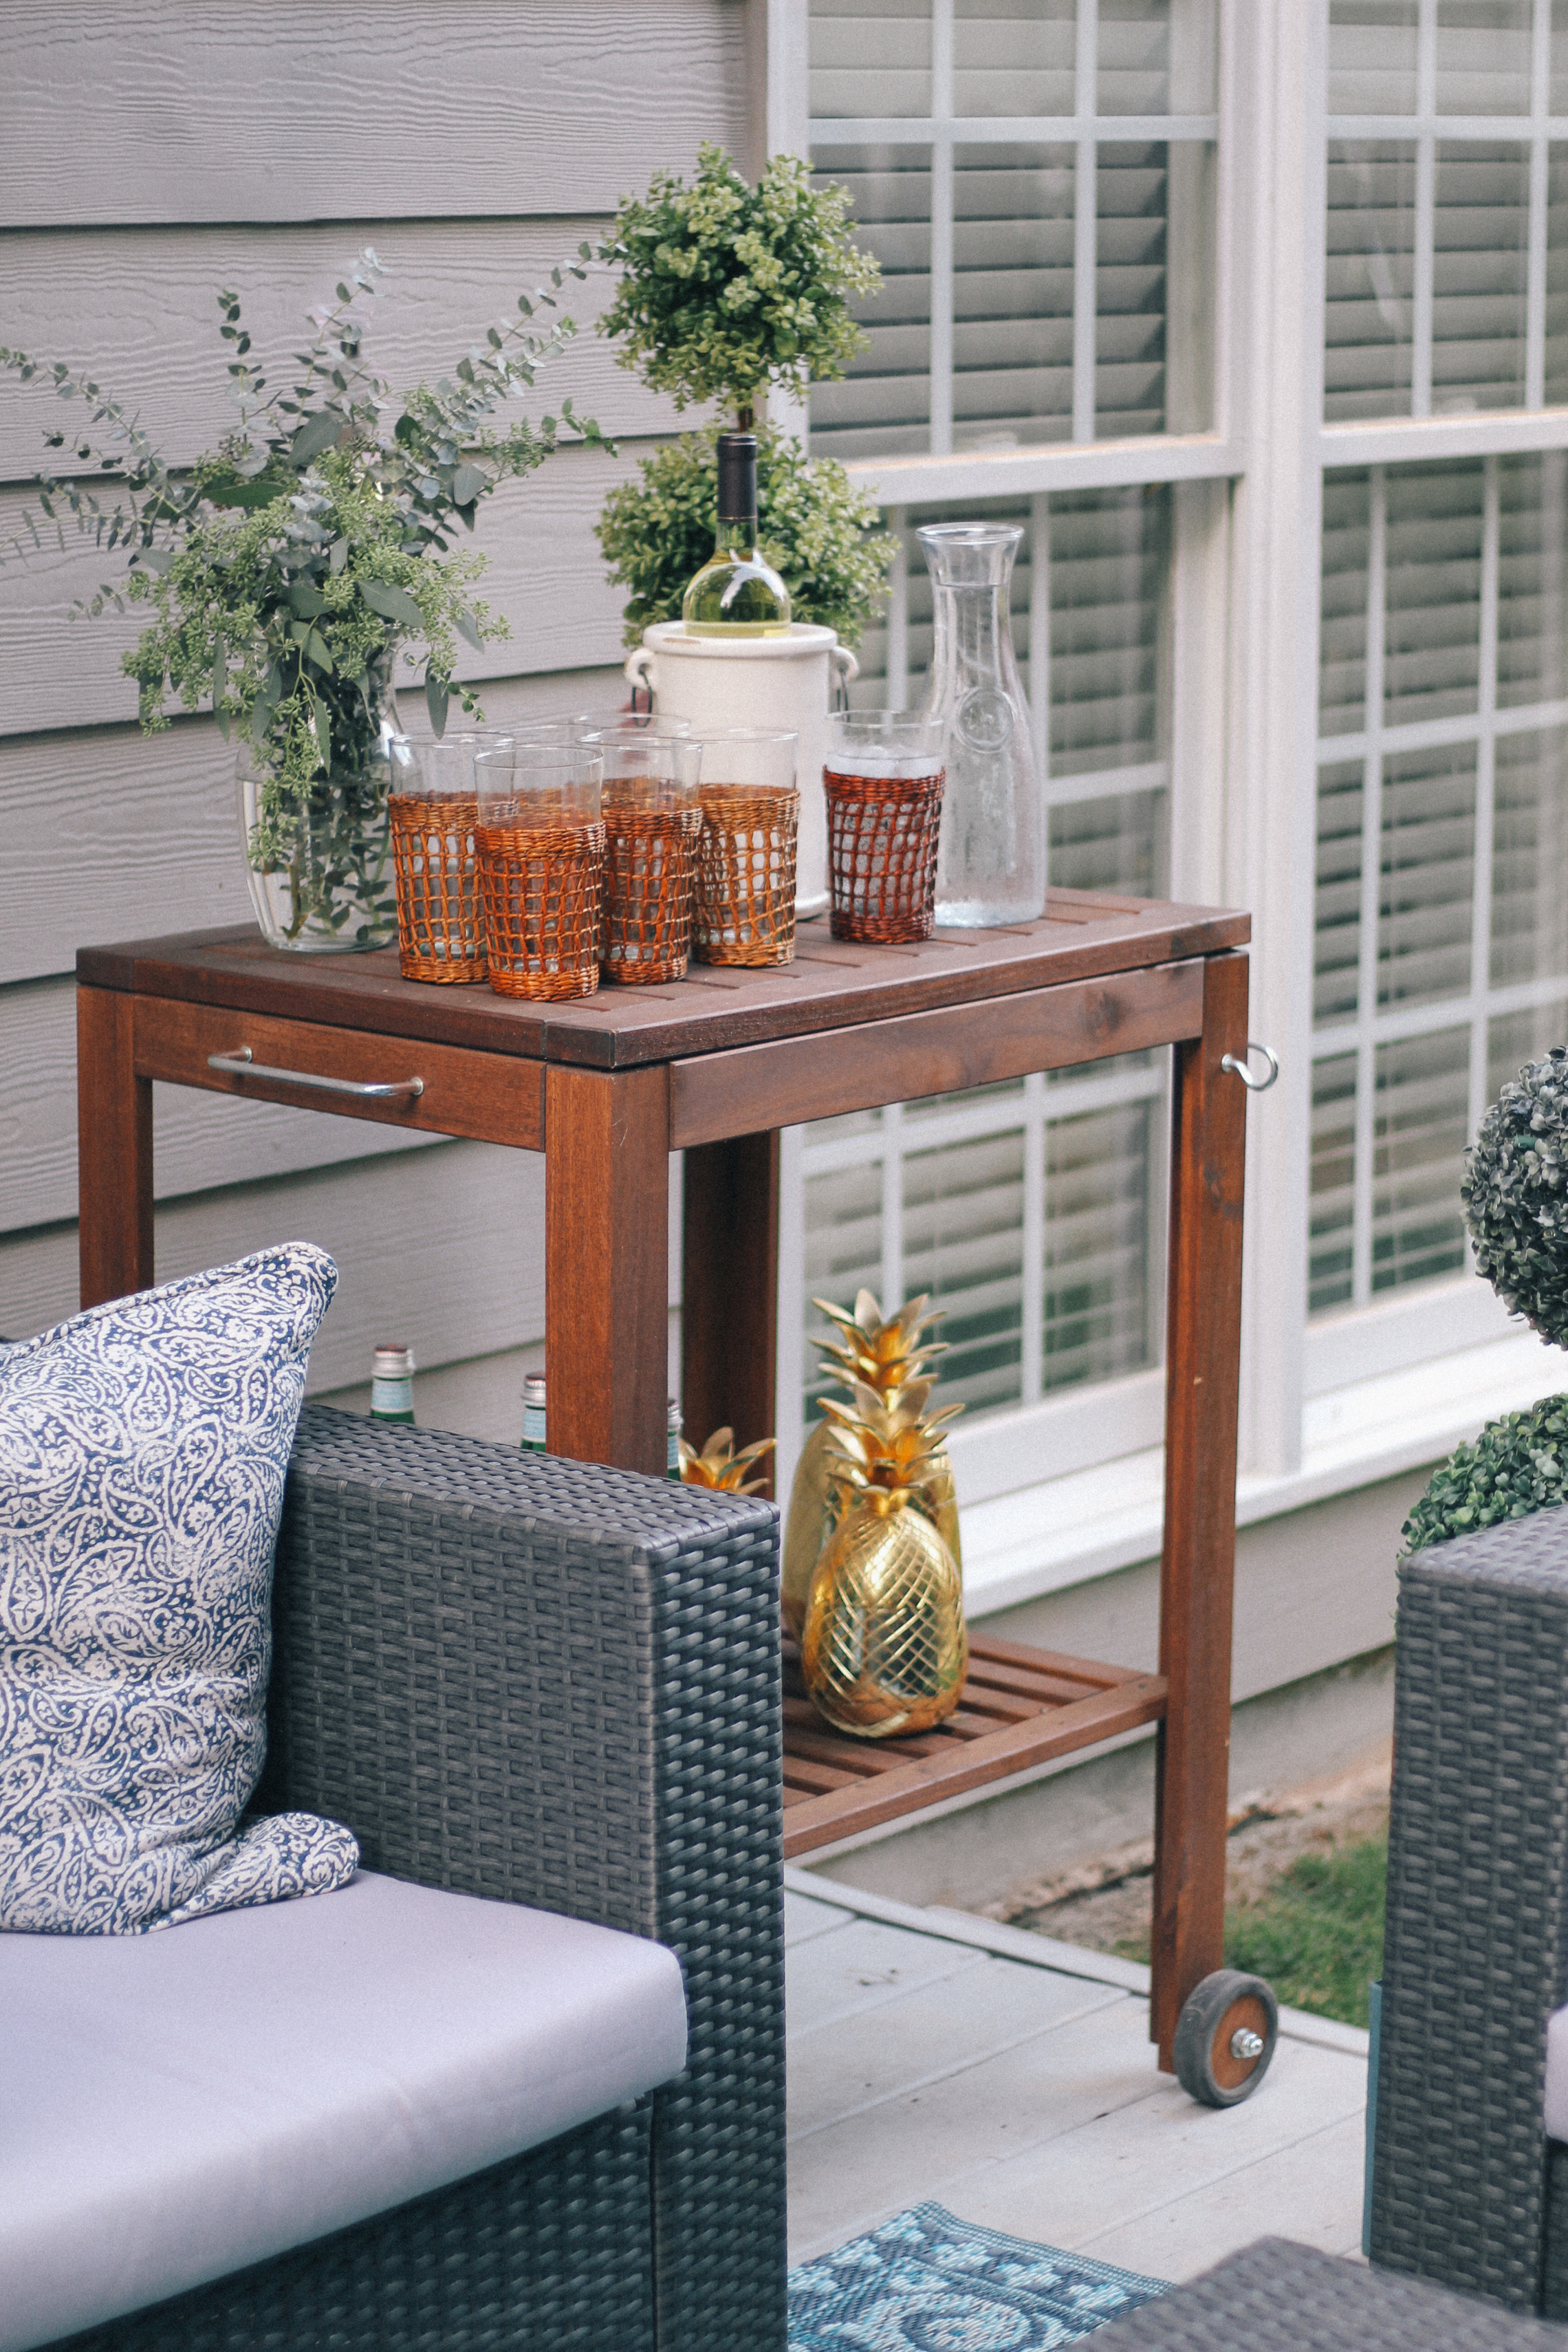
For the porch, we wanted to add an outdoor dining area so we picked up a drop-leaf wooden table from Ikea and utilized the outdoor chairs that the previous owner left behind to stay within budget. Luckily for us, the chairs the previous owner left behind matched our old high-top set almost perfectly. We also picked up a matching wooden bar cart from Ikea that’s been the perfect drink stand.
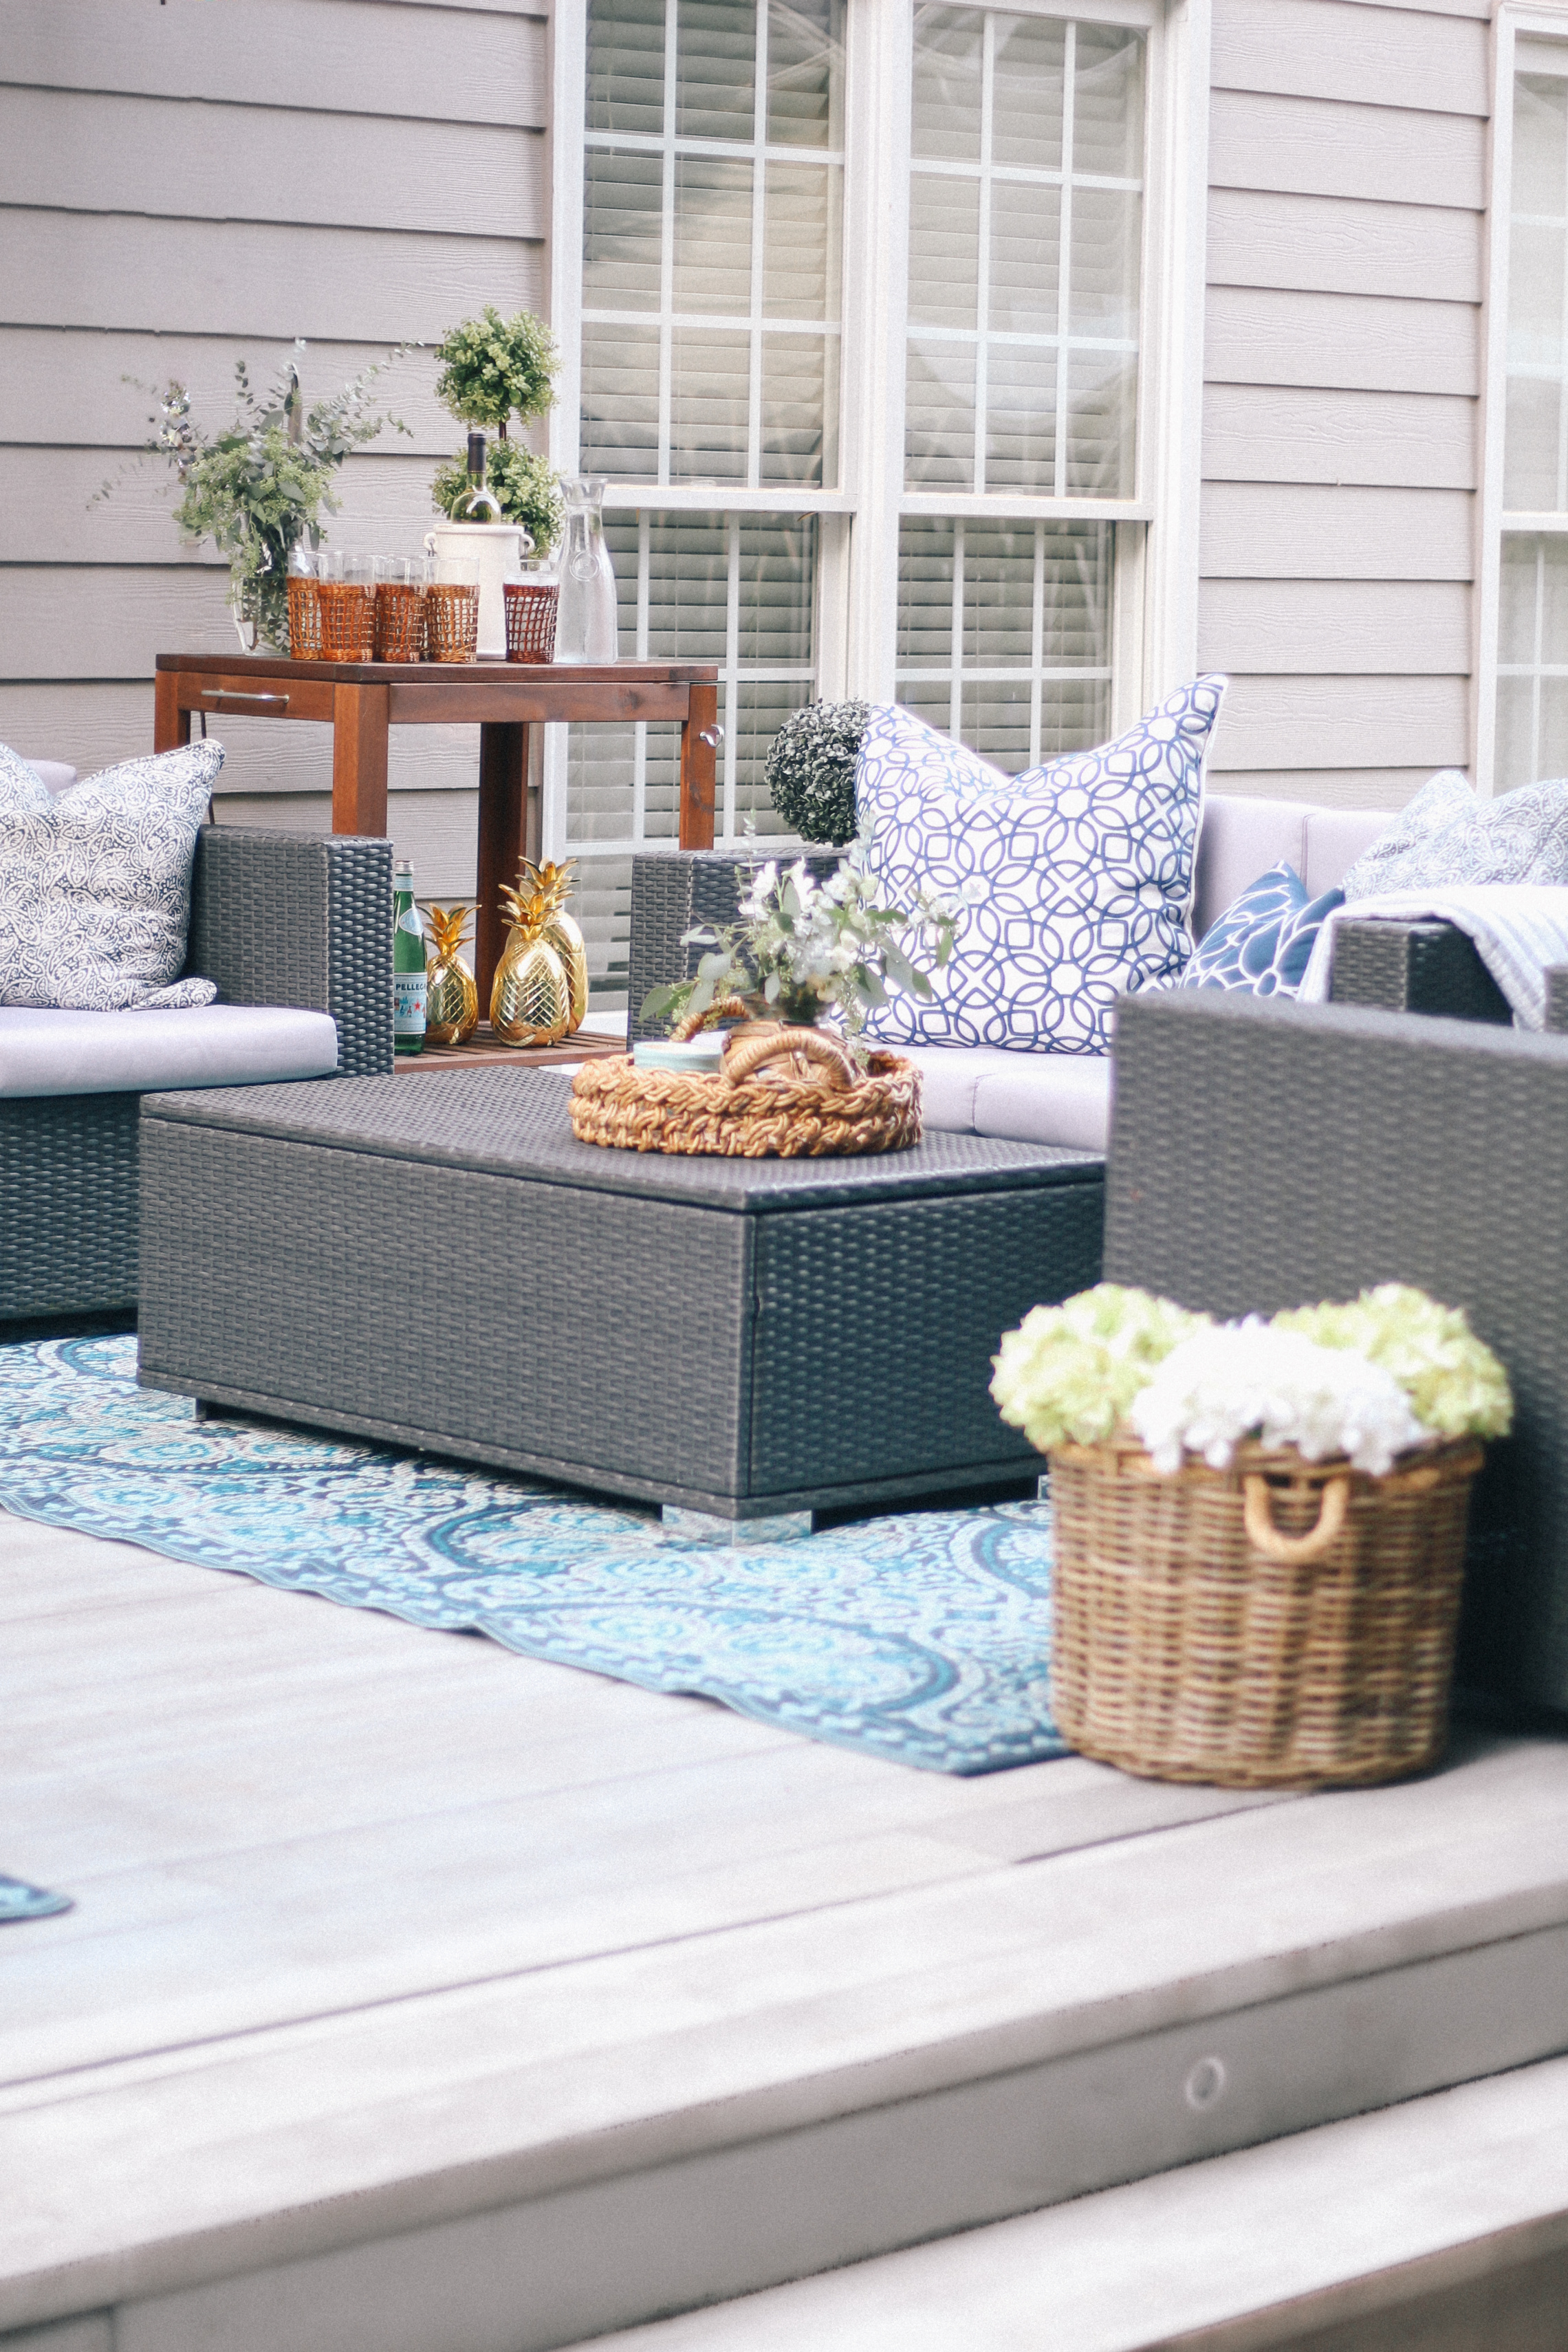
We added three outdoor rugs from Cost Plus World Market to warm up the living space and tie in the look of everything across the patio and porch. To make sure we had a lounge area that was comfortable, I ordered the Murano 4-piece Outdoor Wicker Sofa Set by Christopher Knight Home conversation set from Wayfair. I couldn’t find the exact set still on their site, but I was able to find it on Overstock here.
To wrap up our backyard makeover, a mix of accents from high-low brands rounded things out. The table runner is from Ballard Designs, pillows are from HomeGoods, and the faux topiaries are from Big Lots and Tuesday Morning.
With round one of our backyard makeover complete and in a good place, we’ve been able to enjoy a few gatherings with friends and family that have made it so fun to have an outdoor space. There are big cypress trees that line the back of our property line that were all planted when the house was developed in 2000 and we’ll eventually have to replace them, but that’s something we’ll have to address in round two. Until then, I’ll be sharing more of from the rest of our home tour as we work on updates and makeovers to make our house a home.