
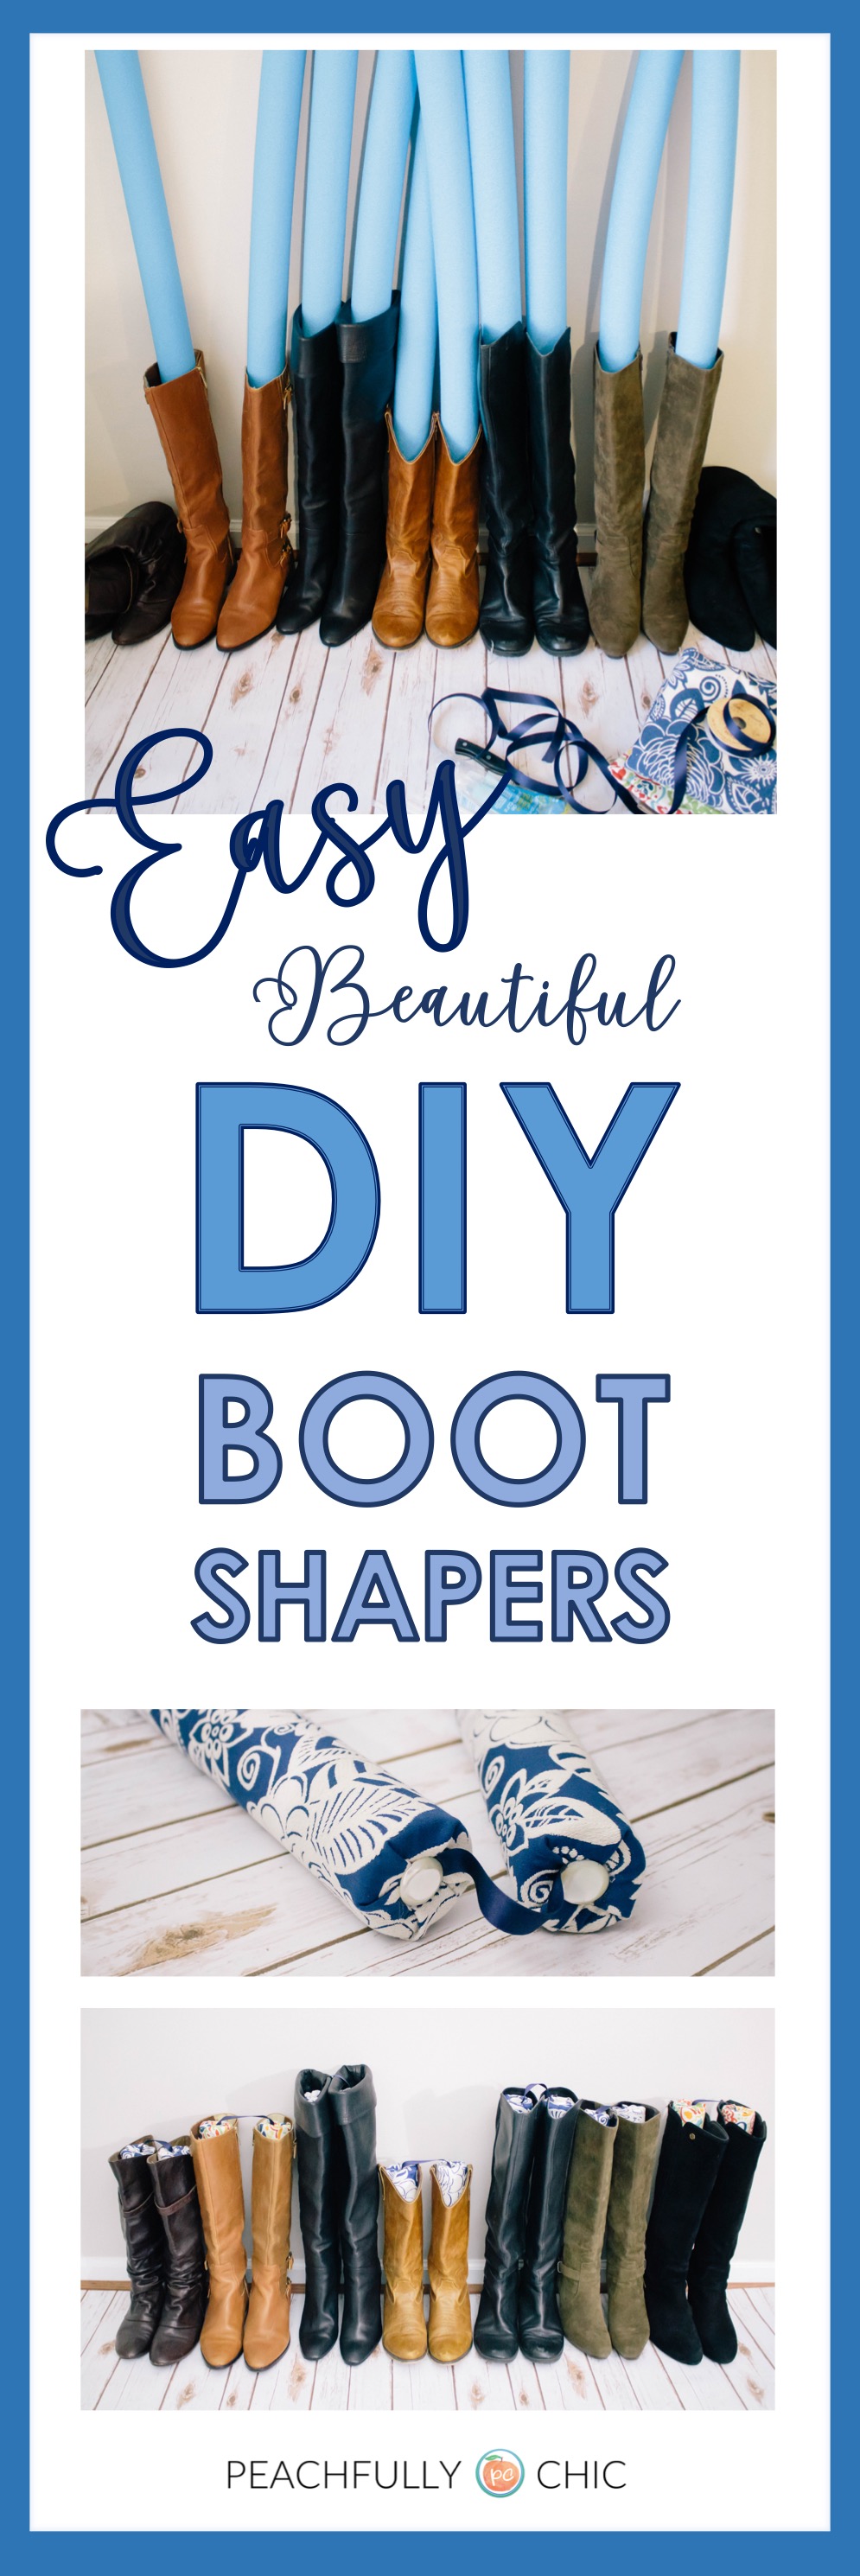
How-To Make DIY Boot Shapers:
In past fall and winter seasons, I always struggled to find the best way to organize my boots in the closet. I created this DIY project to help get things squared away without spending a ton of money on plastic boot shapers that always seem to stretch my boots out. I first shared this project in Atlanta Home Improvement Magazine but wanted to make sure I included here on the blog to share with you. With some pool noodles, a hot glue gun, and a bit of fabric & ribbons; I pulled together these DIY Boot Shapers that are the perfect fit to keep your boots organized.
Supplies:
- Pool Noodle(s)
- Sharpie
- Serrated Knife
- ½ Yard of Fabric
- Hot Glue Gun & Glue
- Scissors
- 6-inch Ribbon
- 2 Large Buttons

Instructions:
![]()
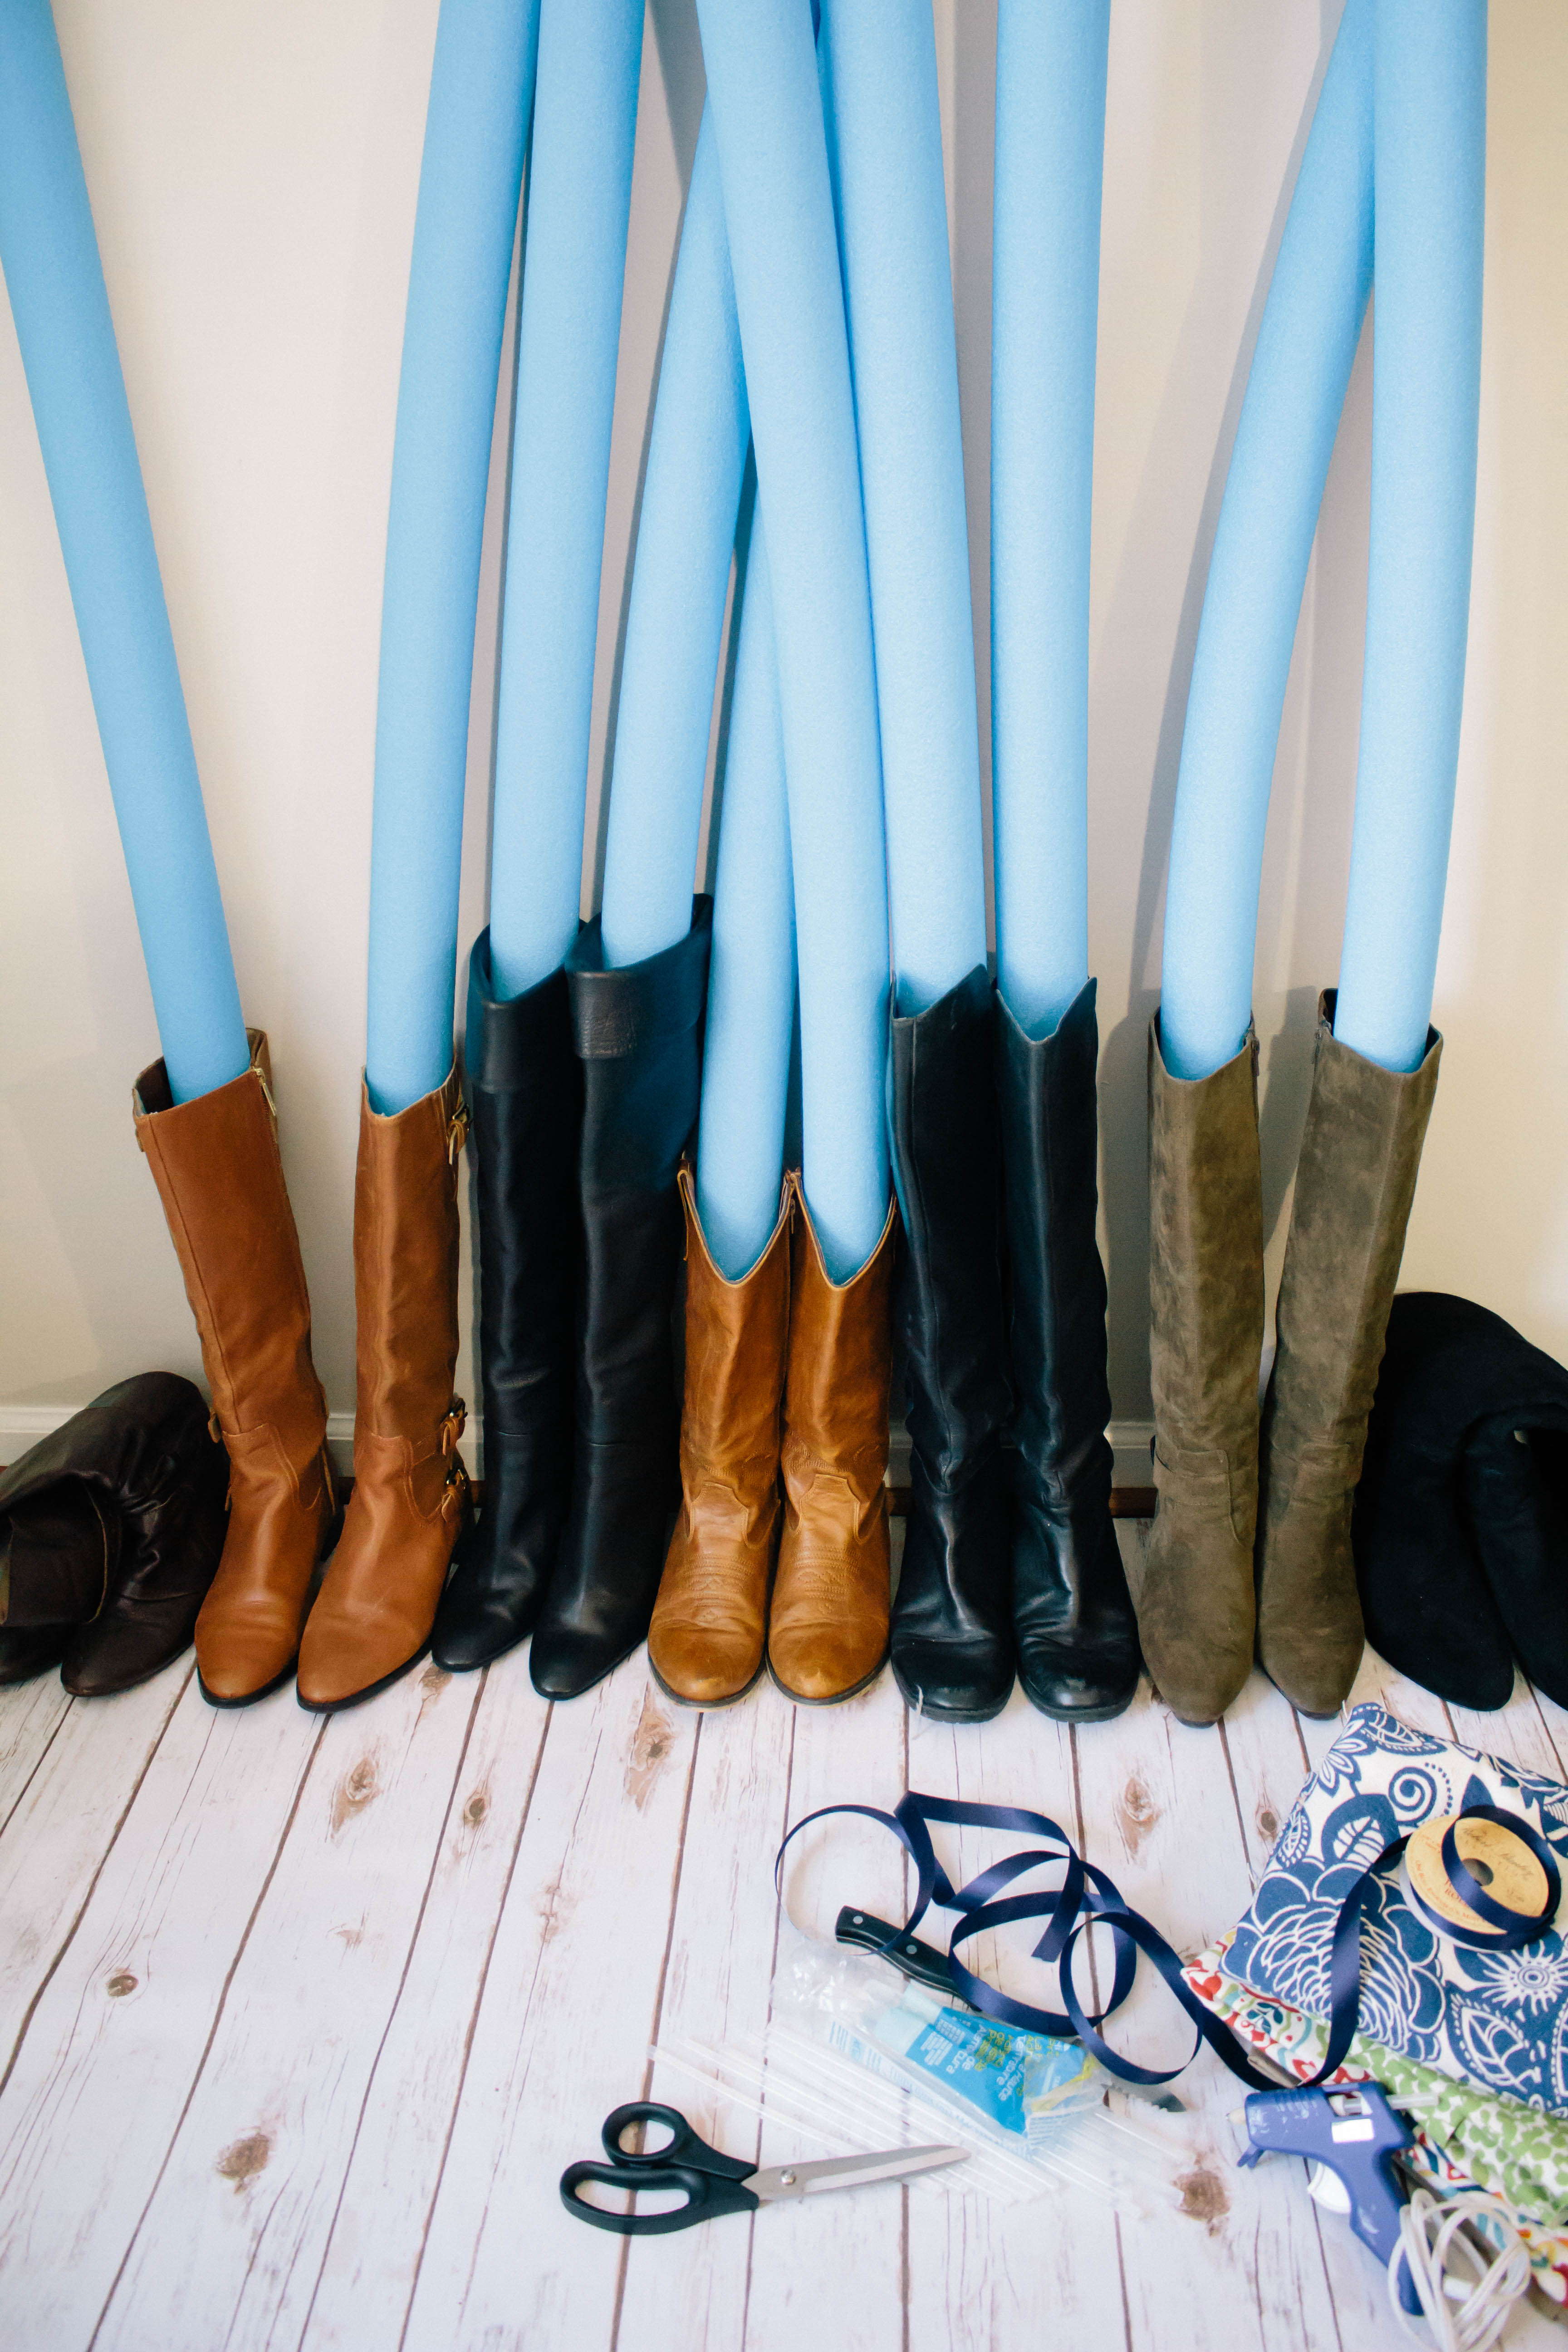
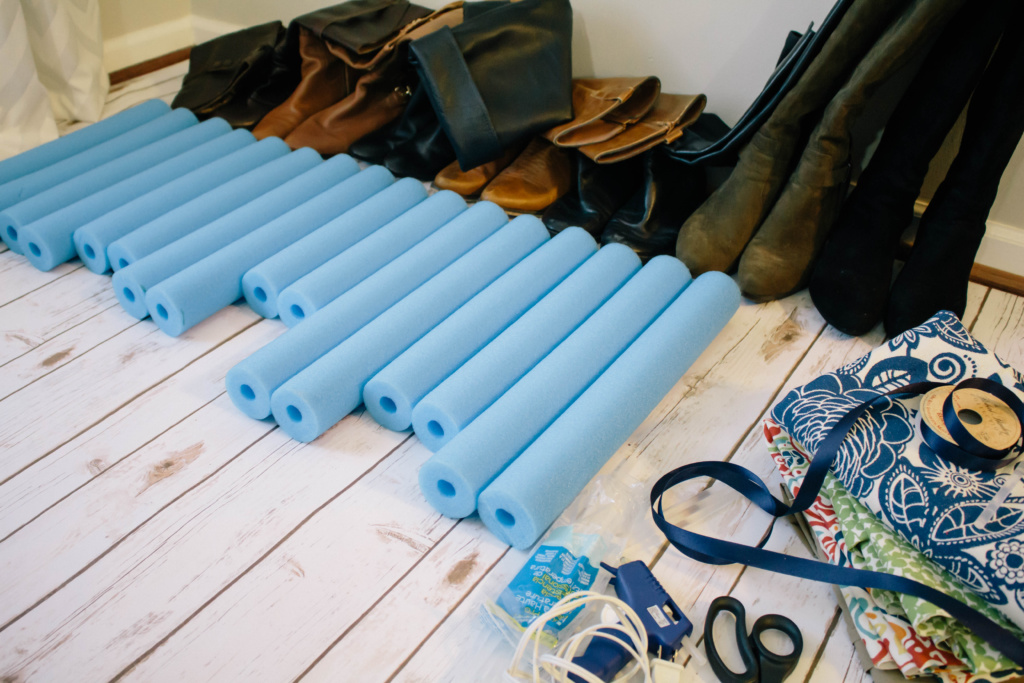
Cut the Noodles:
Start by dropping the noodle into your boots. Using a sharpie, mark the noodle at the top of the boot. Pull the noodle out of the boot and using a serrated knife, cut off the top of the extra noodle along the mark you made.
![]()
Cut the Fabric:
Lay the fabric flat and then place your boot sized noodle on top of the fabric. Just like you would when wrapping a present, cut enough fabric to roll around the noodle leaving a 1-inch overlap on the long side with three inches hanging off on each end.


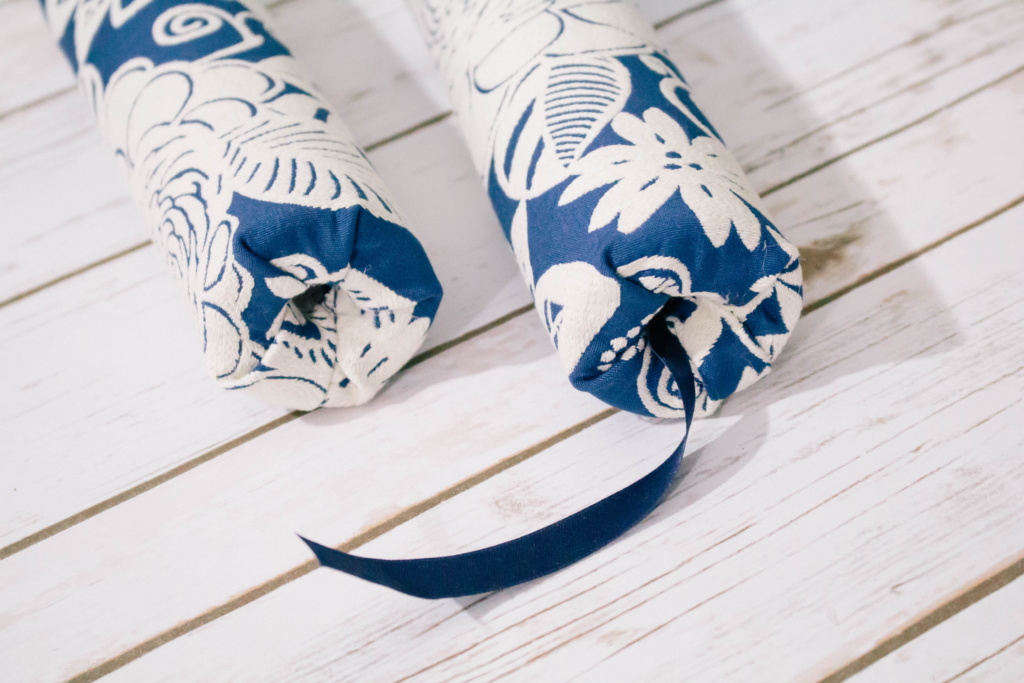
 Trim the Fabric Ends:
Cut small 1 inch triangles across the edge of the short ends of the fabric. These cuts will make it easier to fold the fabric over the ends of the noodles and tuck them into the holes.
Glue the Fabric Around the Noodle:
Using the hot glue gun, run a strip of glue down the long edge of the fabric and attach the noodle. Roll the fabric around the noodle, fold under the frayed edge, and glue the fold down overlapping the fabric.
Glue & Tuck the Ends:
To finish the ends, start by gluing one triangle and tucking it into the noodle hole. Move to the triangle directly to the immediate right, pulling the fabric tight and tucking it into the hole as you glue each one down. Continue until you have all triangles glued down and tucked into the hole on the end of the noodle. Repeat the same steps on the other end of the noodle.
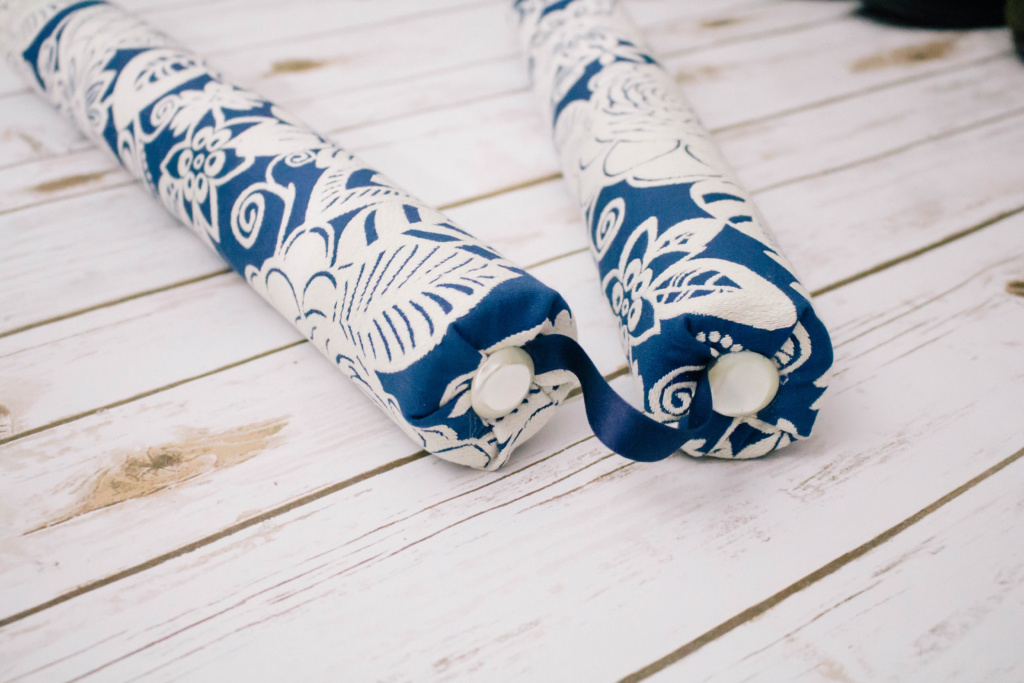
Attach the Ribbon & Button:
Cut a piece of ribbon around 6 ½ inches long. Glue one end of the ribbon into the hole of your noodle and top with a button.
Repeat & Organize!
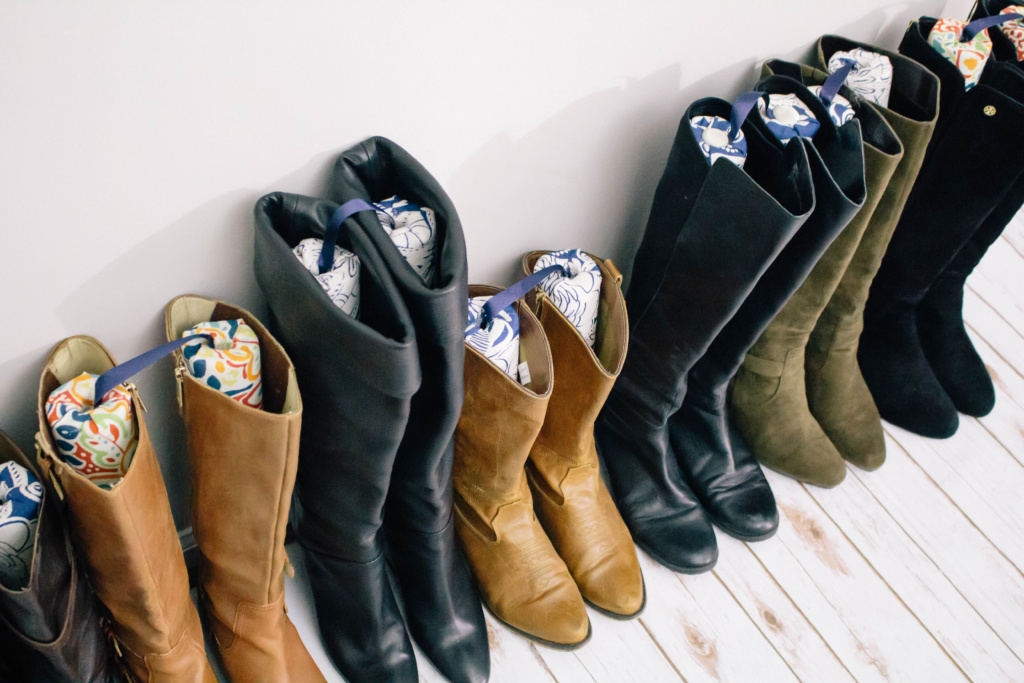

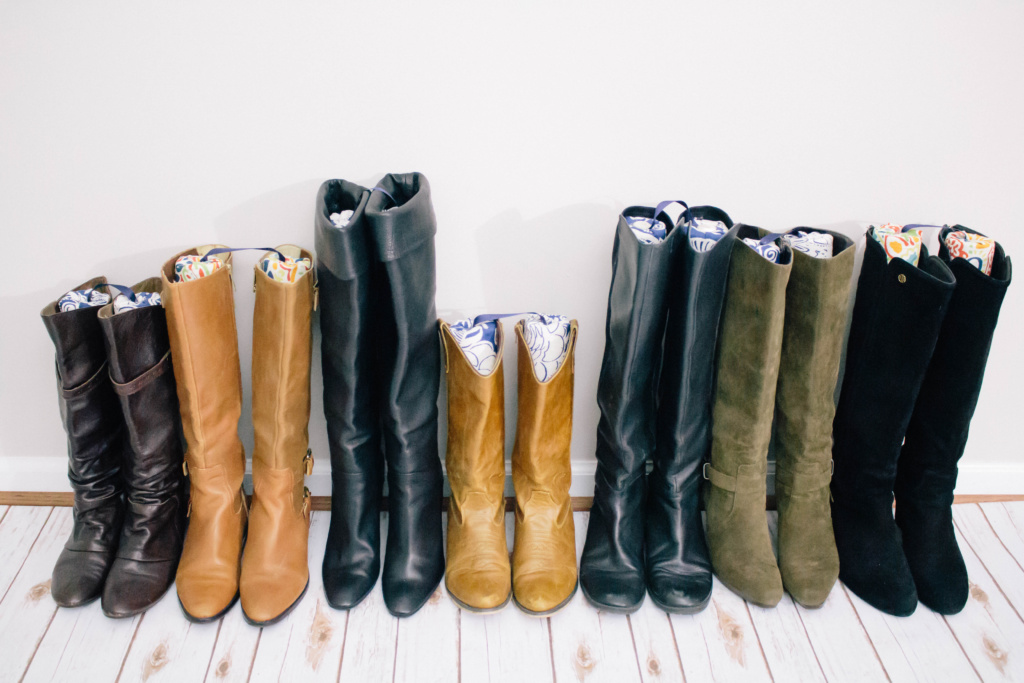
For some added scent protection, you could plug up the other end of the noodle with hot glue and fill the middle with baking soda, potpourri, or some other deodorizer. Creating your own DIY Boot Shapers means that you can customize the height of each shaper to be the perfect height for each size boot. You can also choose to use a specific fabric to complement the colors in your room and closet. Create your own DIY Boot Shapers to add the perfect bit of structure and pop of color to a closet with very minimal effort. Get crafty my friends! 😉

Very smart!! And pretty.