

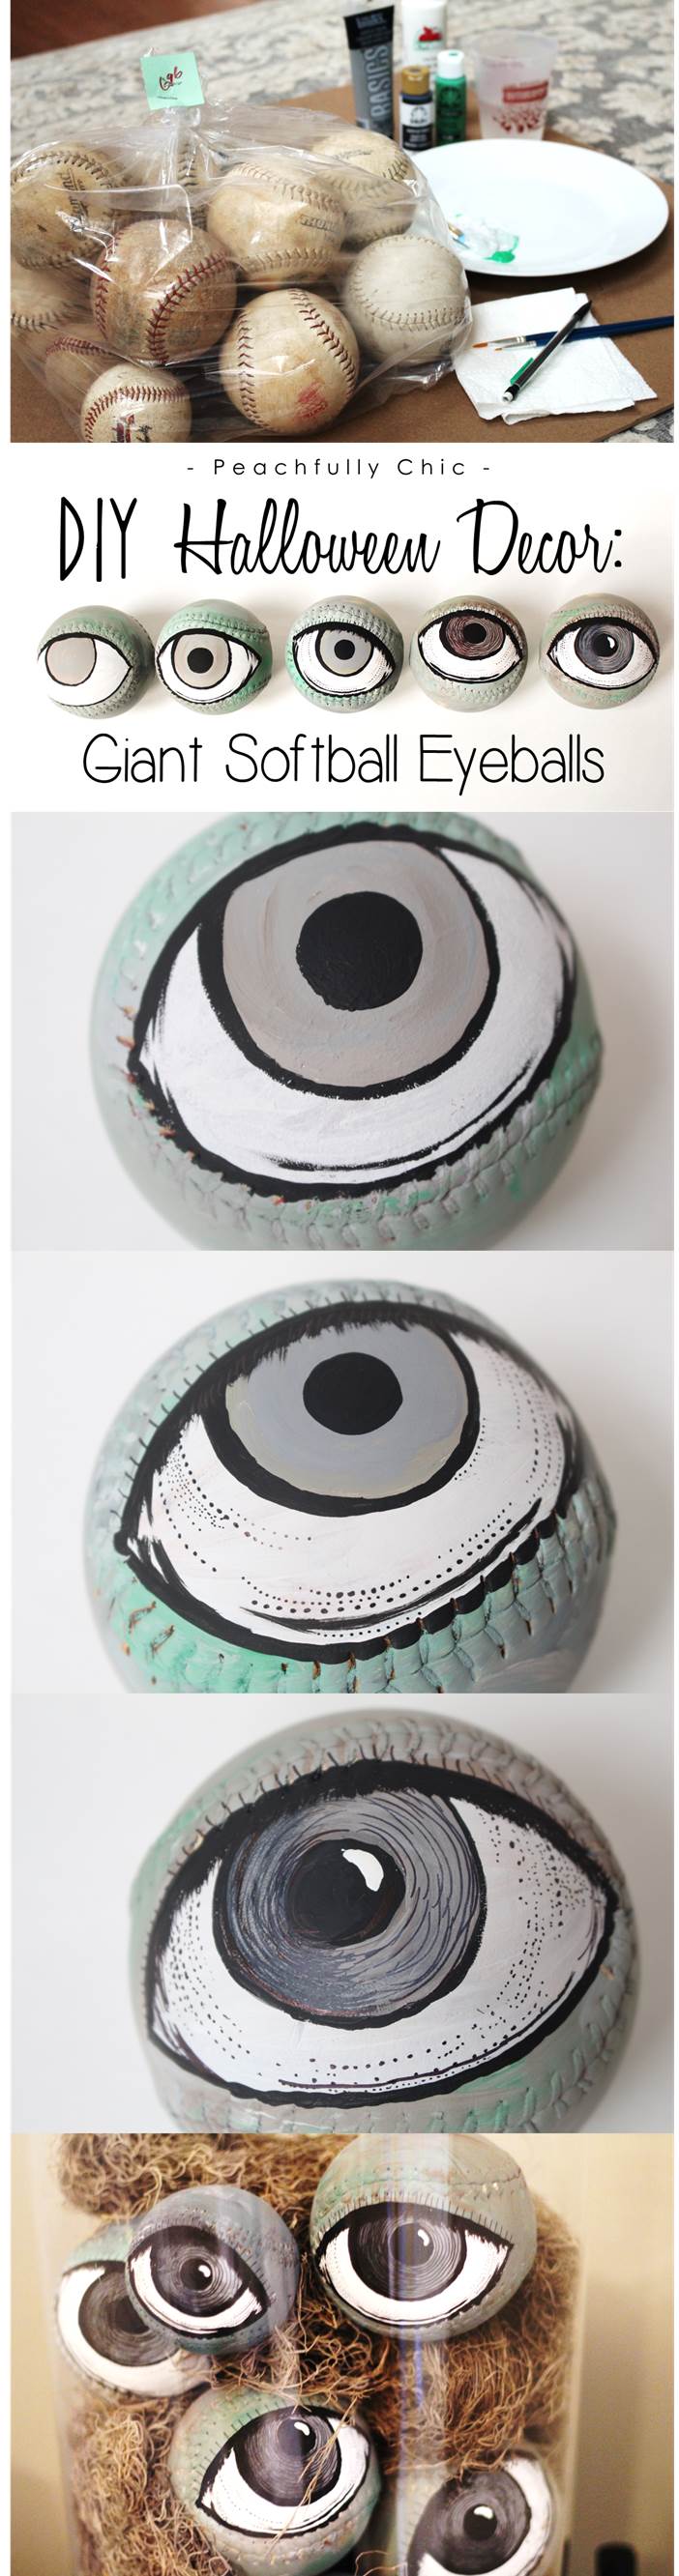
How-To Create Giant Softball Eyeballs:
As I started planning our Halloween Housewarming party this year, I fell in love with everything featured at Grandin Road’s Halloween Haven, but our budget wasn’t as supportive. So what’s a crafty DIYer to do when she stumbles on a bunch of great Halloween party decor but can’t attain it? You guessed it… I decided to improvise with a little paint and a thrift store find.
My inspiration from Grandin Road for creating my spooky DIY Halloween Eyeballs was this cool set of Eyeball Orbs:
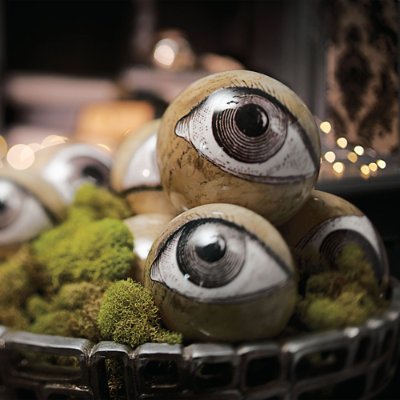
So I obviously got to work immediately on figuring out how I could replicate this fun Halloween Decor. I’m pretty excited for how mind turned out… so here’s what you need to know to replicate your own set of spooky Halloween eyeballs at home!
Instructions:
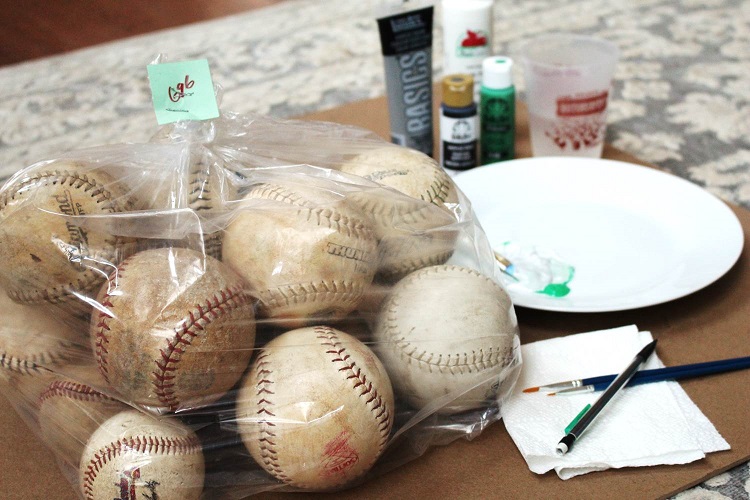
Supplies
I started with a bag of old softballs that I found at the local thrift store and some of my go-to acrylic paint.
Step 1
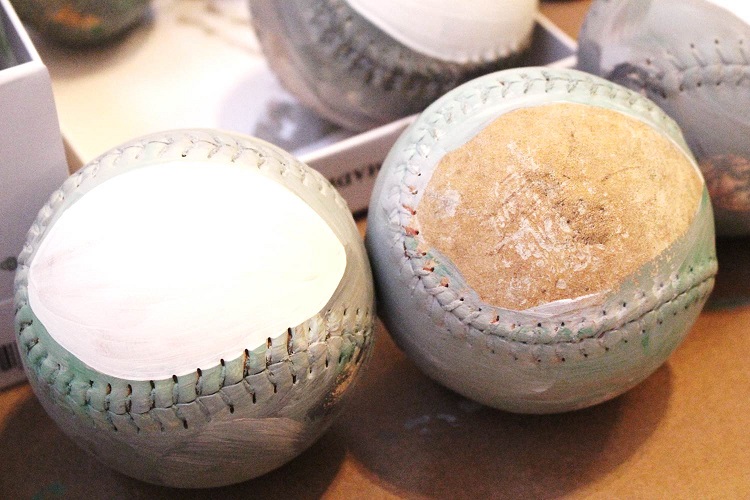
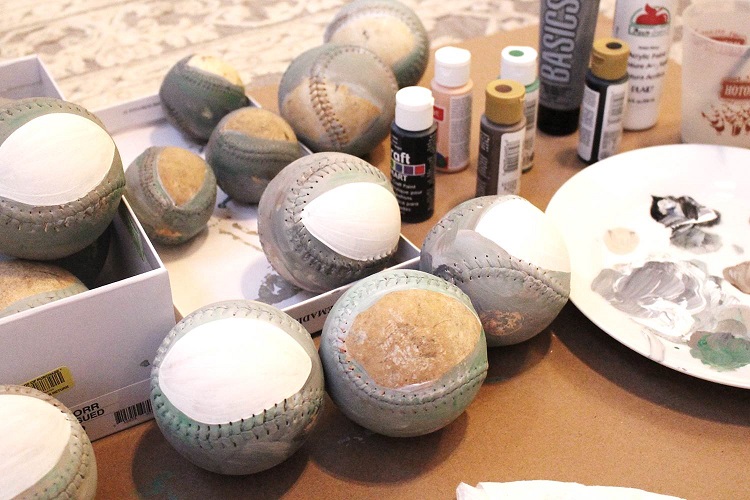
Mix a little green, gray, & brown together to get a zombie tinted paint color. It doesn’t need to be mixed completely… in fact it’s better if you just get a little of each color on your brush and then just paint them on the ball so that the colors run together.
Step 2
Paint the white center of the eye, then follow the images below to paint each stage of the details using black paint and a black permanent pen. I made most of mine very similar, but you can tell none of them are exactly the same (or perfect!). It’s ok that they aren’t exact because these are supposed to be creepy!
Step 3
After the Halloween Eyeballs dry, you can combine them with dried fake spanish moss (I picked up a couple bags from the Dollar Tree) into a glass cylinder vase. We repurposed the Ikea vases used at our wedding for this project.
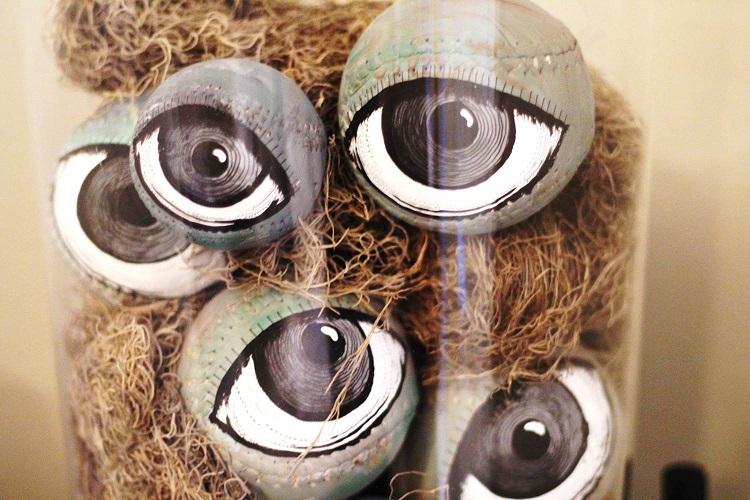
Ta-Da! I’m beyond thrilled with how these little guys turned out… and even more excited that all it cost me was about $5 for a bag of old softballs, $3 for fake Spanish Moss, & acrylic paint (green, gray, brown/tan, black, white).
So I hope this helps you think outside the box next time your budget might not lend to what you want to do, and realize there’s always a way to stretch the budget and make something really work for your vision at the same time!
Interested in more Halloween projects? Check out these DIY Halloween decor ideas:
What are your best Halloween DIY projects?

WOW!!! These are great! Thanks for sharing your ideas. ????
This is terrific! Thank you for sharing!
Glad you like them 🙂
Love them!! Great job
Thanks! Let me know if you decide to make them! xo
Creepy but such a great idea!!!
I love an easy & creepy project to create unique Halloween decor!
Fantastic idea! Have you tried giving them a coat of iridescent paint when you are done? Or maybe mixing the colors with the iridescent paint?
I haven’t tried that but I bet that would be very pretty and add a unique element to them! I also thought about adding a clear coat of spray paint over them to protect them and add a little shine but opted for the matte look on these instead.
Great job!