
Marquee Love Letters – CUTTING THE LETTERS:
After we gathered all of our supplies (find the full shopping list in Part 1) and trimmed the paper template, the first part of creating these DIY Marquee Love Letters was to actually cut the letters out of the wood. This is something you can definitely do alone, but I had Kevin’s help and it went a lot faster.
[line]Instructions:
[accordion title=”Step 1: Trace the Letters onto the Plywood”]Step 1: Trace the Letters onto the Plywood
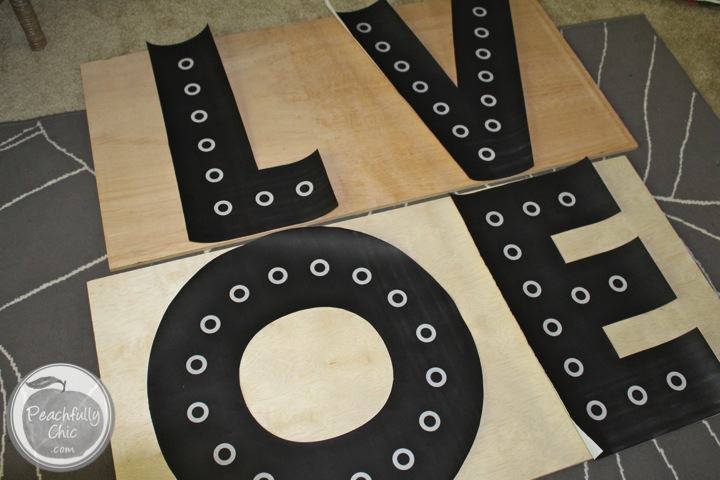
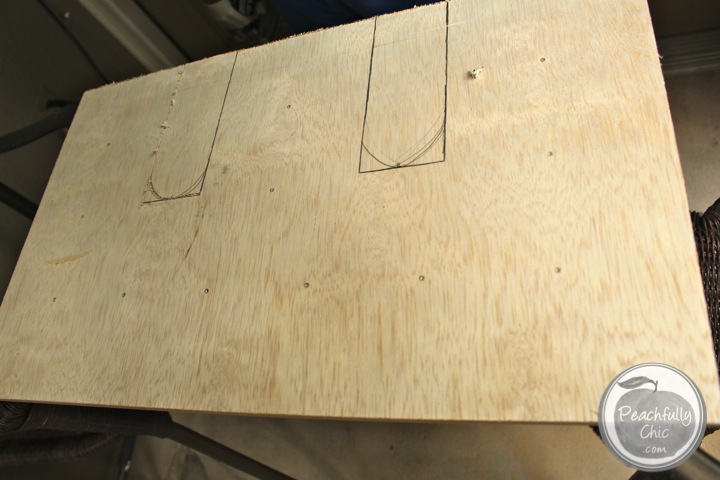
After you trim the paper template, just lay your paper letters onto the plywood and trace them using a pencil.
Before removing the template from the board, create a guide for drilling the light holes later. I just used a spare screw and pressed down firmly with my hand to puncture the paper and leave a small hole on the plywood below. Try to stay in the center of the circles on the template. I eyeballed this and felt like it turned out well.

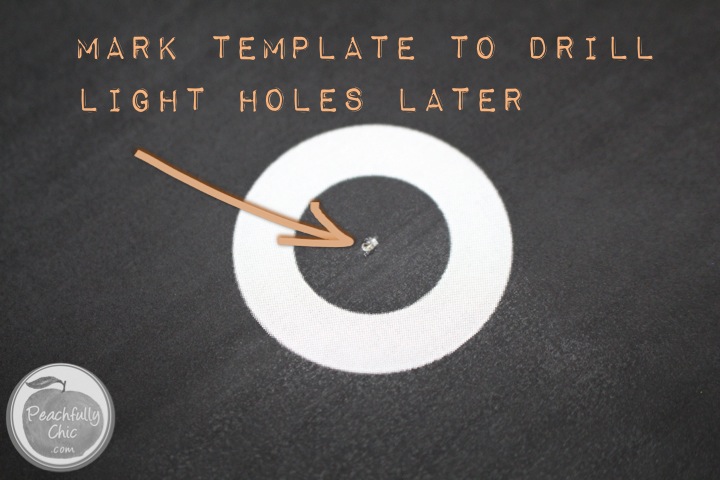

Finally, you can remove the template from the plywood. You won’t need it anymore… unless you’re making multiple sets of these bad boys – in which case “Kudos to You!” because this is definitely the easiest part of the whole thing 😉
If you prefer, you can use a pencil to darken the dots you just marked with the screw so it’s easier to see later.
[/accordion] [accordion title=”Step 2: Grab the Jigsaw”]Step 2: Grab the Jigsaw
Instead of a workshop, we made do on the small balcony of our apartment (so professional I know!), and we just used our high-bar patio chairs instead of saw horses (you can find cheap saw horses for about $20 though if you prefer).
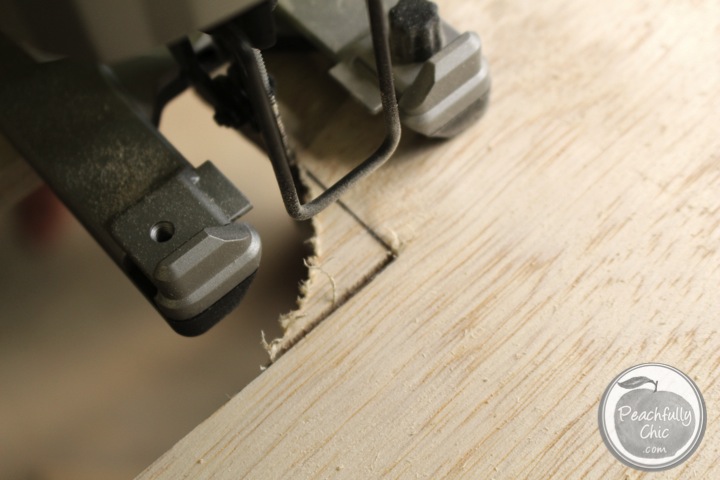
This is where your jigsaw comes into play. You basically just cut out each of the letters following the template you traced on to the plywood in step 1. You can watch the video on how to insert a Ryobi jigsaw blade here.
Don’t forget to wear protective eye gear and pay attention to where your fingers are on the board (we don’t want any missing digits later!).
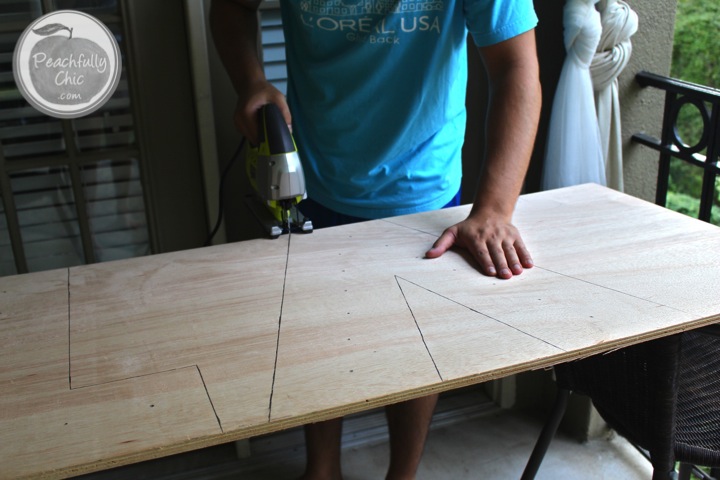 Kevin did most of the cutting for me so I could take some photos to share with you. I jumped in to give a try a few times and it was so easy!
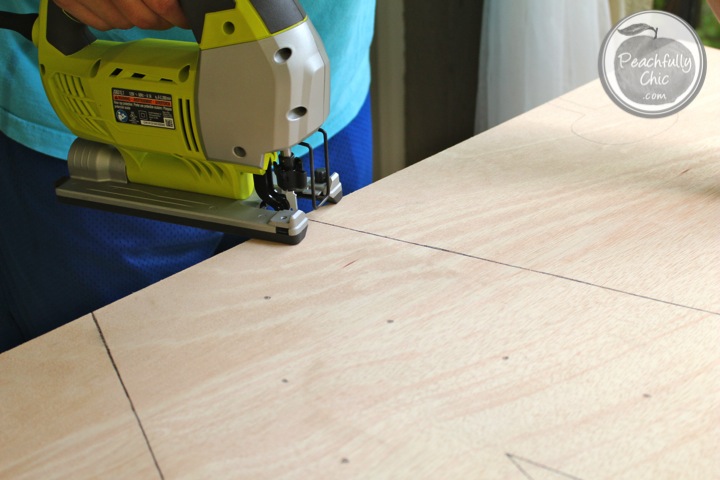
You can see all the dots that line the center of each letter. These were the same dots you marked with a screw in step 1, but I just used a pencil to darken them a little. 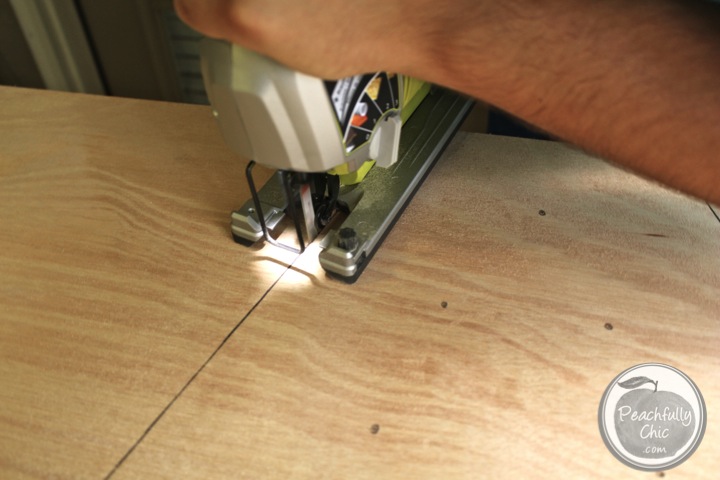
I loved the fact that this Ryobi Jigsaw lit up as you pulled the trigger and cut!
[/accordion] [accordion title=”Step 3: Cutting out the ‘E’ “]Step 3: Cutting out the “E”
 Now the “E” was probably one of the most tricky of the four love letters as the blade of the jigaw doesn’t work to cut out the inside corners of the letter.
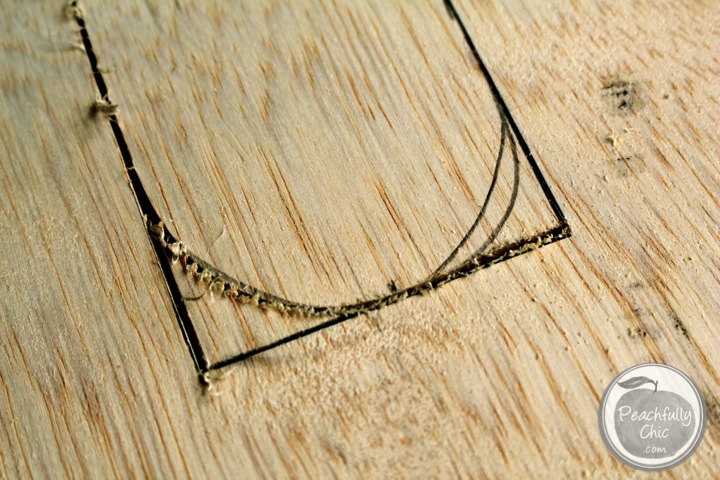
As you can see from the photos, we drew a slight slope that detoured from the straight line down to seamlessly flow into the perpendicular inner side. This slight curve was fine for the jigsaw to handle. Although we drew two slopes, you only need to cut one side.
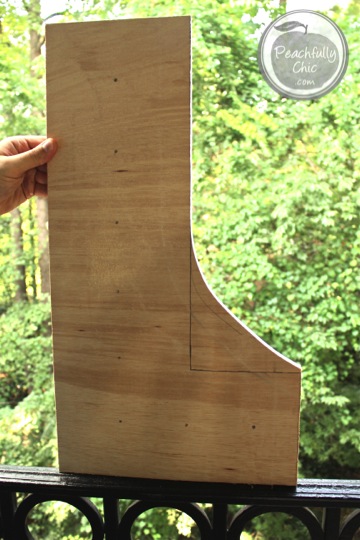
The “L” required a little love as well just to get it out of the massive sheet of plywood so we just followed the same tactic we used on the inside of the “E”. 
Then you come back from the other side with a straight edge and clean everything up!

Step 4: Cutting out the “O”
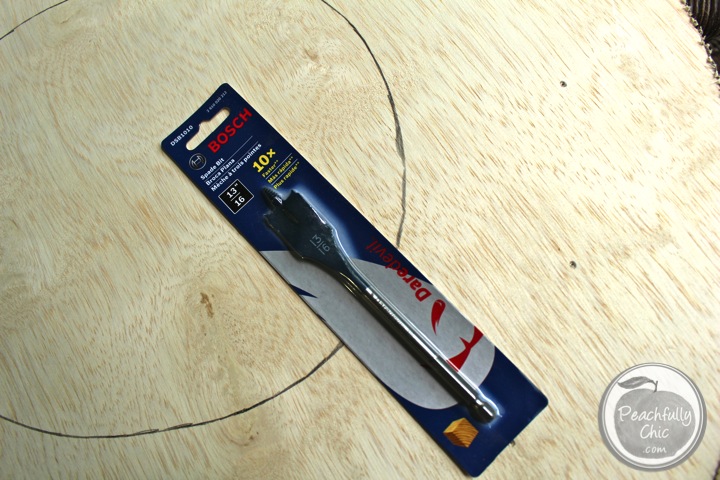
Cutting the outside “O” was not a problem as you can easily glide around the template. The tricky part with this one is to cut out the inner circle of the “O”. We broke out the 13/16 spade drill a little early here to make a pilot hole so we could get the jigsaw blade into the center of the “O” without actually cutting through the letter itself.

You can see our “O” turned out just fine…. and our saw horse workbench high bar patio chairs worked great for holding the plywood at waist level while we cut the letters out.
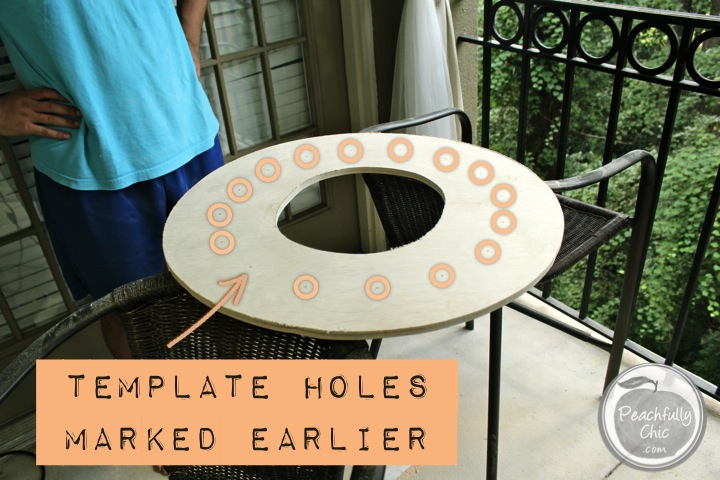
I circled the dots we made with the screw from Step 1 above, so hopefully each of your letters has similar dots lining the center of each letter!
[/accordion] [accordion title=”Step 5: Drill the Light Holes”]Step 5: Drill the Light Holes
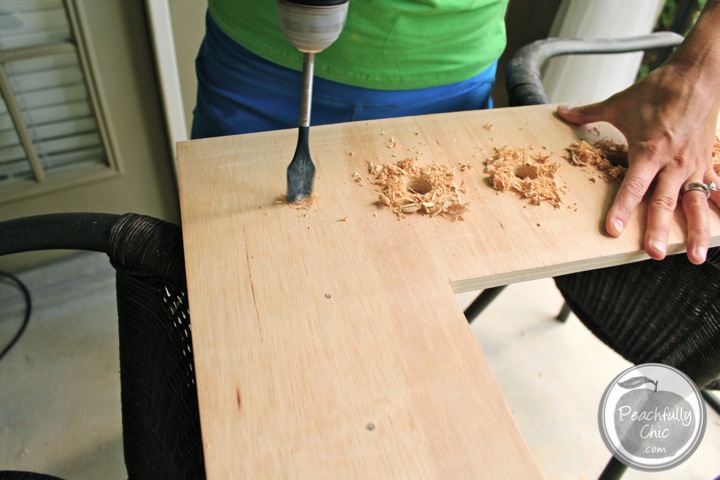
Using your 13/16 spade drill again, line up the center point of the drill on each of the dots you marked in Step 1. Run through all of your letters, drilling holes evenly along the centers.
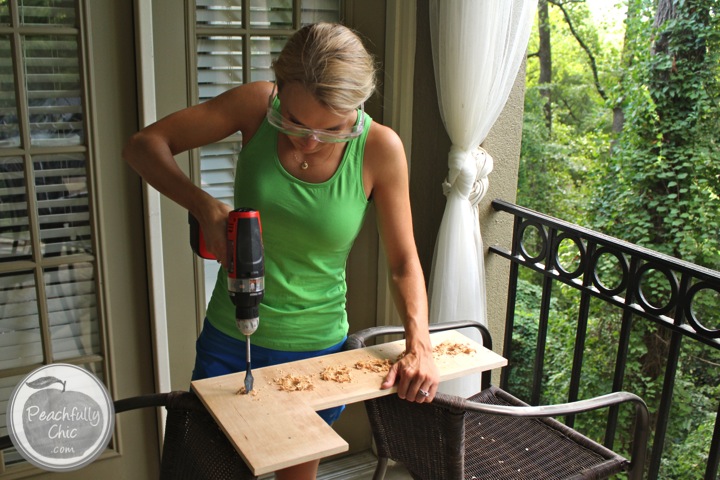
I took over for a bit… easy peasy!
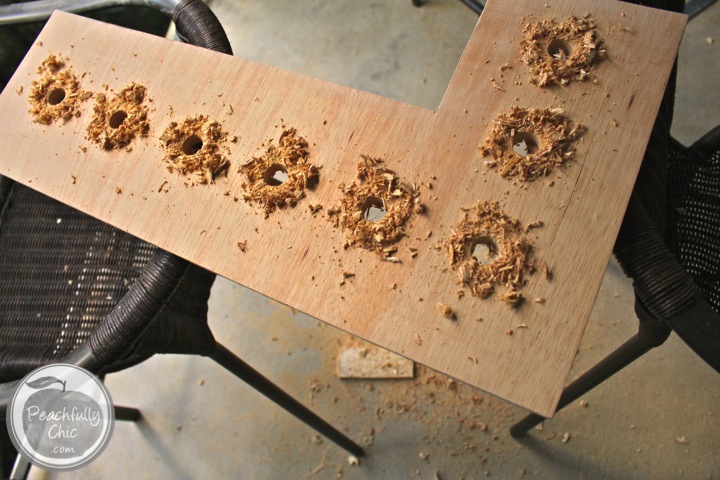 There will be lots of dust and small chips of wood flying, so please don’t forget to wear goggles to protect your eyes!
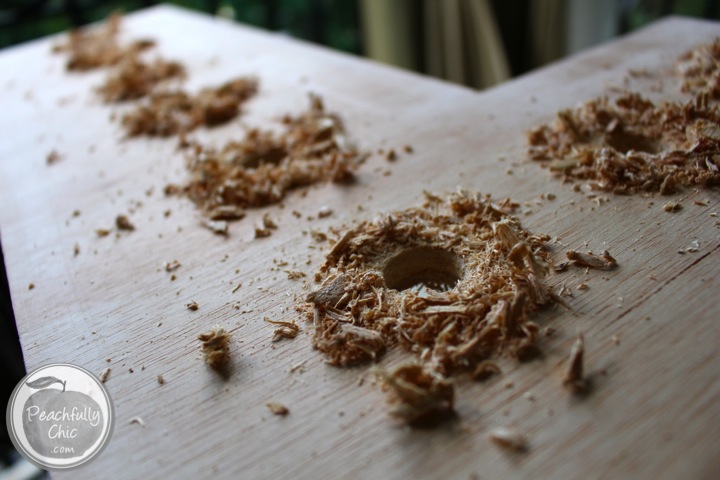
All the holes are drilled…. you’re almost finished (with this section only – sorry!).

This is what the backside of the board will look like. Not too pretty…
[/accordion] [accordion title=”Step 6: Smooth It Out!”]Step 6: Smooth It Out!
So grab your sandpaper. The higher the # the finer the grit, so you’ll want to use the rougher lower 150 grit to smooth out all those crazy pieces sticking up from each hole!
The 220 grit would be used to just smooth over a surface that doesn’t require a lot of elbow grease because it’s already fairly smooth – in other words… you won’t need it for this part unless you want to use it on the edges of the letter where you cut it out with the jigsaw above in step 2.

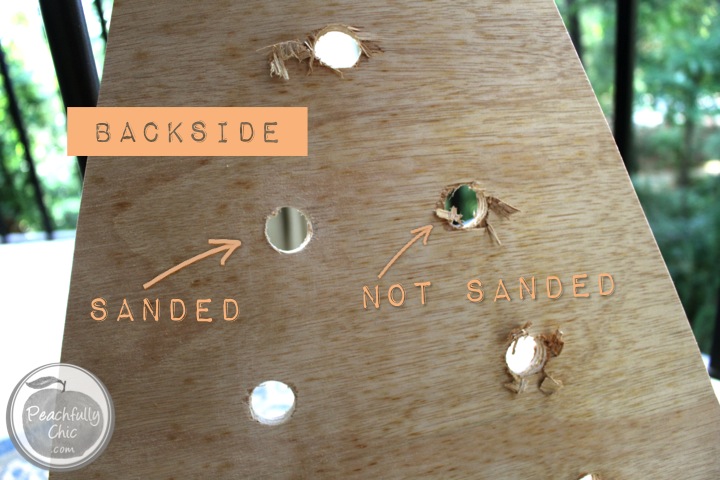
 You can see the clear difference in the photo above looking at the left side “after sanding” vs. the right side “before sanding”. You really don’t want to skip this step!
[line]
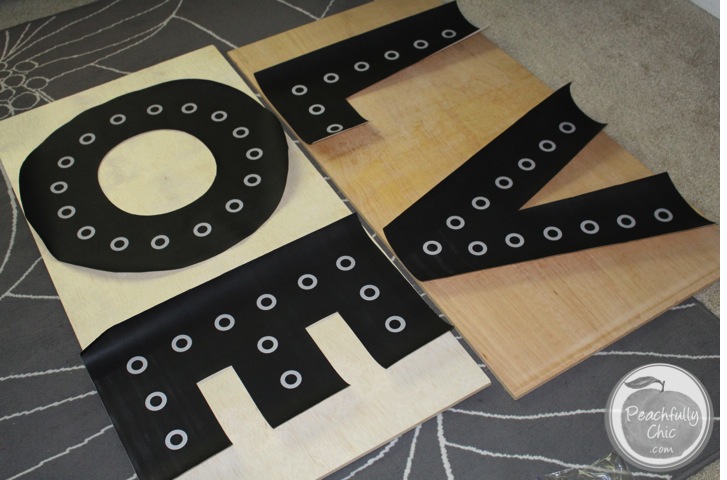
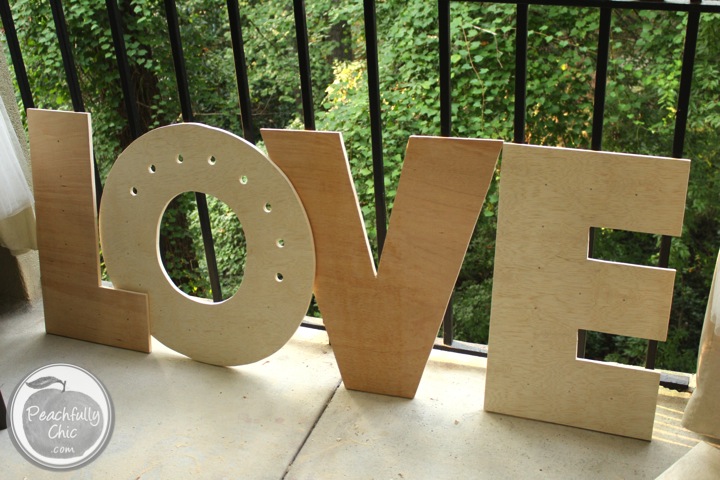
So at the end of Part 2 (Cutting the Letters), you’ll have all of your Marquee Love Letters cut out and ready to paint in Part 3. There’s a photo below of the letters cut out prior to adding any color, and this is before I finished drilling all the light holes from step 5 above, but it gives you an idea of where we are in the process! Looking good if I do say so!!!
DIY Marquee Love Letters ♦ How-To Instructions:
Part 2 of 5 (Cutting the Letters)
Part 3 of 5 (Painting the Letters)
Part 4 of 5 (Adding the Border)
Part 5 of 5 (Stringing the Lights)
