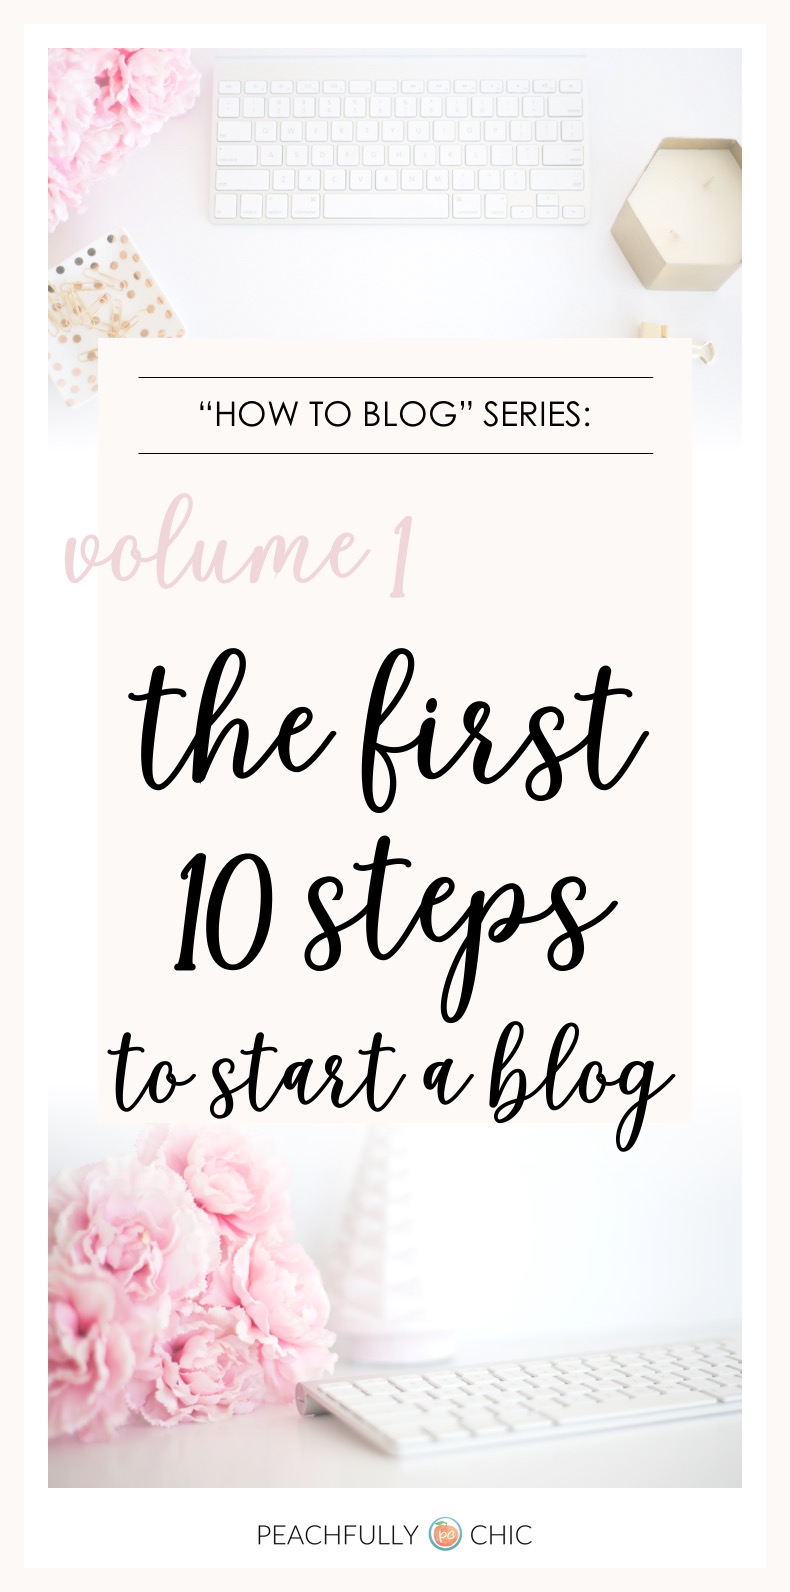
So you want to start a blog?
Congrats! Hooray! And welcome to the club!
Now the first question you’re probably asking is, “How to start a blog?”
Blogging has provided some of the most delightful experiences I’ve had over the last four years both personally and professionally. I cannot begin to recap all the joy it has brought into my life. However, just like any other business or hobby; running a blog requires dedication and comes with its own share of stress. To avoid stressing out from the start, there is a basic foundation you need in order for your blog to be successful and I’ve got a few tips to help. I’ve compiled 10 steps for how to start a blog from scratch and tips I’ve learned to help you expedite your launch and grow your blog!
As in all life experiences, you’ll get out of this as much as you put into it. I’m not going to sugarcoat things and say that blogging is easy. It’s not. There is a lot of work involved beyond taking a quick photo and writing a short paragraph that people outside of blogging just don’t see and sometimes won’t understand. I’ll get into more details on how to blog successfully at a later date, but for now, I wanted to share my tips on how to start a blog from scratch. In the world we currently live in that is highly saturated with bloggers, vloggers and “Instagram Influencers”, it’s important to remember that you are starting the blog for yourself. It’s not a competition, so remember not to compare your new blog with any others as you get things kicked off.
In the spirit of collaboration over competition, I’m sharing my tips on how to start a blog. Follow these steps to ensure you have a solid foundation to stand out and build onto later.
10 Steps for How To Start a Blog:
 1. What’s Your Why?
When you decide to start a blog, the first thing you’ll need to do is decide what your vision and motivations are for creating a blog. This will be your guiding light throughout every decision you make from setting things up to making it through struggles and frustrations you may encounter.
Questions to ask yourself: What type of blog are you creating? Are you creating a personal outlet for your thoughts or do you want to build a community? Will your blog posts feature a balance of writing and photos? Will you focus on food, travel, fashion, DIY, or some other niche theme? Maybe you have a unique perspective on a particular lifestyle you would like to share? Deciding why you truly want to start a blog will help keep you on the right track and give your blog a focus.
2. Start Moving
Most likely, you didn’t just wake up one morning and decide you wanted to start a blog. It’s probably something you’ve been thinking about for some time. While it might seem overwhelming to finally take the leap from thinking about starting a blog to actually getting things kicked off – it doesn’t have to be. I tell all my friends that consider starting a blog that the number one thing to keep in mind is this:
ONE DAY vs. DAY ONE
I try to use this motto whenever I tackle something new and it can be applied to starting a blog as well. You can either start “one day” or make today “day one.” There’s no reason to wait. Things don’t have to be perfect. One of the most frequent regrets that most bloggers will say they have is that they did not start their blogs sooner. It’s never too late to start a blog, so make today your day one!
3. Name Your Blog
One of the most important first steps to start a blog is to choose a name for it. If you can’t decide on something creative, you can always consider about using your name. Avoid using a name that may be confused with any well-known brands or other bloggers. Make sure your blog name is available for a domain name purchase and all social media platforms. Google it. See what comes up. You don’t want to get things started and then realize you’re going to be confused with some obscure website or brand already established in search engine results.
I would recommend checking all social media platforms even if it’s not something you use today. Naming your blog may feel like one of the toughest steps, but you’ll land on something that feels right. Don’t get discouraged if it takes some time. I spent over a month brainstorming blog names that “felt right”. I kept a notebook full of words that spoke to me, represented my background and I bounced ideas back-and-forth between the hubby and my mom on a daily basis before finally landing on Peachfully Chic!
4. Lock It Down
You can create a blog on a free blogging platform like Google-owned Blogger, Tumblr, etc. but for this particular post, I’m going to focus on going the self-hosted route where you create a website for your blog. It requires a small bit of an investment upfront and ongoing, but it’s worth having total ownership of your new website. Trust me. You can read more about various blogging platforms here, but I’ll get into choosing a CMS in step 6.
Now that you’ve decided on a name for your blog, lock it down! You need to purchase your domain and sign up for all profiles on social media to secure your new name. You can purchase a domain name on any typical website such as GoDaddy, HostGator or Bluehost. As I said before, I recommend securing your blog name on all social media platforms, even if you are not active on a particular channel at the current moment. You may decide to utilize the social media channel later even if you don’t use it now.
5. Secure Hosting
Now that you’ve got your domain name purchased for your new blog, you should secure your hosting service. , or you can pay for hosting on your own through a company such as GoDaddy, HostGator or Bluehost You will need to purchase a hosting service that will give your blog a place to live. Purchasing a hosting service is like purchasing a computer… A hosting service will be the place where all your blog files and details are kept.
6. Setup Your CMS Platform
Now that you have purchased your domain name and hosting service, the next step is to set up your CMS (Content Management System). If your hosting service is similar to purchasing a computer, your CMS is like choosing to run OSX or Windows on it. A CMS is the framework for your blog and will provide a user-friendly front-end experience for you to create blog posts, pages, and customize your new website/blog.
There are a variety of CMS platforms to choose from such as WordPress.org, Drupal, etc. I recommend WordPress.org (DO NOT use the wordpress.com version – you will be limited to the customizations available down the road). You need to register an account on WordPress.org (or whatever CMS you choose) and then integrate it into your hosting service. Some hosting services provide easy integration with the help of a wizard-setup when logged into your hosting account.
![]()
7. Choose Your Theme
Themes are going to give your blog a customized look and layout that allow you to pick colors, fonts, and other accents. There are plenty of free themes available to start with, or you can search themes to purchase that may provide a few more bells and whistles. My favorite place to shop for themes is Theme Forest by a company called Envato Market. I’ll share more details on what to look for when choosing a theme in a follow-up post in this “How To Blog” series.
When I started Peachfully Chic, I used a basic theme that I purchased from the very feminine WordPress theme creators Bluchic. They provide beautiful options if the large library of themes from Theme Forest is too overwhelming to search through. Creative Market is another source for themes like Angie Makes and you can always search Etsy as well. Whatever theme you choose, make sure it is compatible with the CMS you chose.
8. Customize Your Look
Now that you’ve got your website up and running, it’s time to customize your blog. I recommend adding a little bit of content such as your “About” or “Contact” page so that you can see what your content will look like as you change colors, fonts and other options around on the theme. Make note of the color codes and fonts you decide to use in your theme, they may come in handy when creating content later like making a Pinterest image with text overlay to match your blog look.
![]()
9. Make a Plan
It’s tough to establish the new habit of creating content for your blog or build a following and create community if you’re not sticking to a schedule. Make a plan and create a posting schedule. Use a checklist of what you should do each time you create a blog post. It can start as a loose outline and then you fine tune it to whatever process works best for you.
10. Launch It!
Build your first post (possibly an introduction) and shout it from the rooftops! Don’t be scared to share your blog early on. I waited 6 months to share Peachfully Chic with anyone beyond my immediate family, but wish I had started sharing it from the beginning. No one will expect a new blog to be fully stocked with articles – so don’t stress. Just enjoy the time you have and share what you love doing. You’ll find a great new blogger community full of support. It will makes things so much easier to start a blog the sooner you embrace it!
I hope you enjoyed my 10 steps to create a blog. I’ll be sharing more details on a new “How to Blog” series so make sure you comment below on anything you want to hear more about and don’t forget to click here and subscribe to the Peachfully Chic eNewsletter so you don’t miss a thing!